What activity expands the imagination, hones fine motor skills, opens the mind to different cultures, points of views and ideas, requires thought and innovation, and appeals to any age group….all while being really fun?
IF YOU ANSWERED ART, YOU NAILED IT!

Check out these fun kid crafts for all ages, abilities and
sensory tolerance!
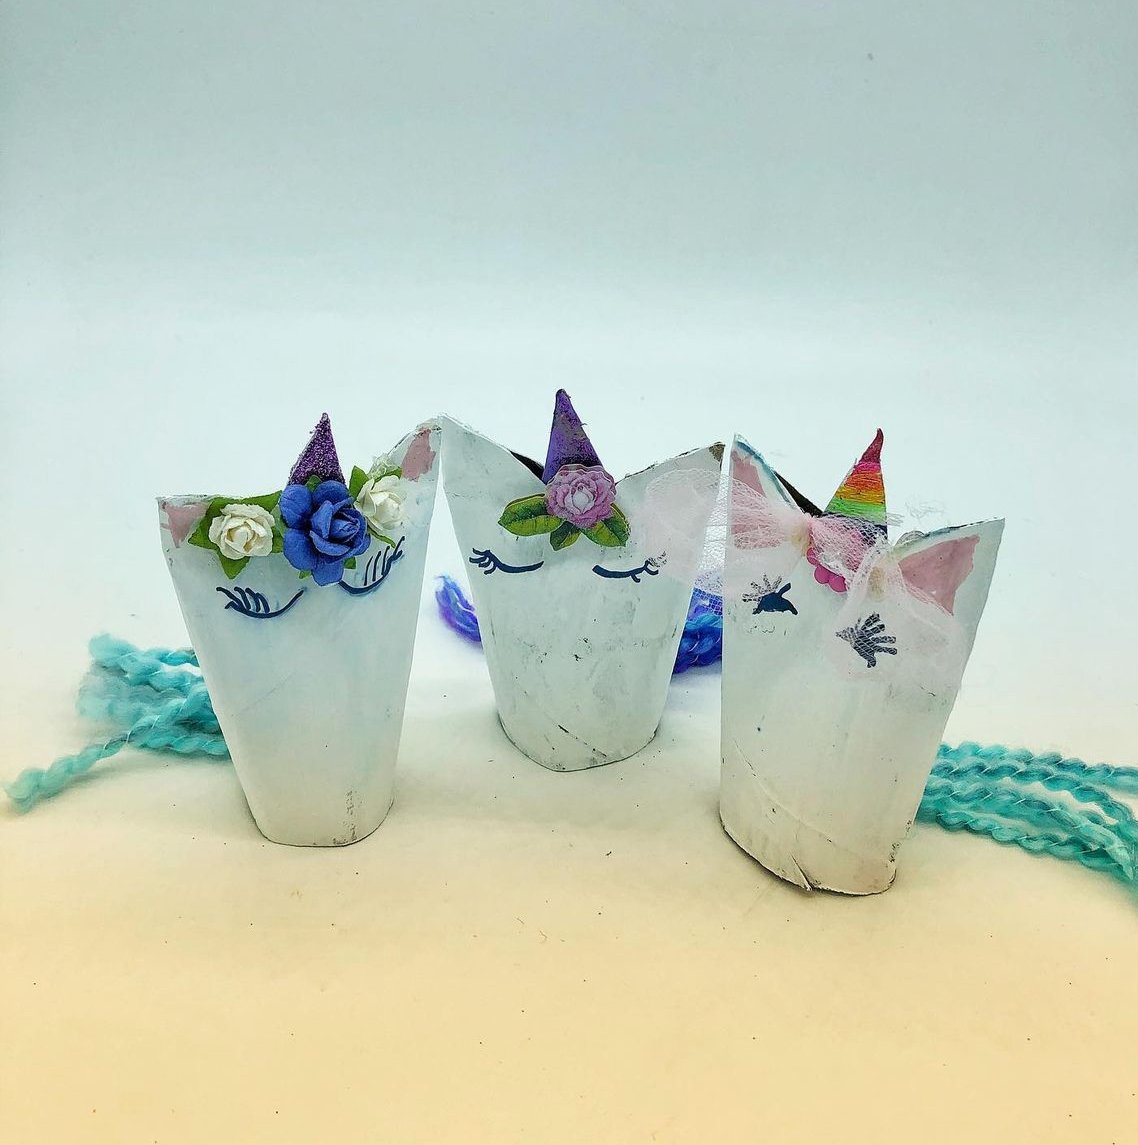
Toilet Paper Roll Unicorn
Ages: 4 (with parent) to 11
Sensory Concerns? This craft involves paint. If paint causes avoidance, replace with markers or crayons for decorating.
Supplies:
White Paint, plus other colors of your choice
paint brush
glue (& stapler optional)
yarn for tail
paper towel rolls
scissors
colored markers
black sharpie for face
embellishments of your choice (ie: adhesive flowers, jewels, stickers, tule, glitter) I love these embellishments.
Whenever possible, I try to include supplies I love or have found helpful.
As an Amazon Associate, I may earn from qualifying purchases.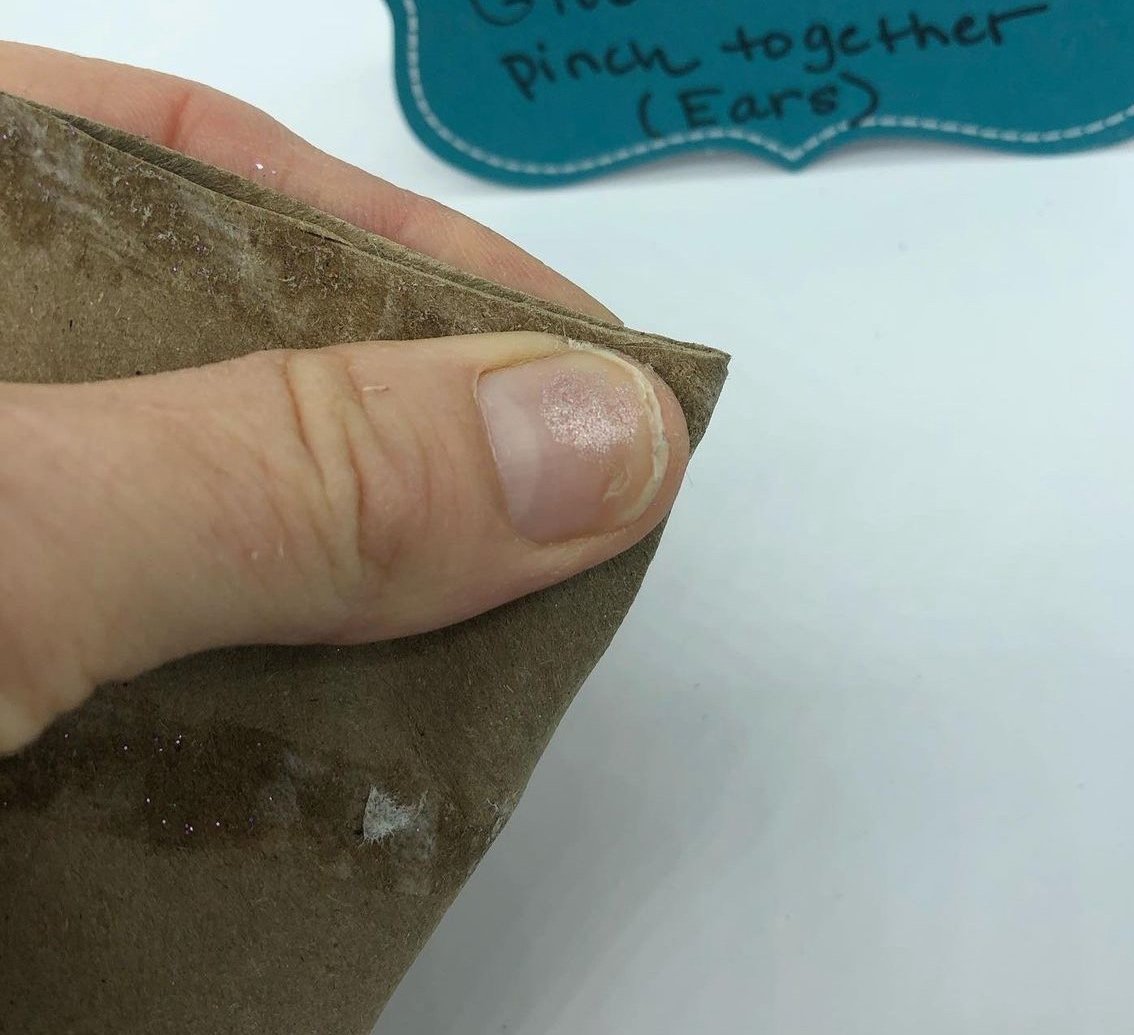
Flatten and glue corners of roll. Pinch till dry. These will be the ears.
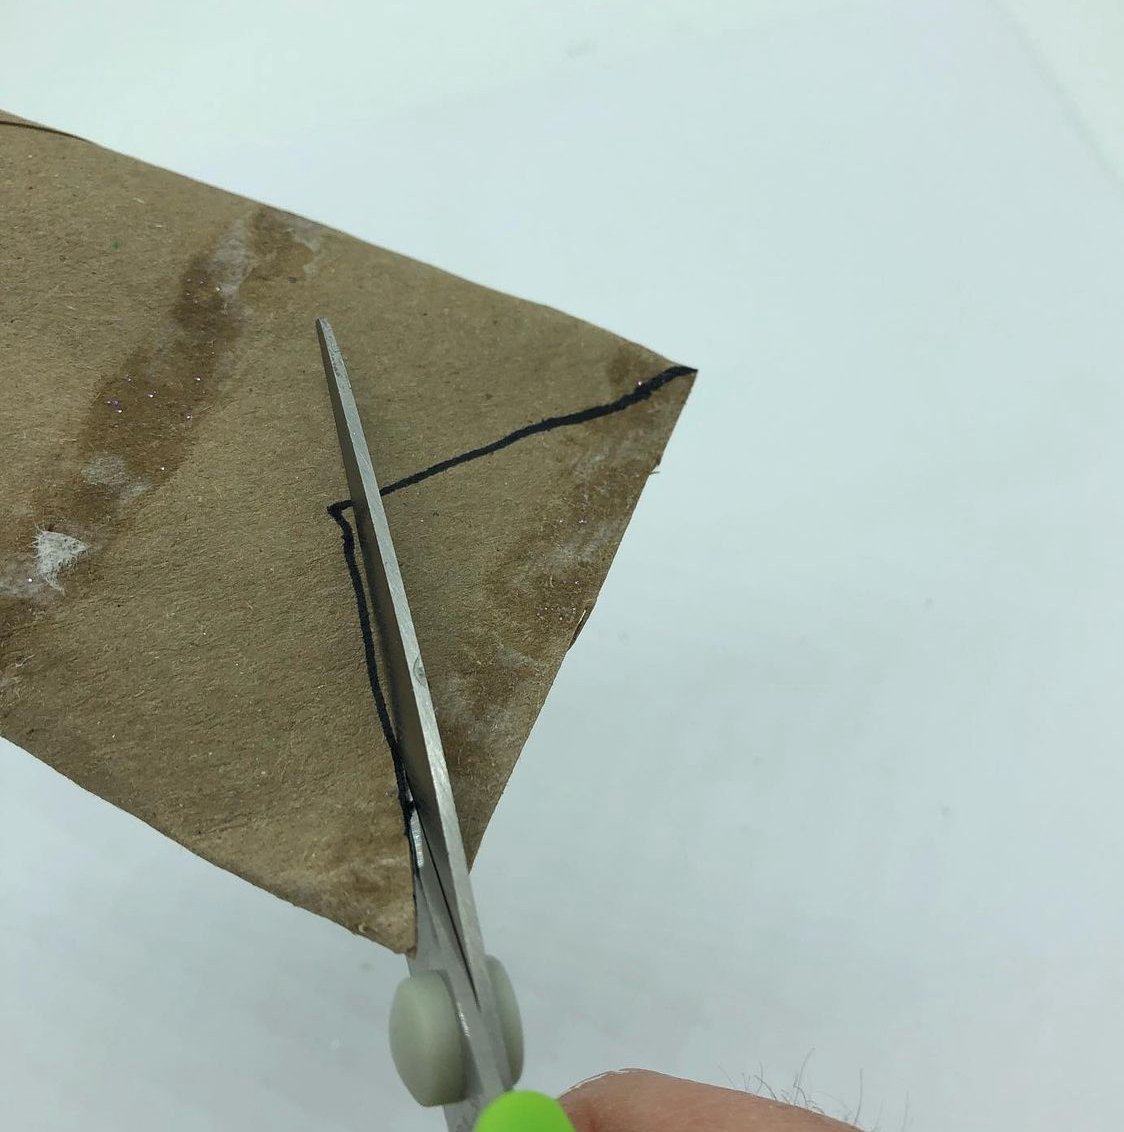
Draw a triangle from one glued corner to the other and cut the triangle out.
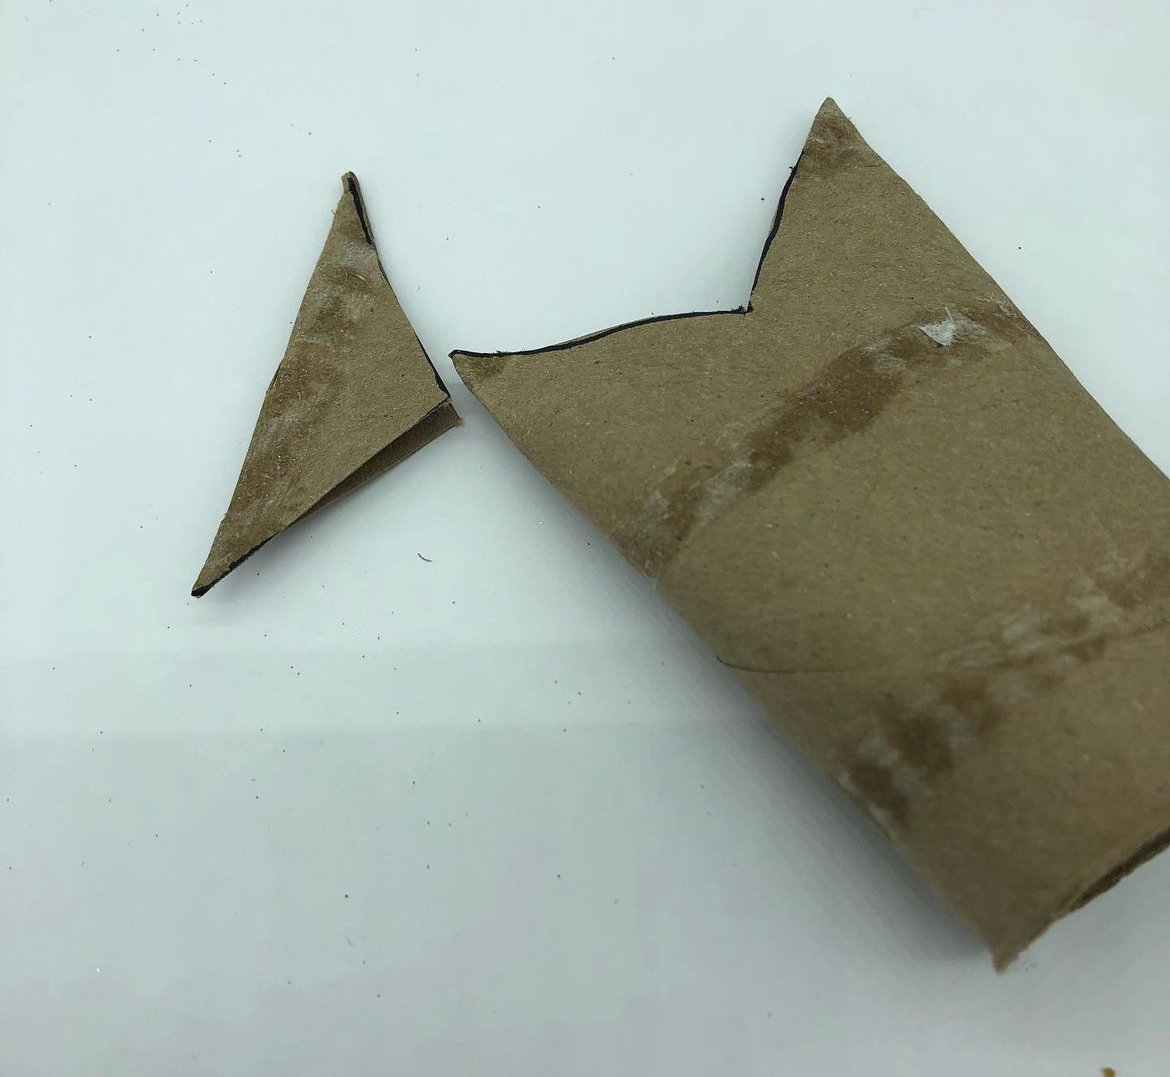
Set the cut triangle shape aside.
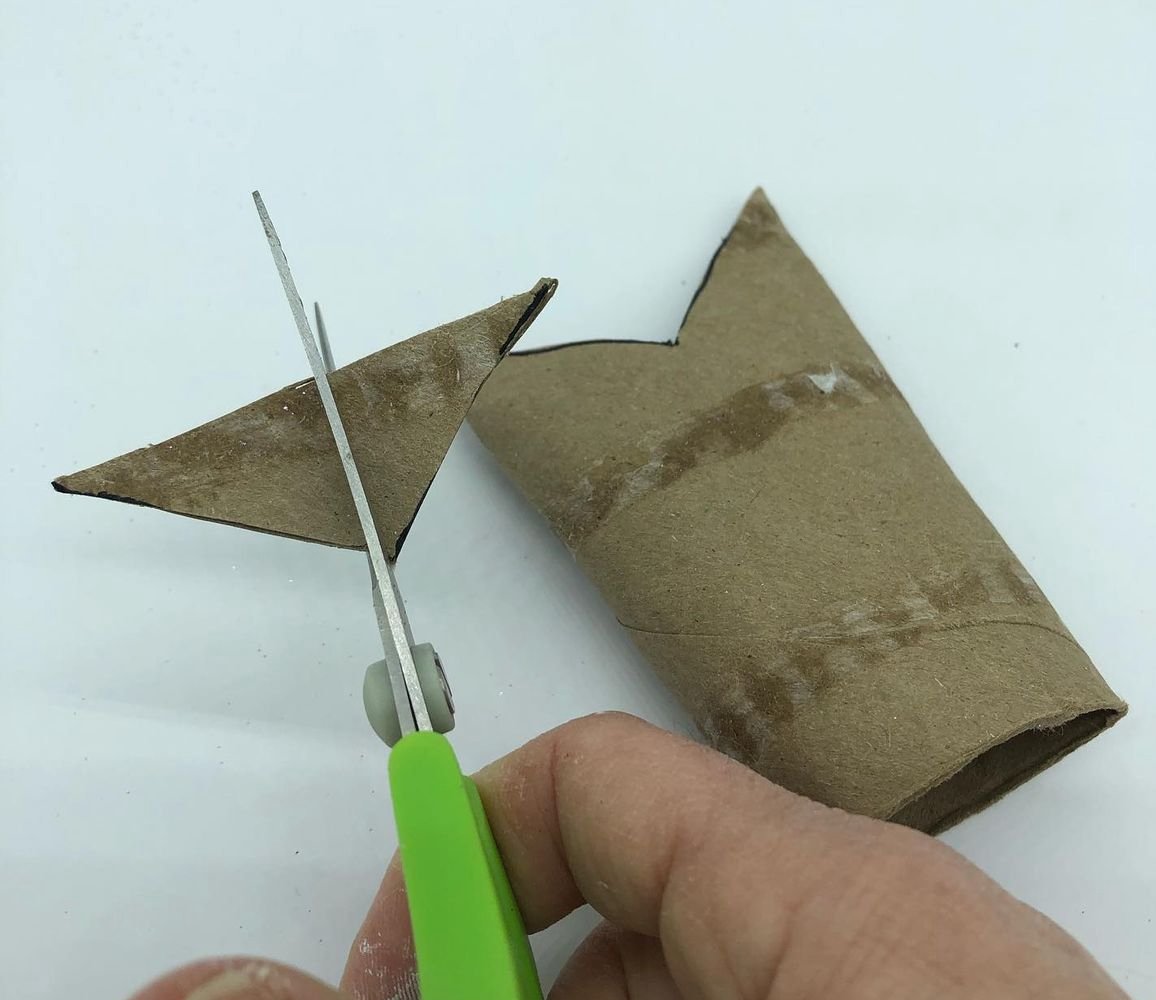
Cut that triangle in half. This will make two horns.
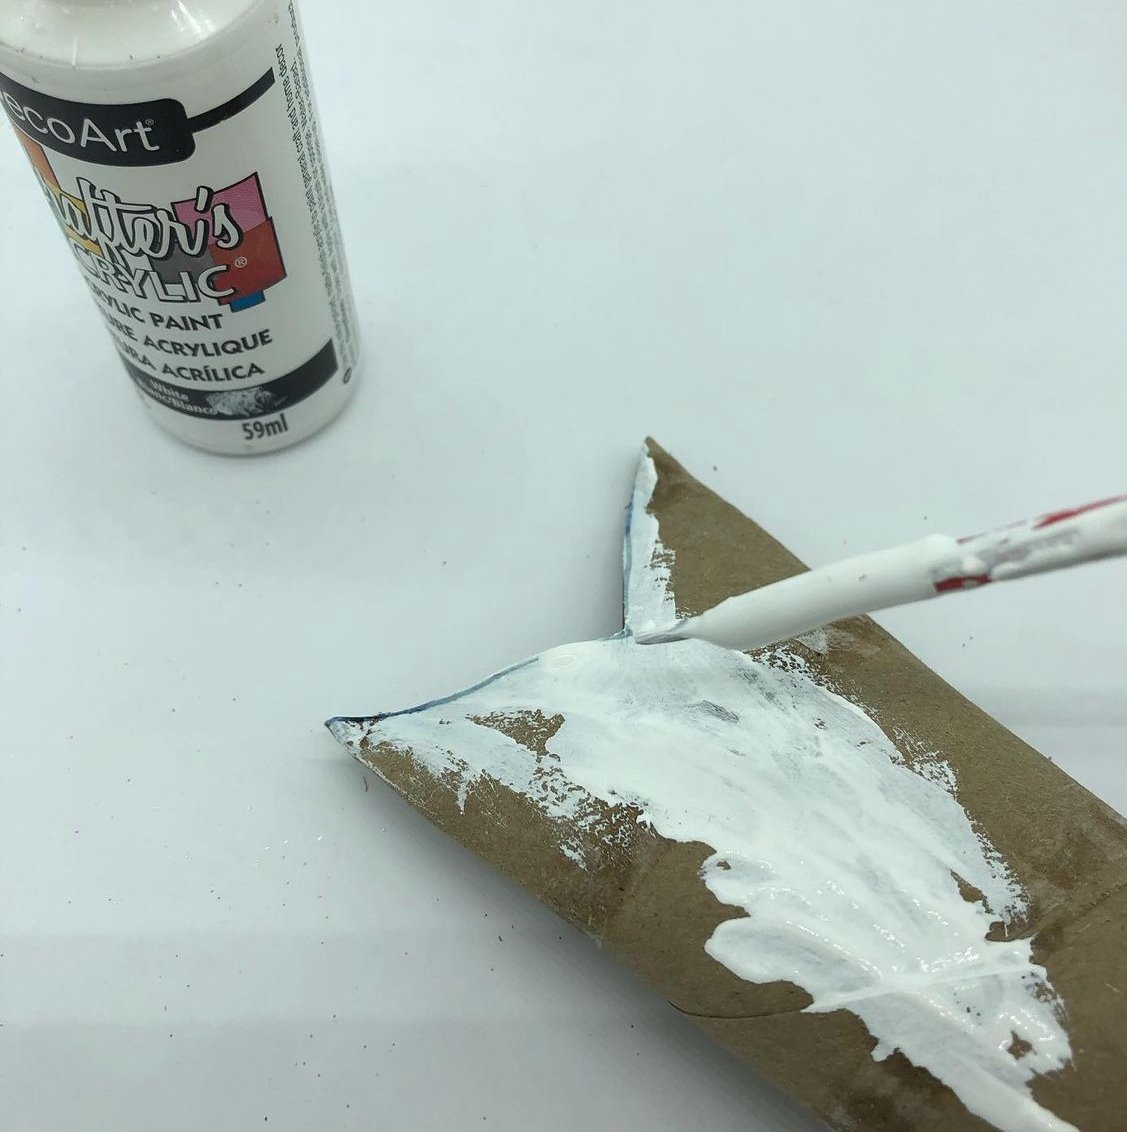
Paint your unicorn white (or whatever color you choose!).
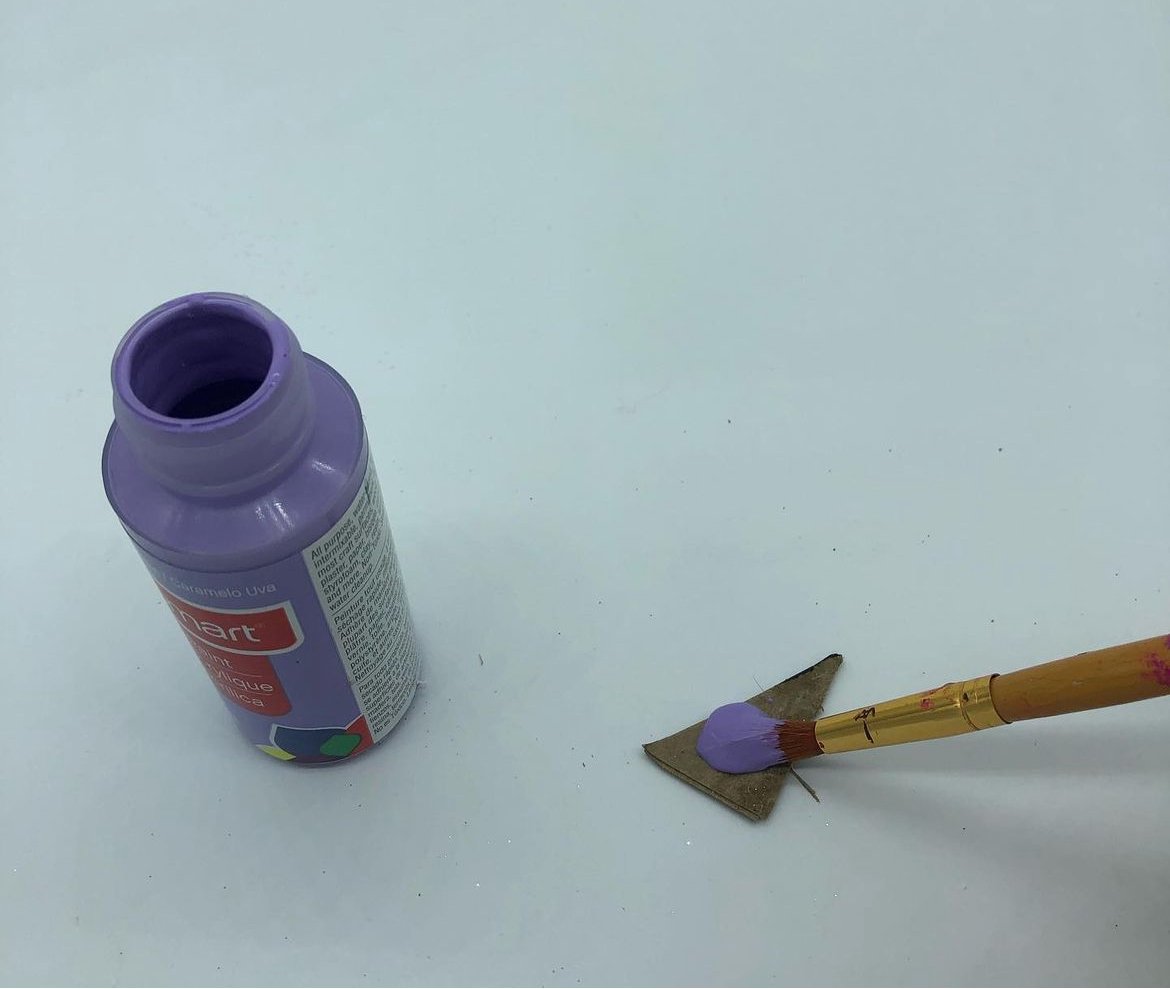
Paint or color your horn. When dry, slide horn in between the "ears" and secure with glue or stapler.
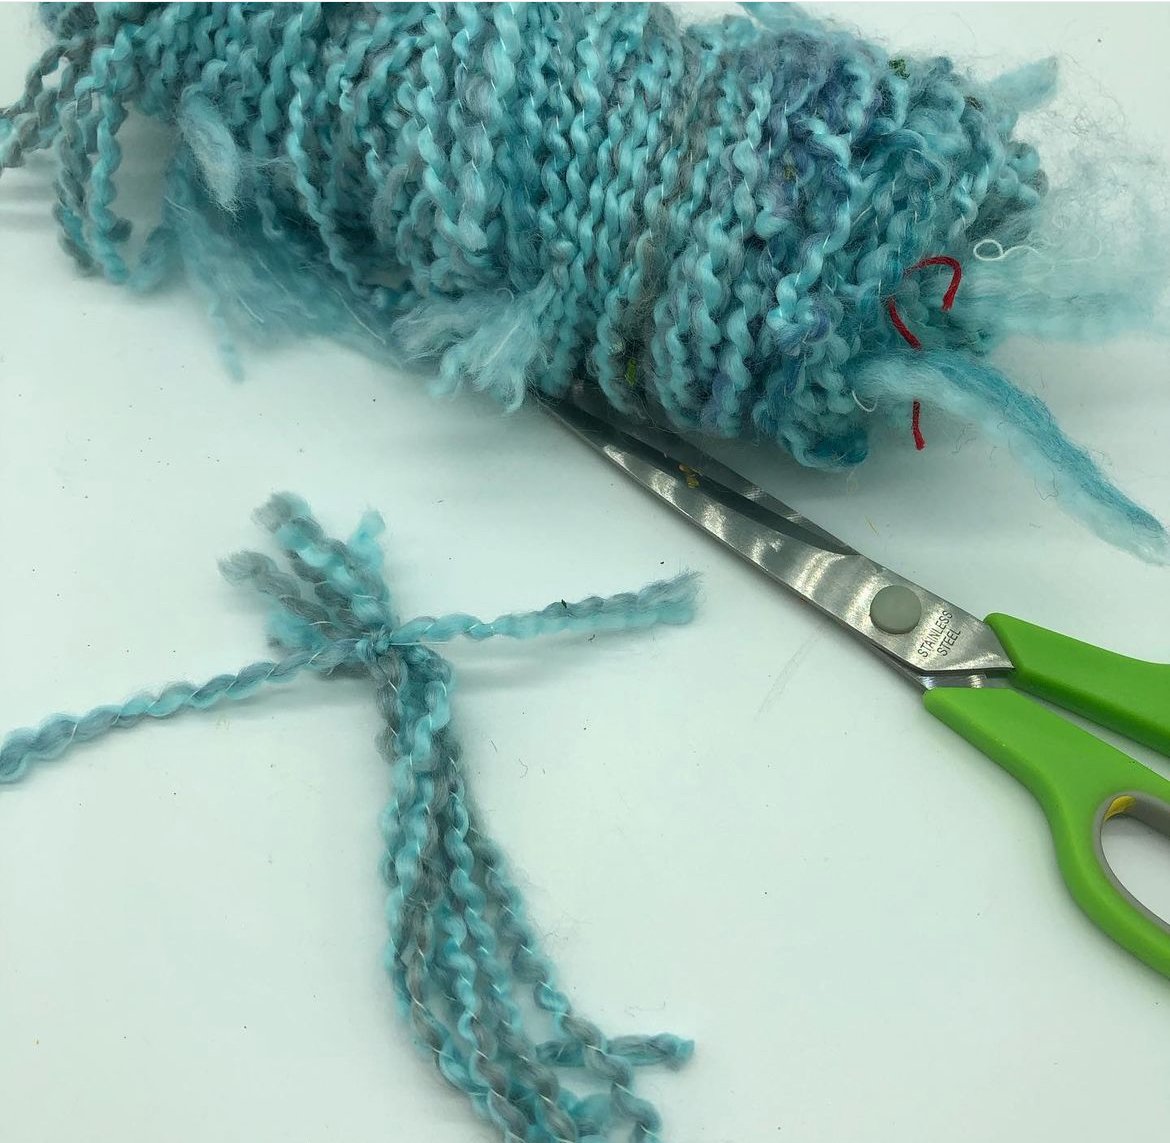
Cut yarn for tail. Tie at on end to secure,
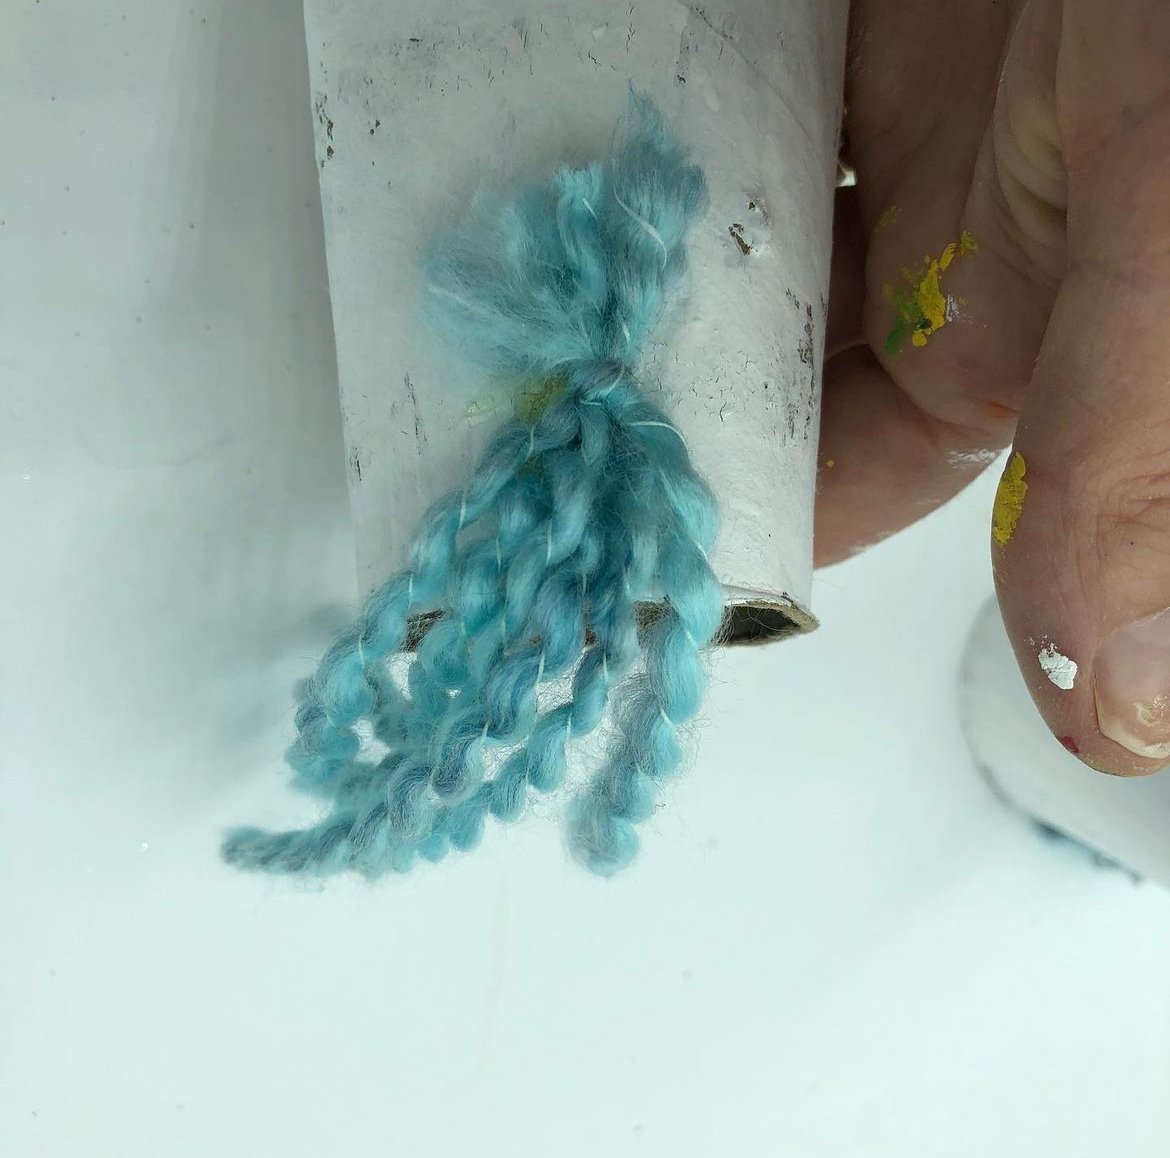
Attach tail to lower back of the unicorn with glue or stapler.
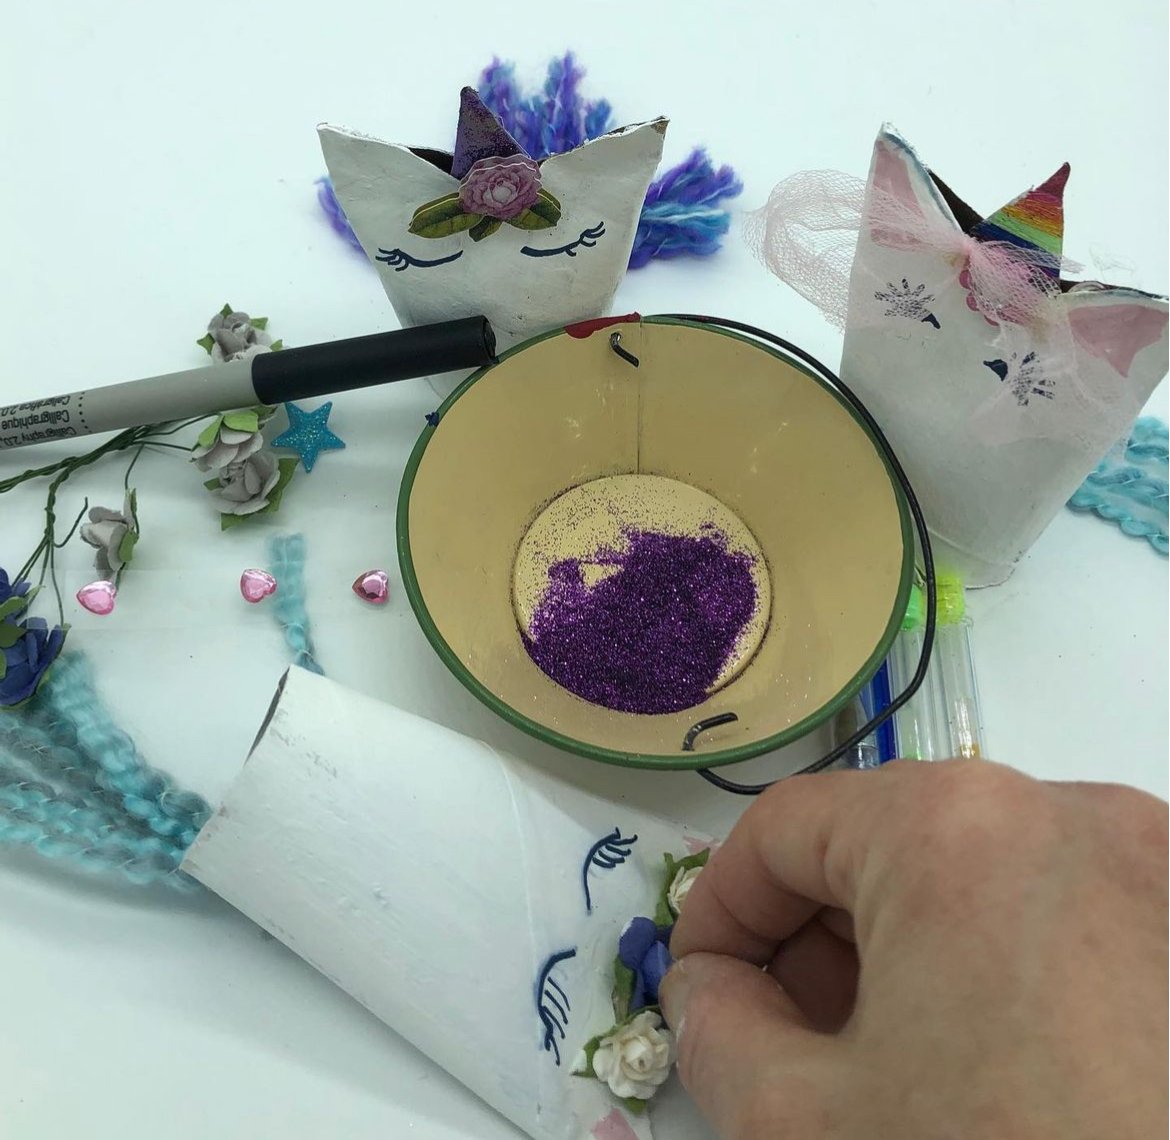
Draw a face on the unicorn and embellish with adornments!
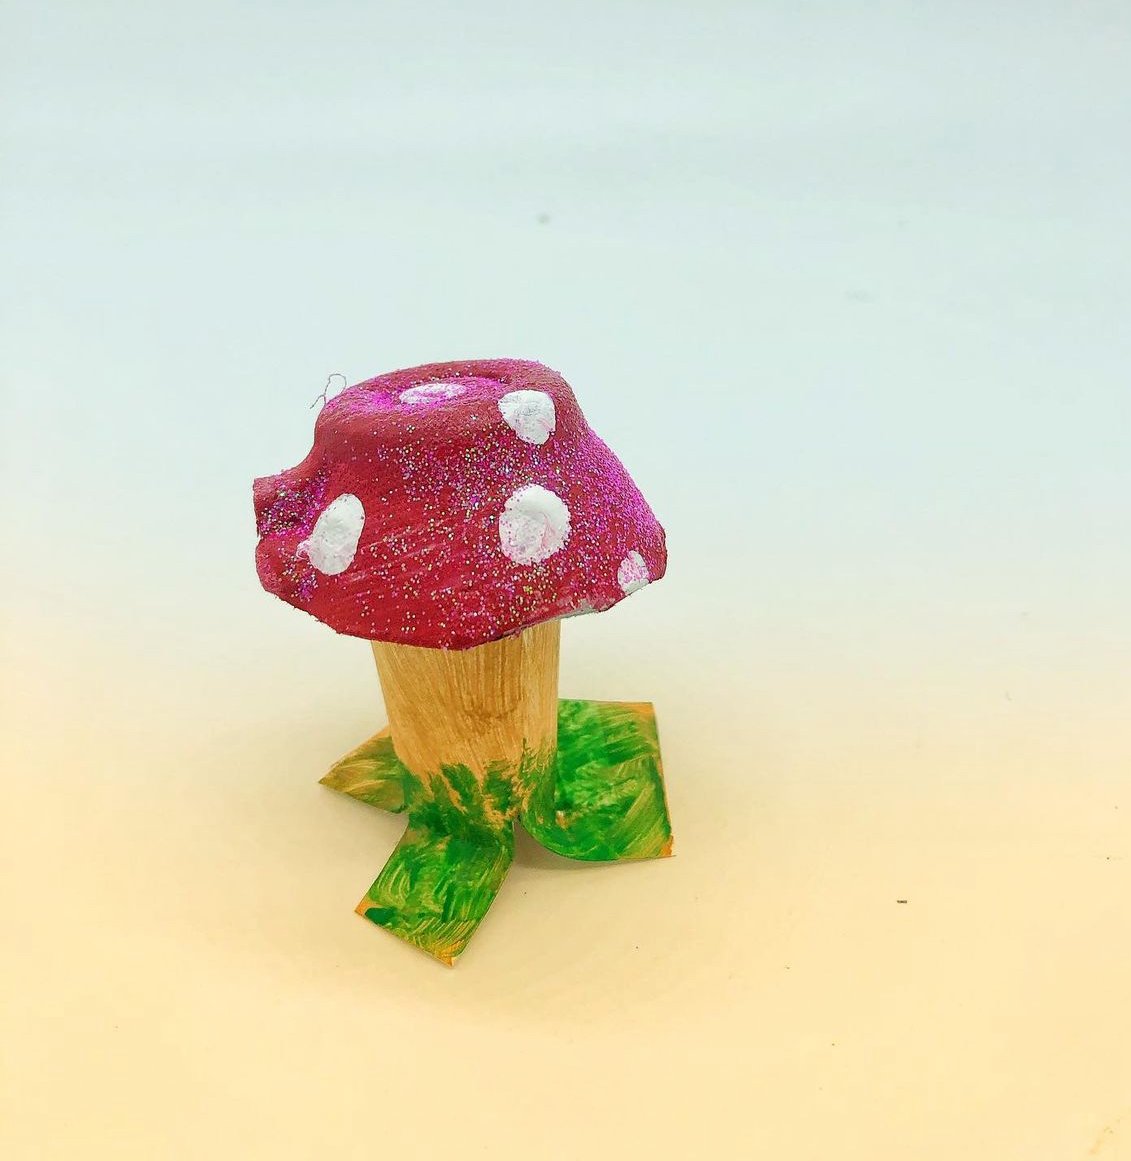
Egg Carton Mushroom
Ages: 4 (with parent) to 11
Sensory Concerns? This craft involves paint. If paint causes avoidance, replace with markers for decorating.
Supplies:
Egg Carton
Red, White & Green Paint, or colors of your choice
paint brush
glue
tape
Card Stock I like this brand for my crafts
Pencil with eraser
scissors
Glitter (optional)
Whenever possible, I try to include supplies I love or have found helpful.
As an Amazon Associate, I may earn from qualifying purchases.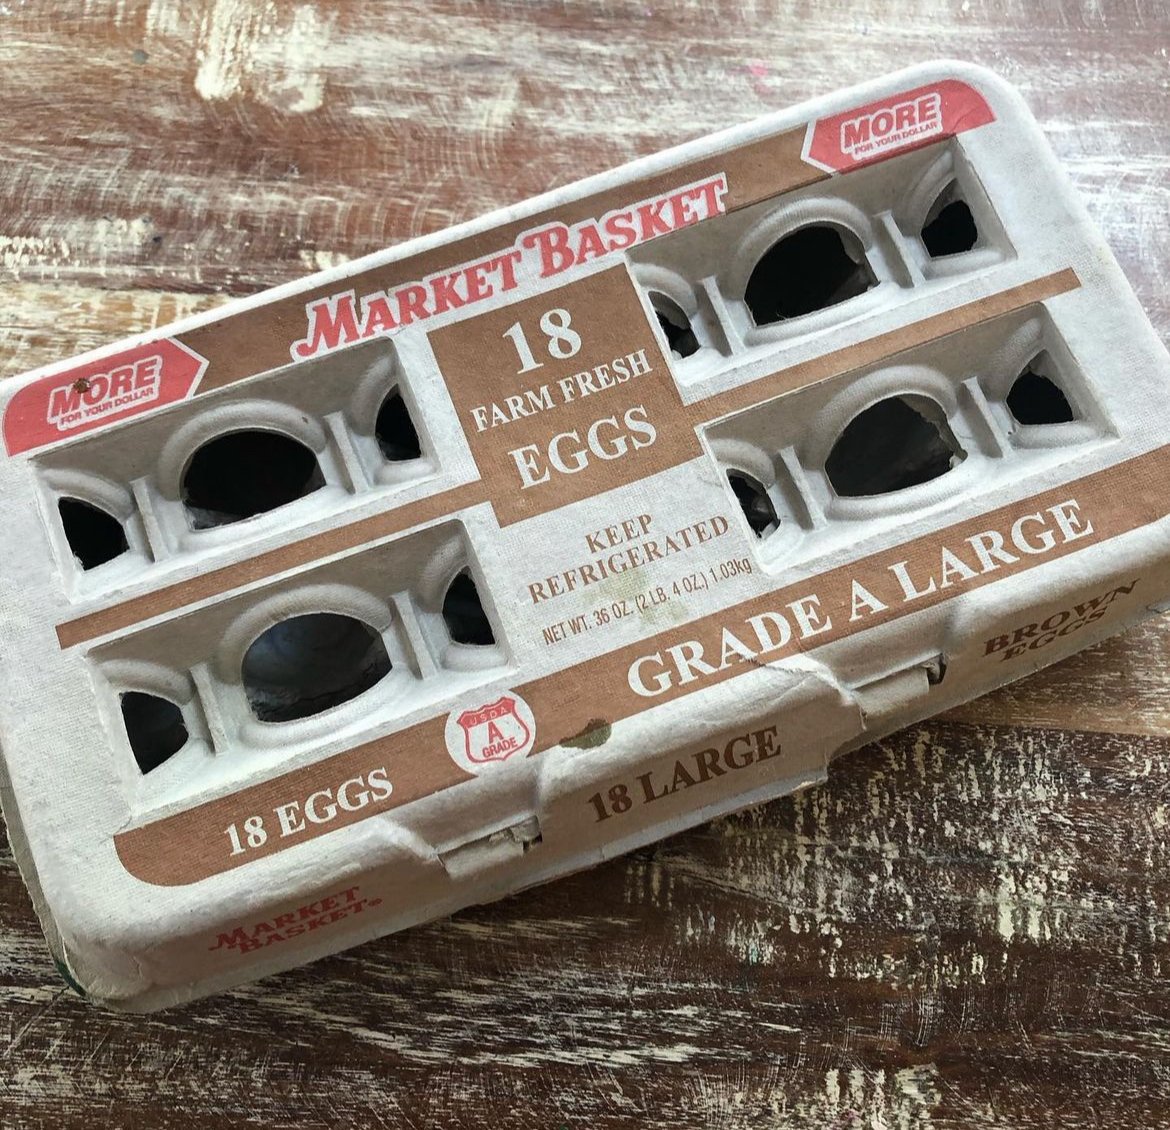
Set aside an empty egg carton.
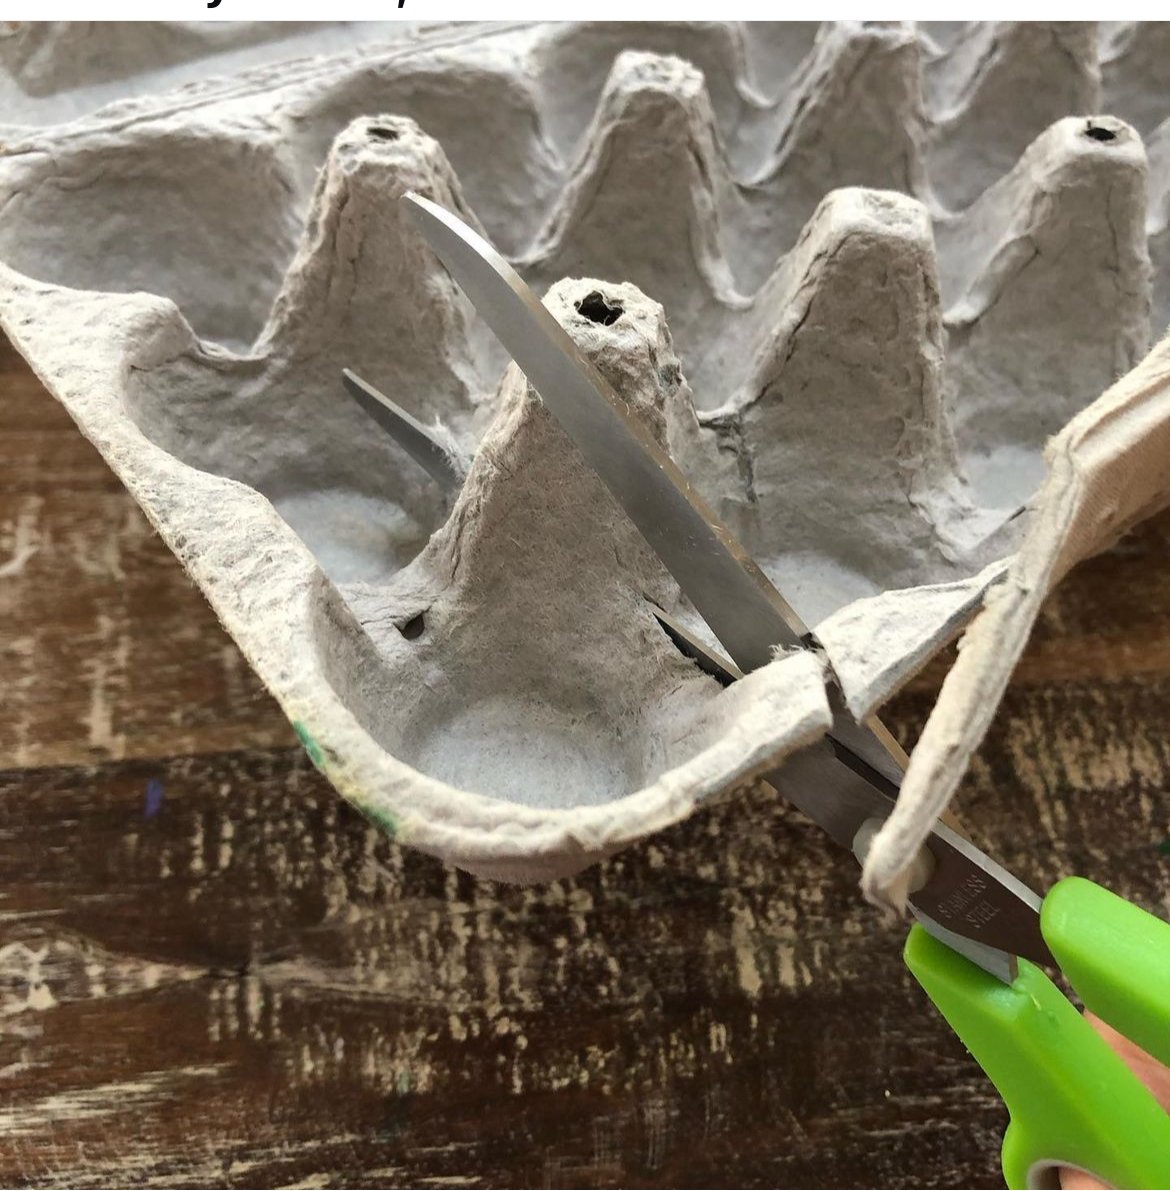
Cut out the round part of the carton (parent job if doing this with little ones).
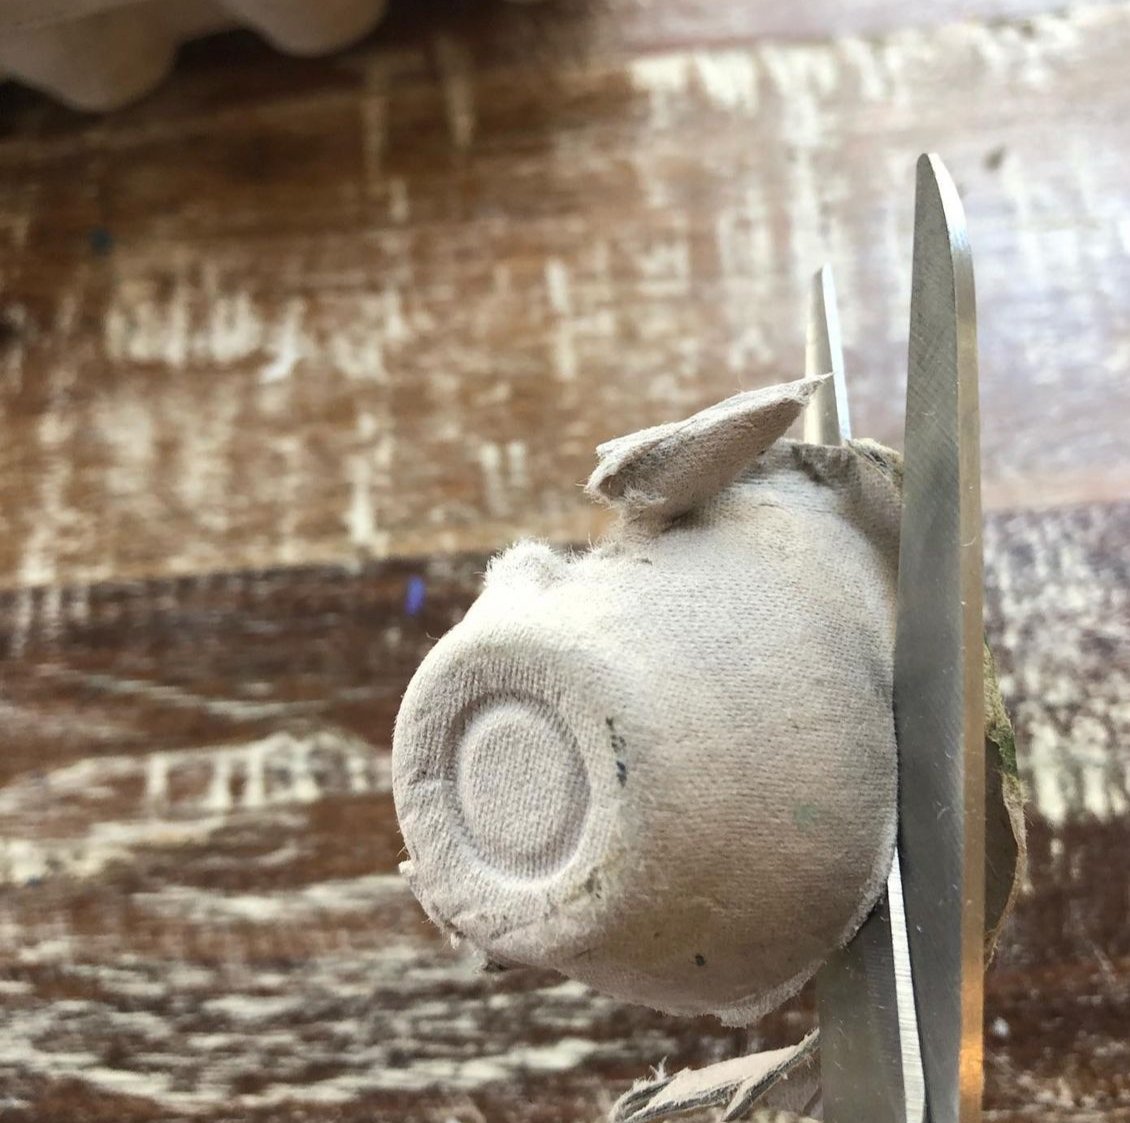
Trim off any edges so you have a neat(ish) edge around your "mushroom cap".
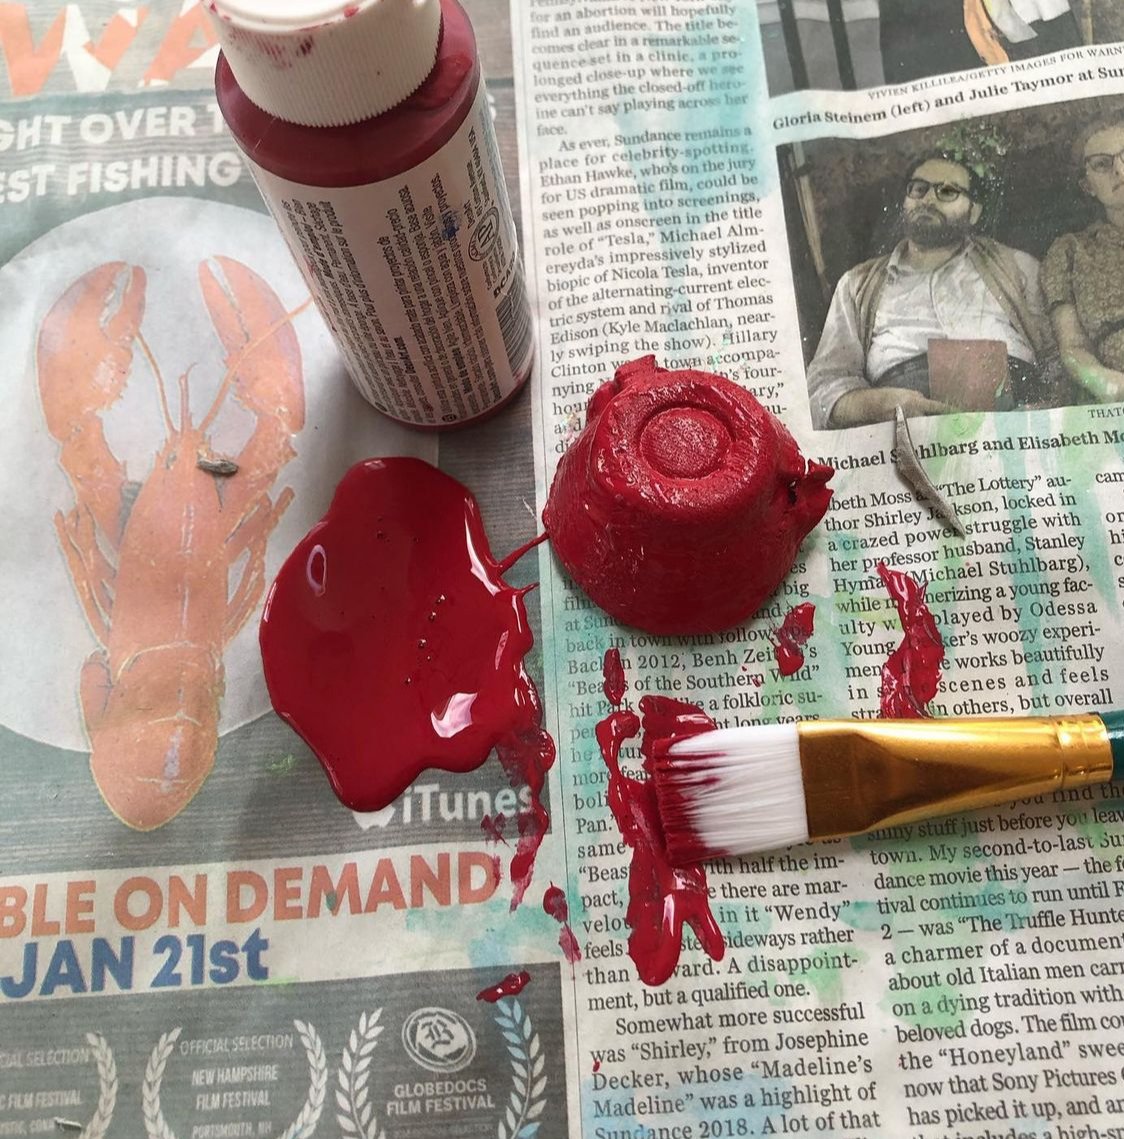
Paint your mushroom. Allow to dry.
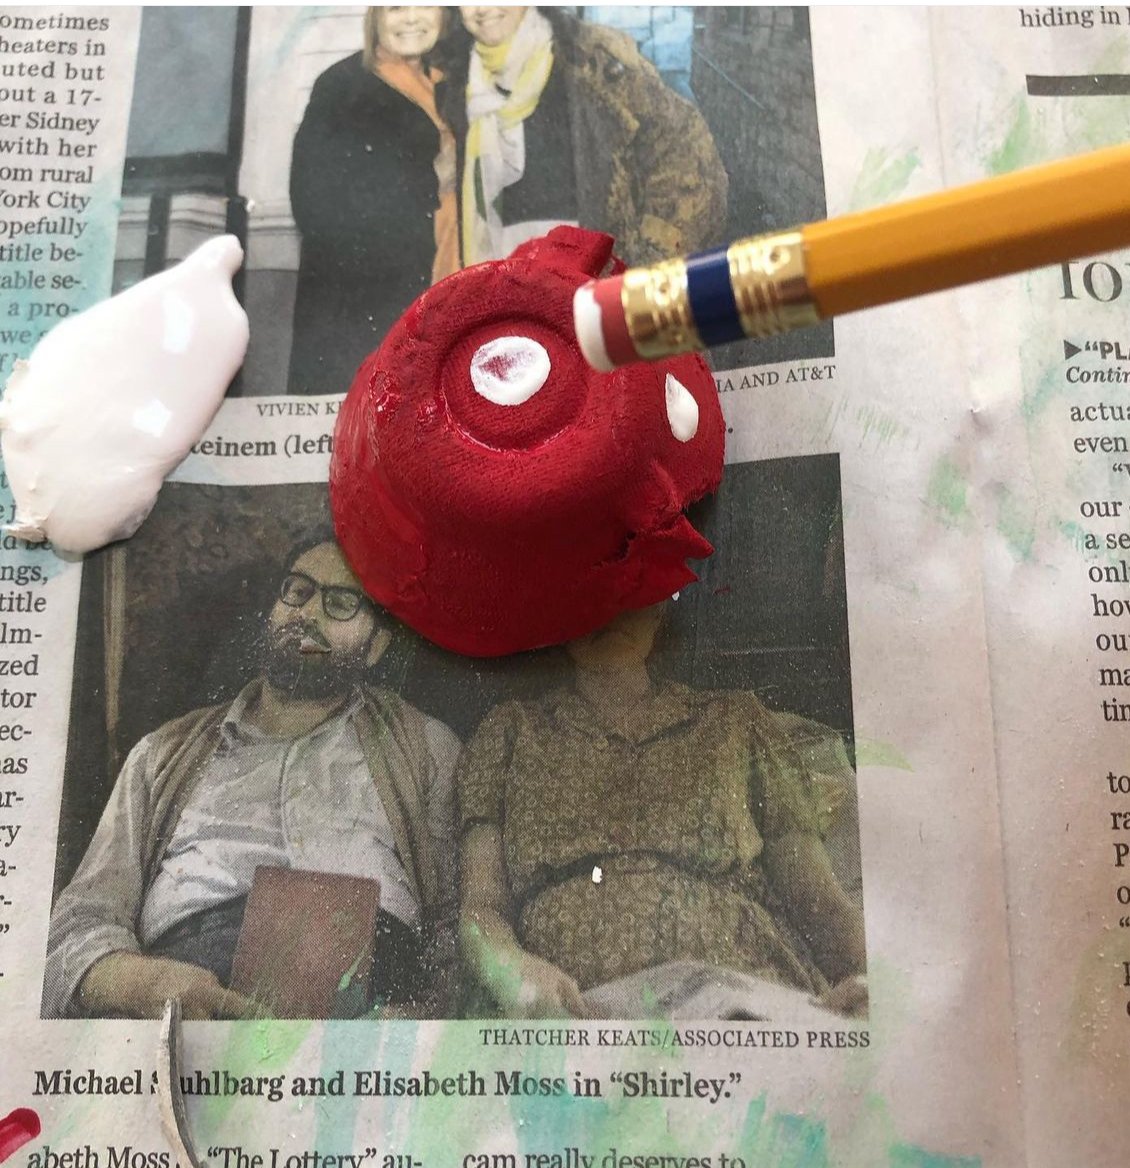
Dip a pencil eraser in white paint and make spots on your mushroom.

Paint your "stem". Using scissors, cut three slits in the base of your mushroom so it can stand on its own. Glue mushroom cap on top. Add glitter to your mushroom cap if you wish.
Age: 11 +
Requires fine motor skills; Sensory Concern?:
Mod podge will likely get on hands.
Supplies
Empty disposable contact lense packaging
Small, sharp scissors
Printed napkins
Modpdge & small brush
gold leaf pen (optional)
Miniature sander or sand paper
Made from the most surprising of supplies…Check it out in this quick DIY video! (click full screen for best viewing).
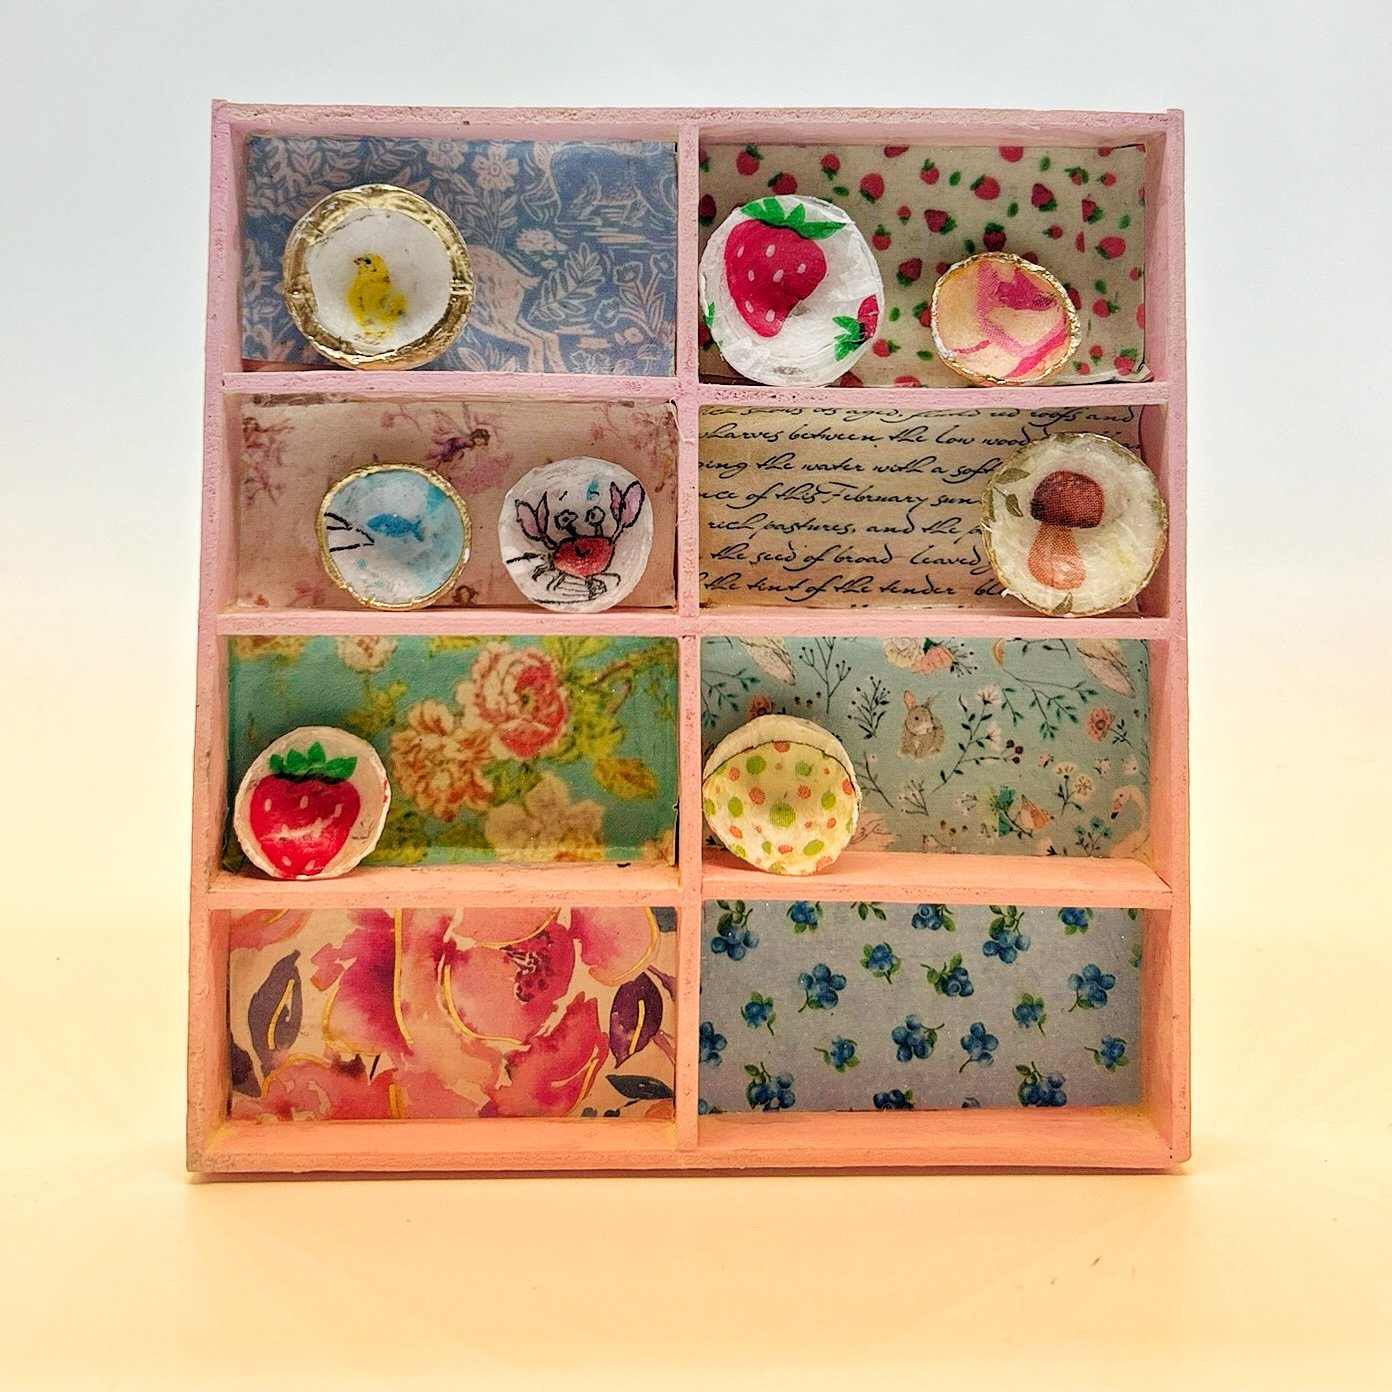
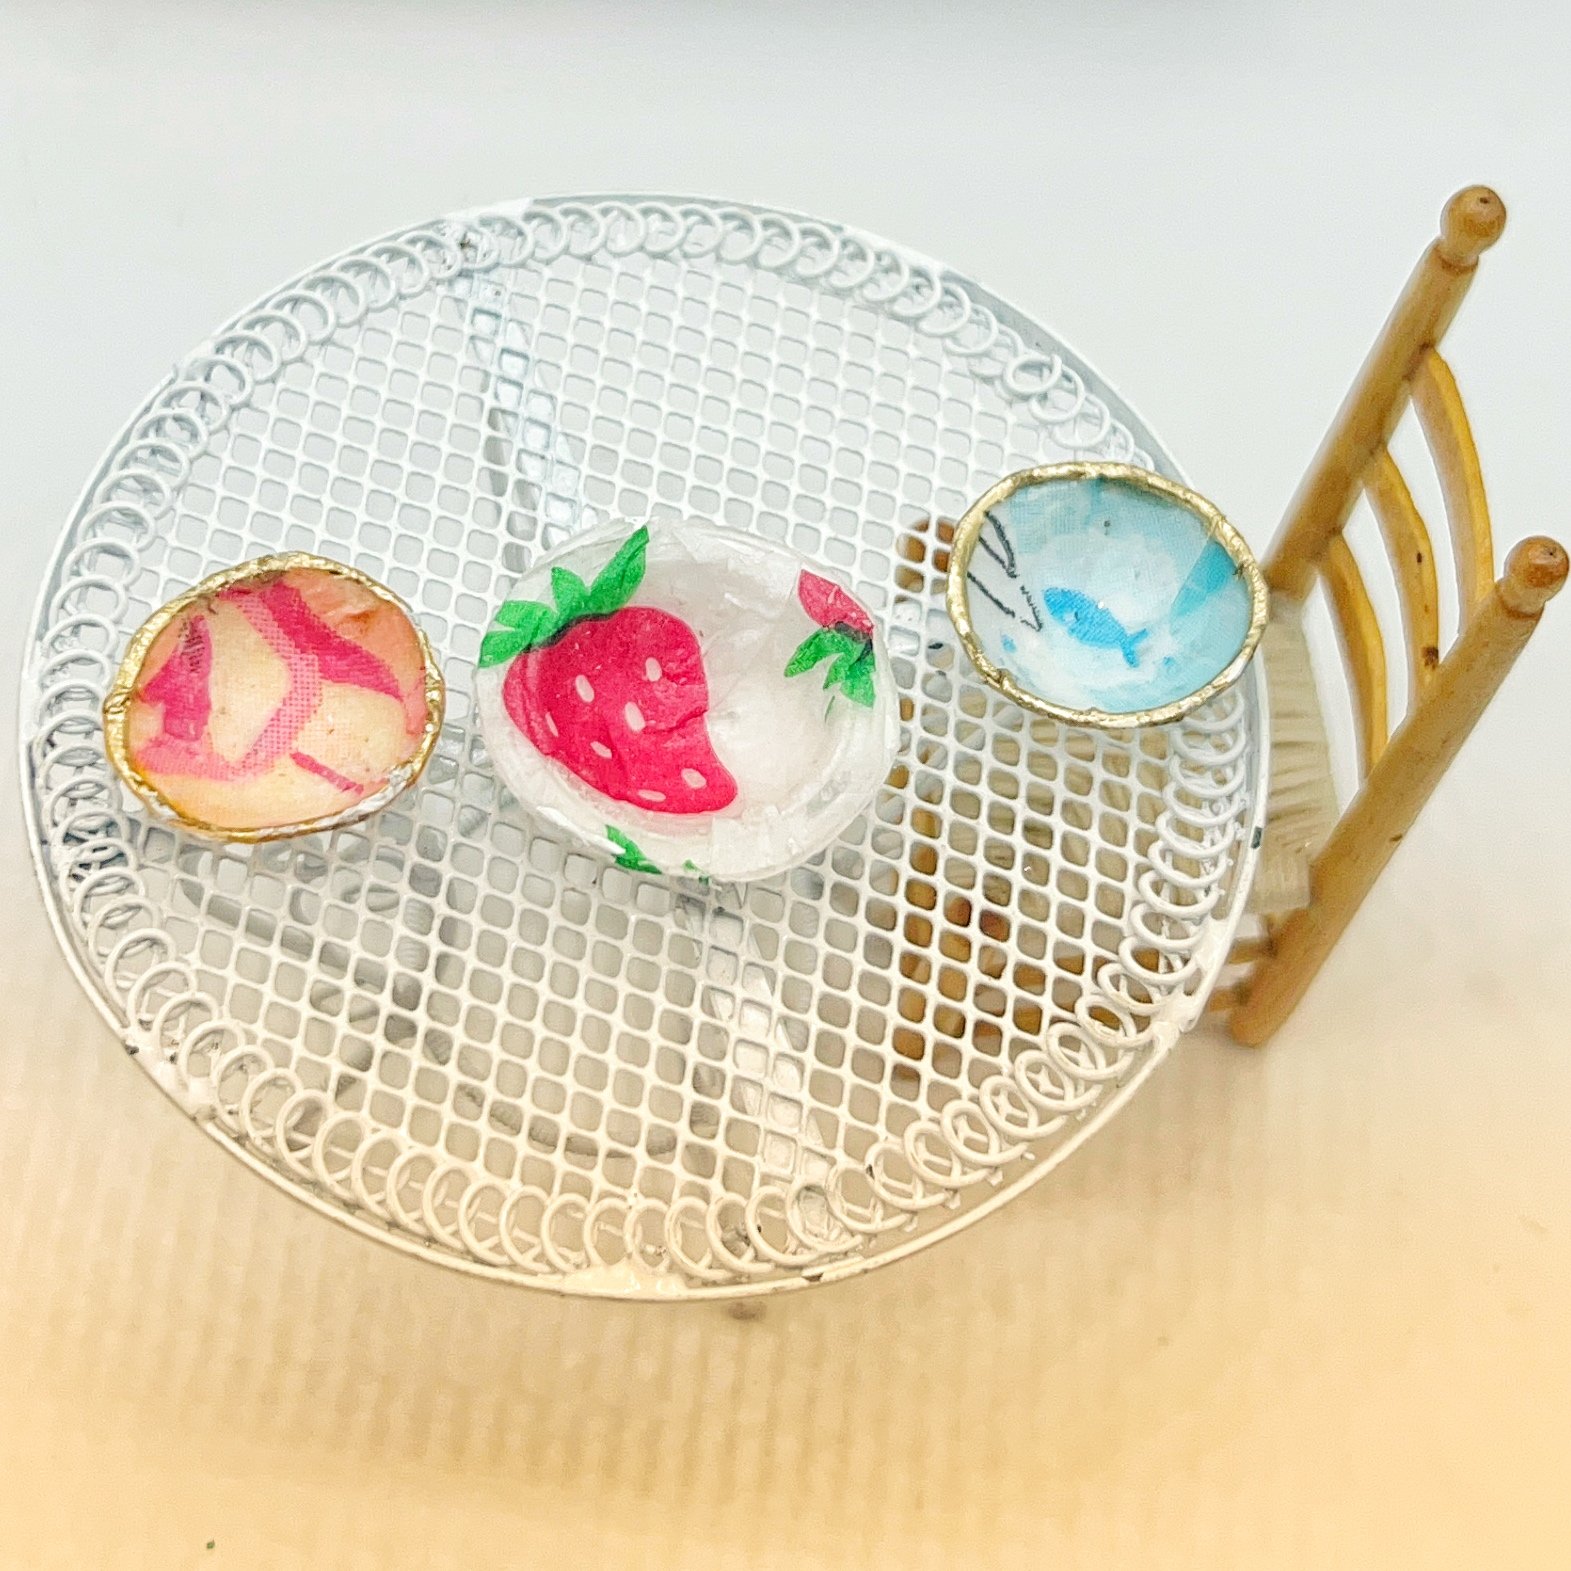
Teeny, tiny plates for our wee fairy friends!
Learn how to make these adorable plates from disposable contact lense packaging!
Use disposable contact lense packaging with the top foil label removed.. Rinse and dry.
Trim outside of contact lens container so you are left with only the inner “bowl” shape. You may choose to leave a larger rim on some.
Sand the outer edge to ensure there are no sharp or rough edges. I used this tool, but you can also use sandpaper or a sanding block.
Choose some pretty napkins. Smaller prints work best. Peel layers from napkins so you are left with one thin printed layer.
Cut out a small area of the napkin and place on “bowl” . Gently brush with modpodge and allow to dry.
Trim edges of napkin.
Using a gold leaf pen like this one, outline the rim of the bowl (if you wish).
Create several plates/bowls using different napkins.
Place a small berry or crumb in your bowl and wait for fairy friends to come visit!

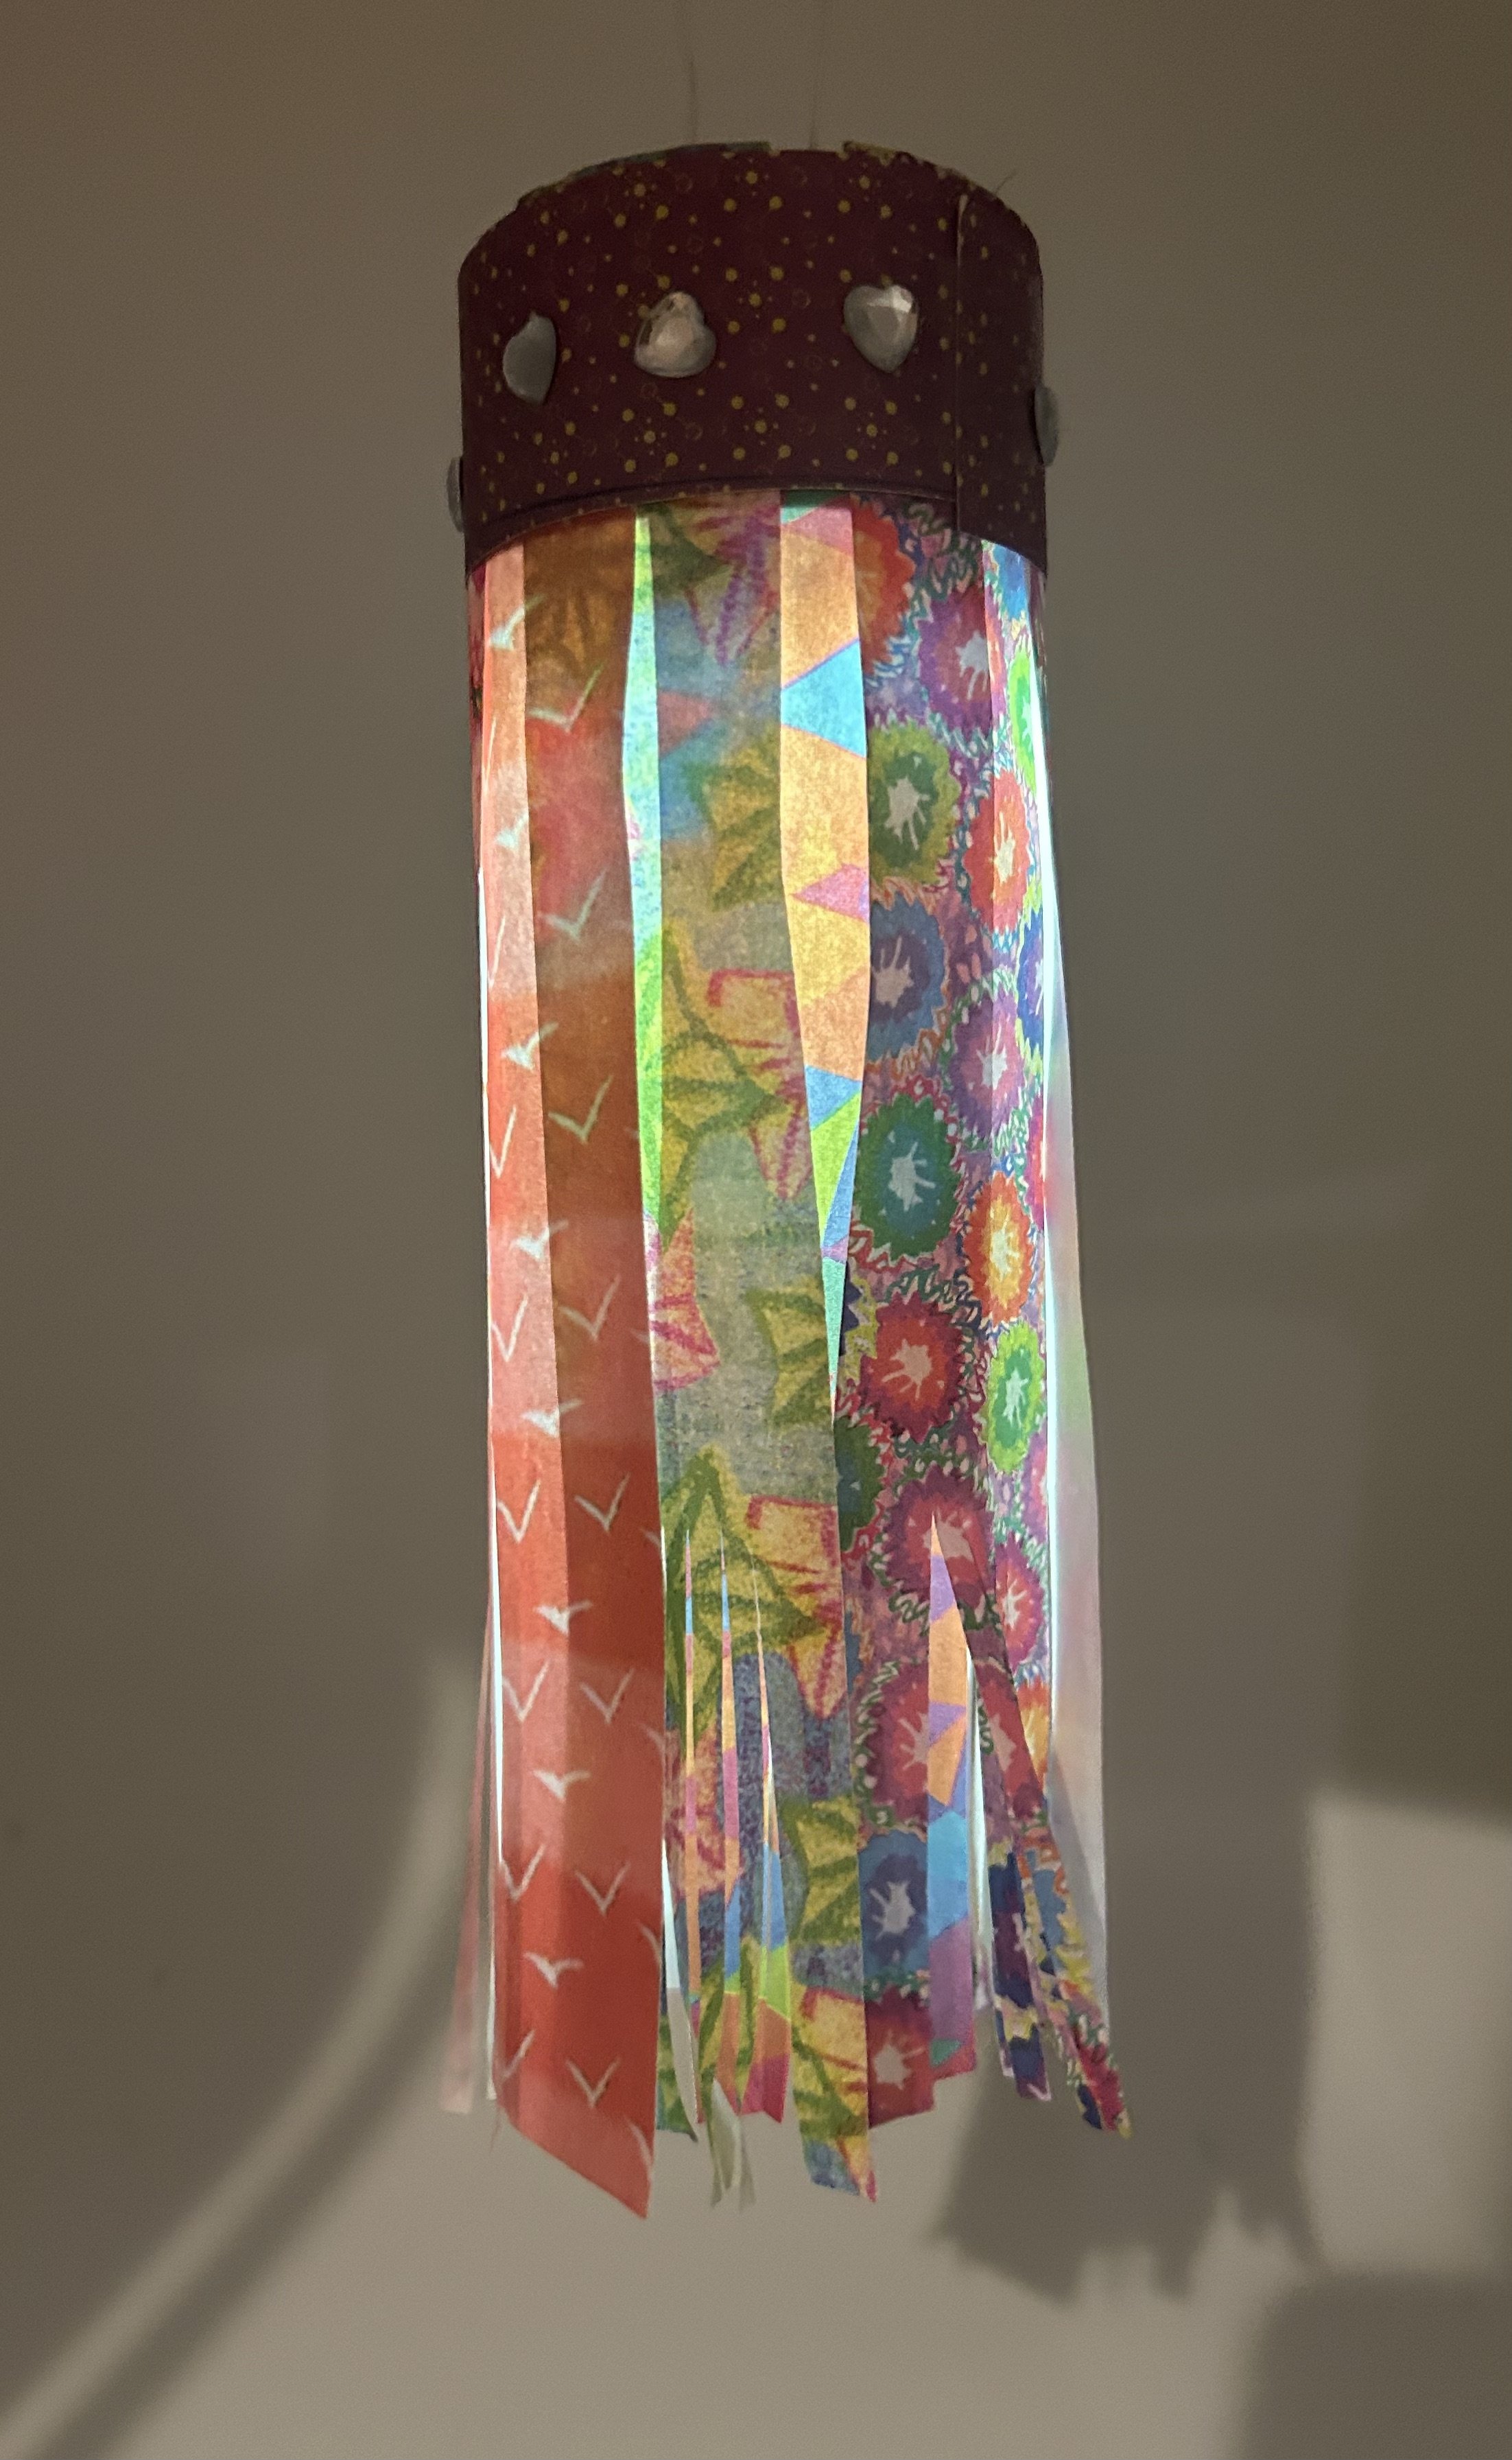
This Indoor Solar Lantern is the Perfect Craft for the Tween in Your Crew.
Consider this idea for a birthday party activity and favor all in one. If prepped before hand, this makes a great inclusive craft for adults with varying abilities.
Alter the idea a bit depending on the season! Holiday themed paper could make this a craft for all occasions. Just remember to use paper that is thin enough to allow some light to pass through. Card stock or thick paper will not work. Below is the link for the shredding scissors I used. They are fun but not necessary to complete this project (but I do love them for all kinds of crafting projects!).
Suggested age for this project: 8-adult
See below for supplies and step by step instructions
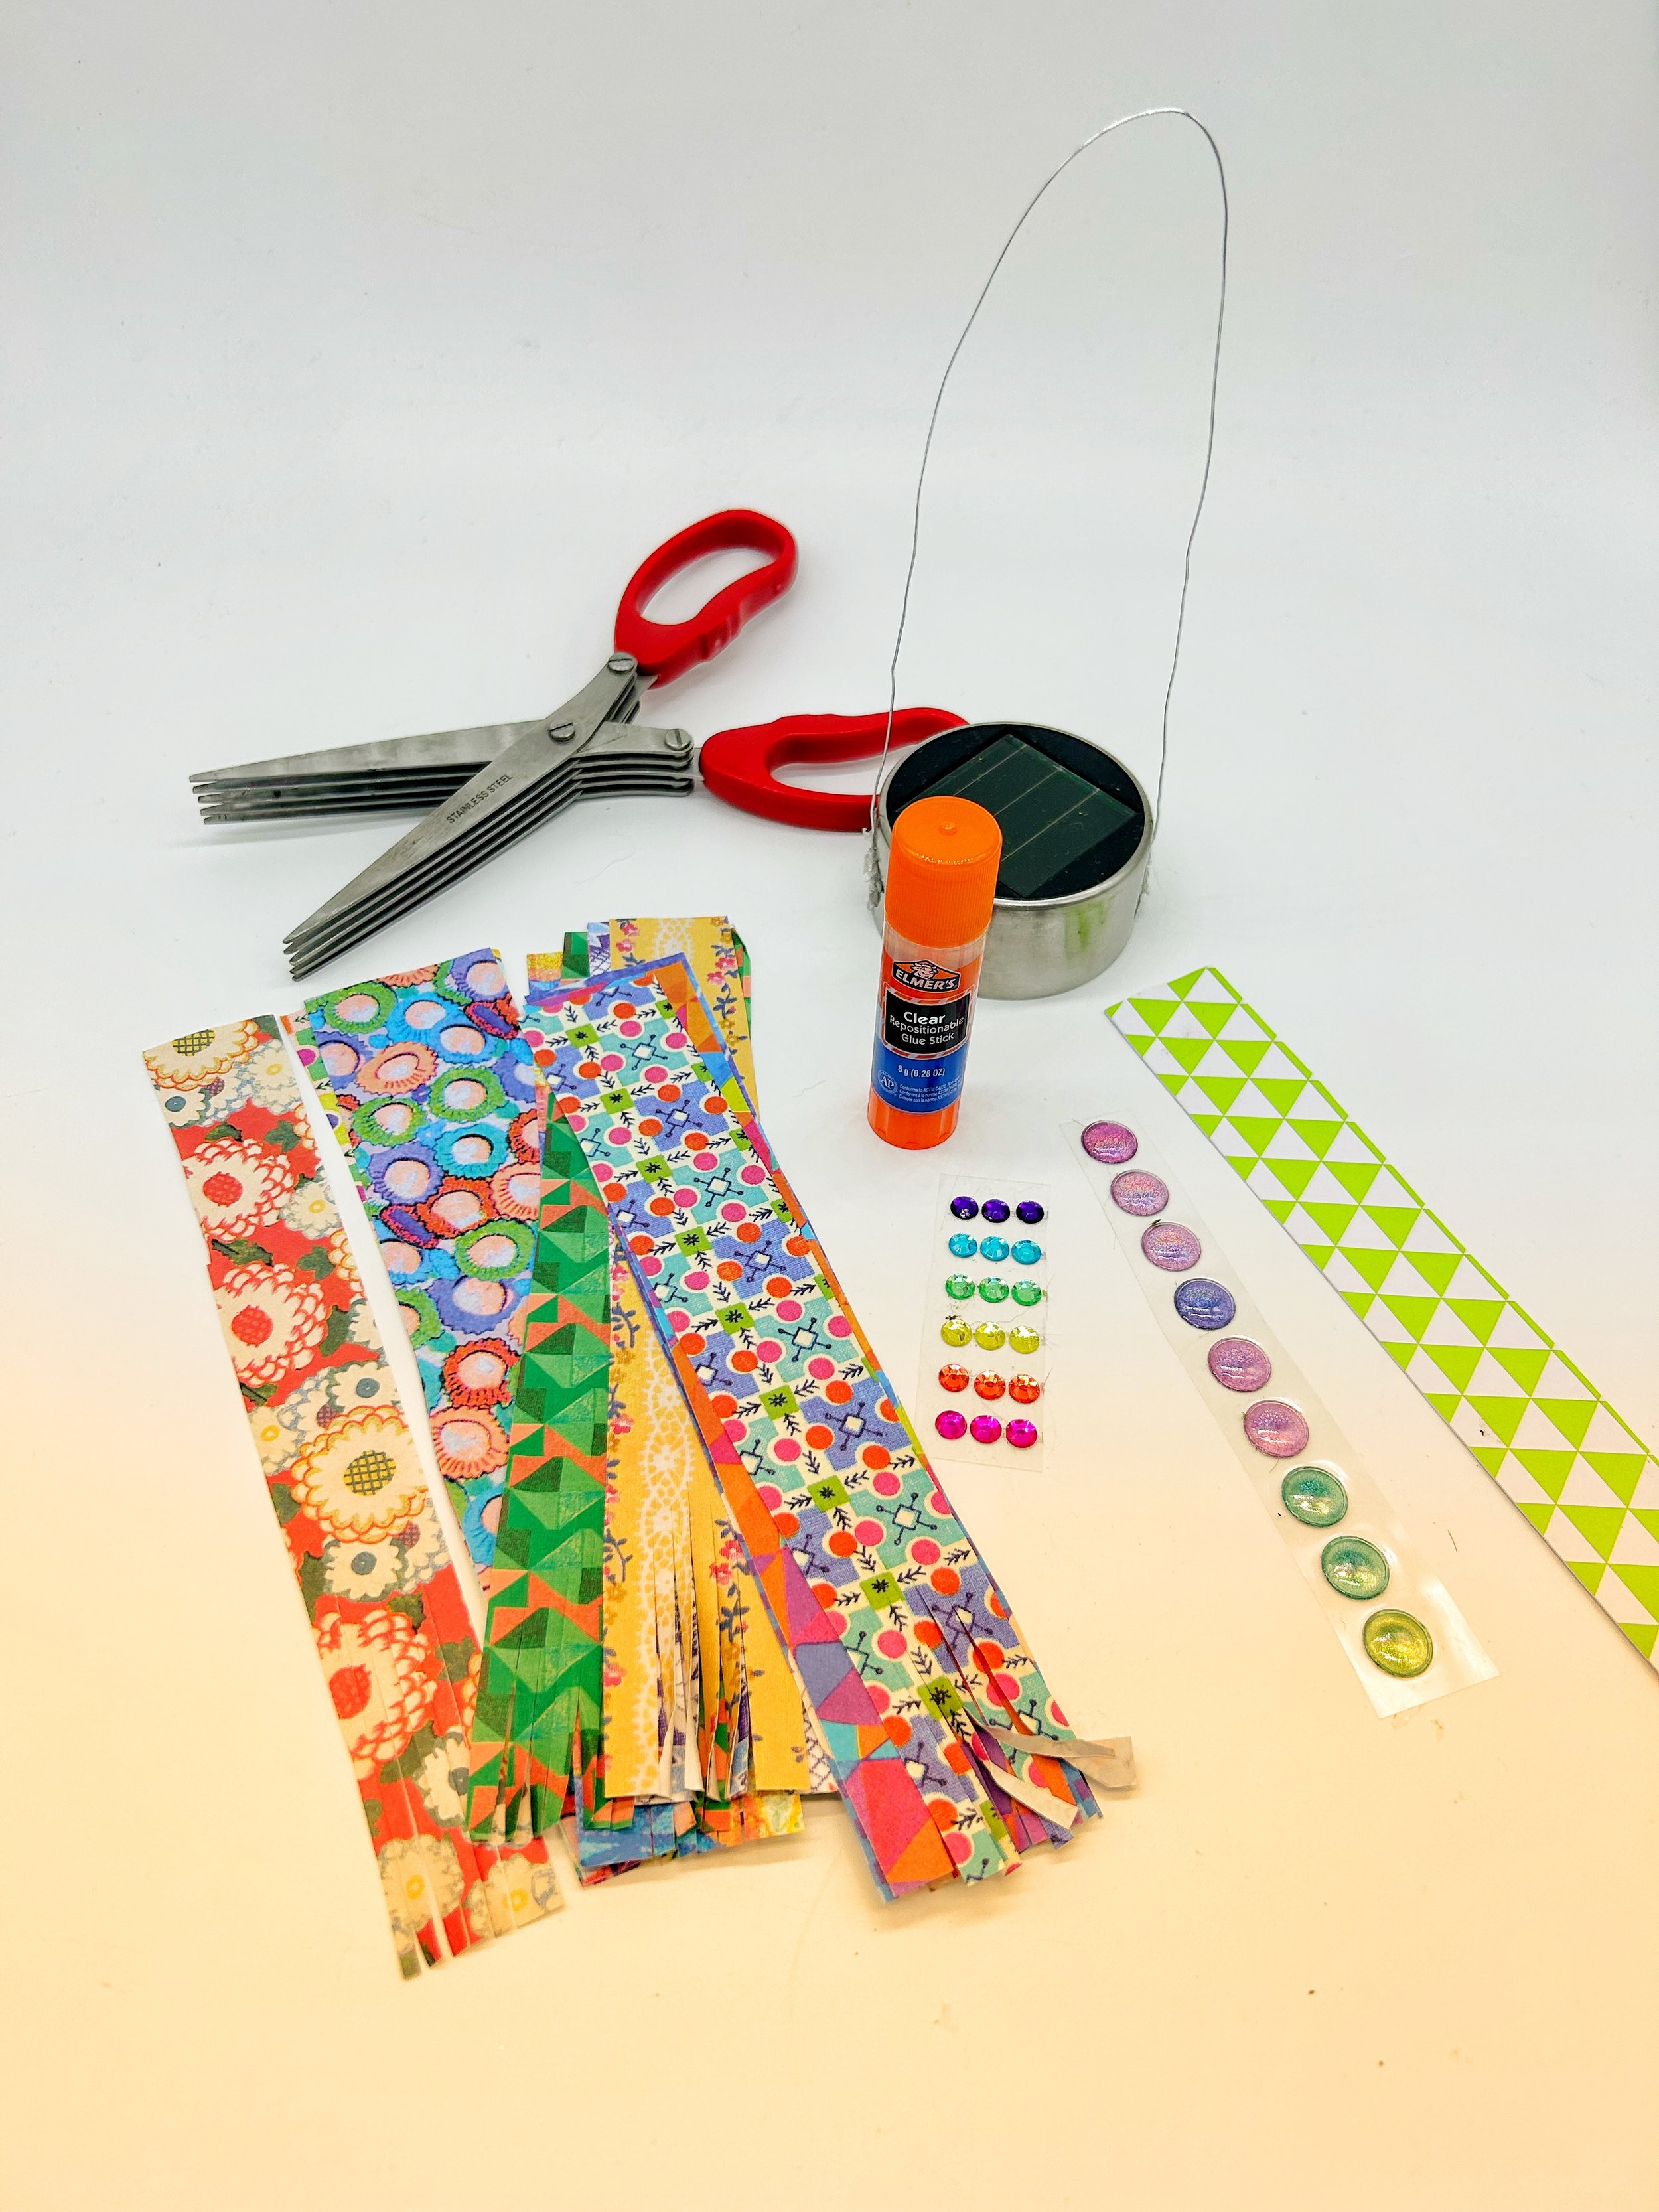
Gather your supplies. If doing this with a group, you may want to pre-cut strips of paper.

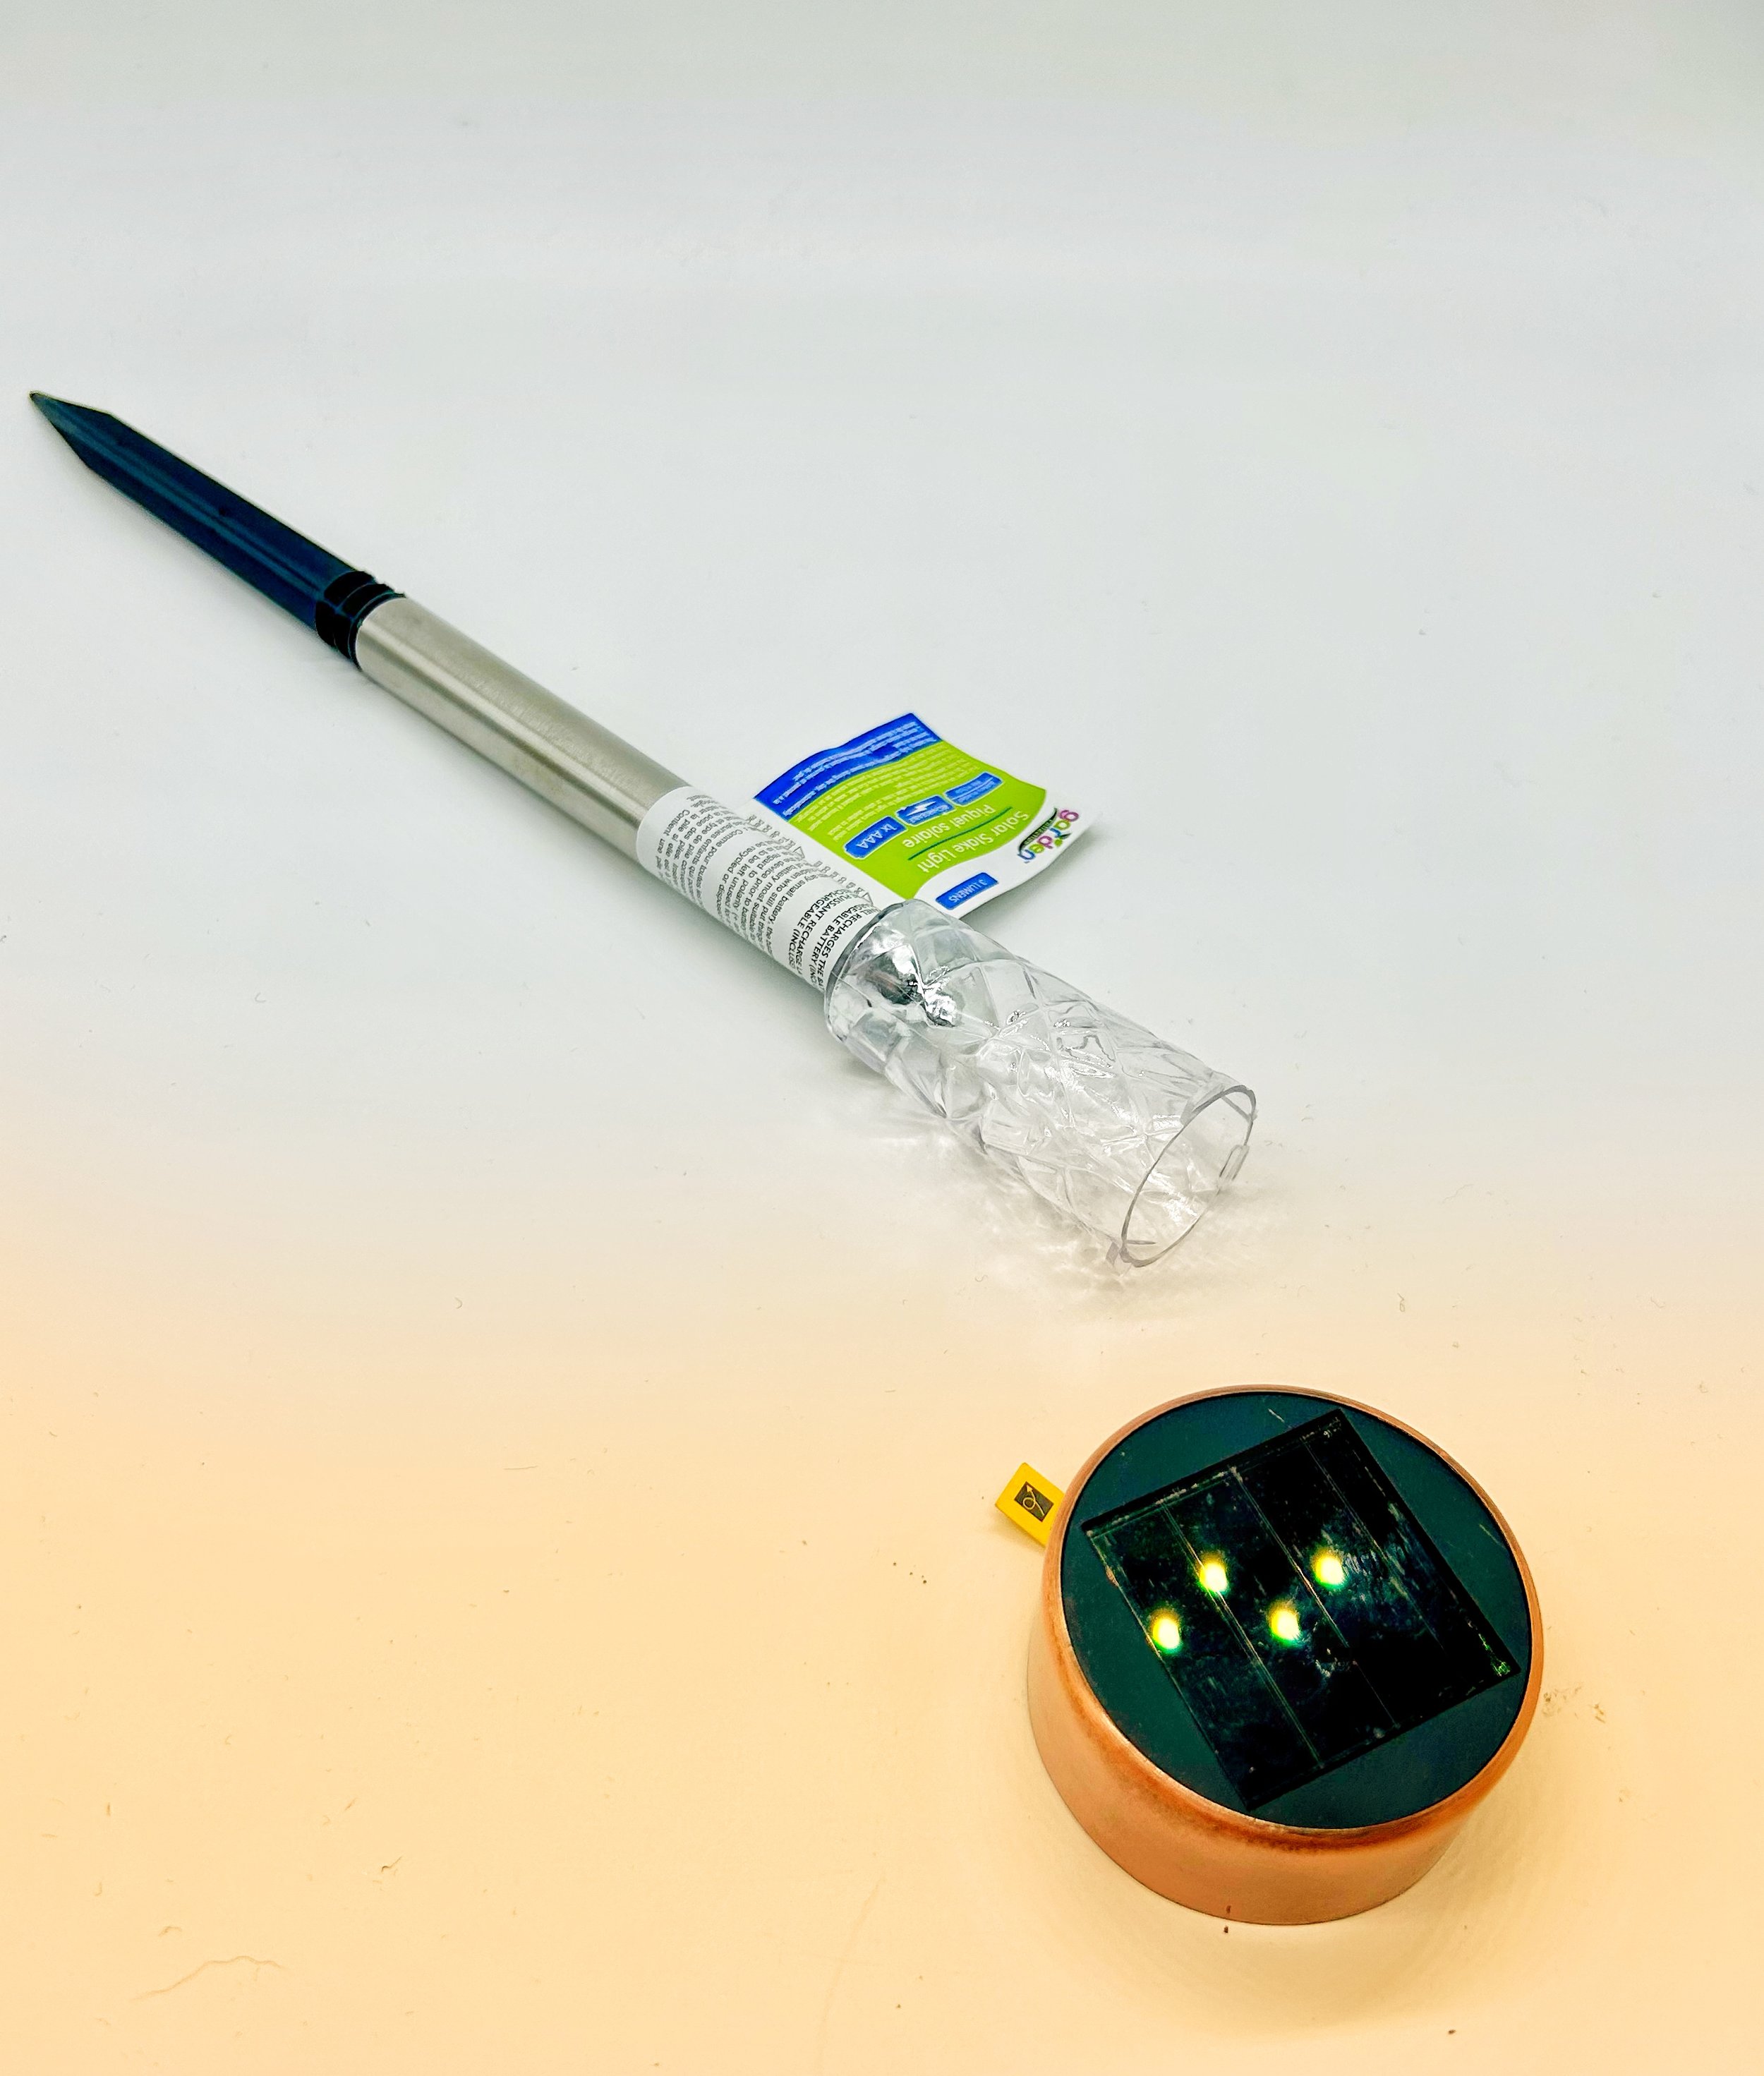
Remove light from stake.

Pull little tag from light to activate.
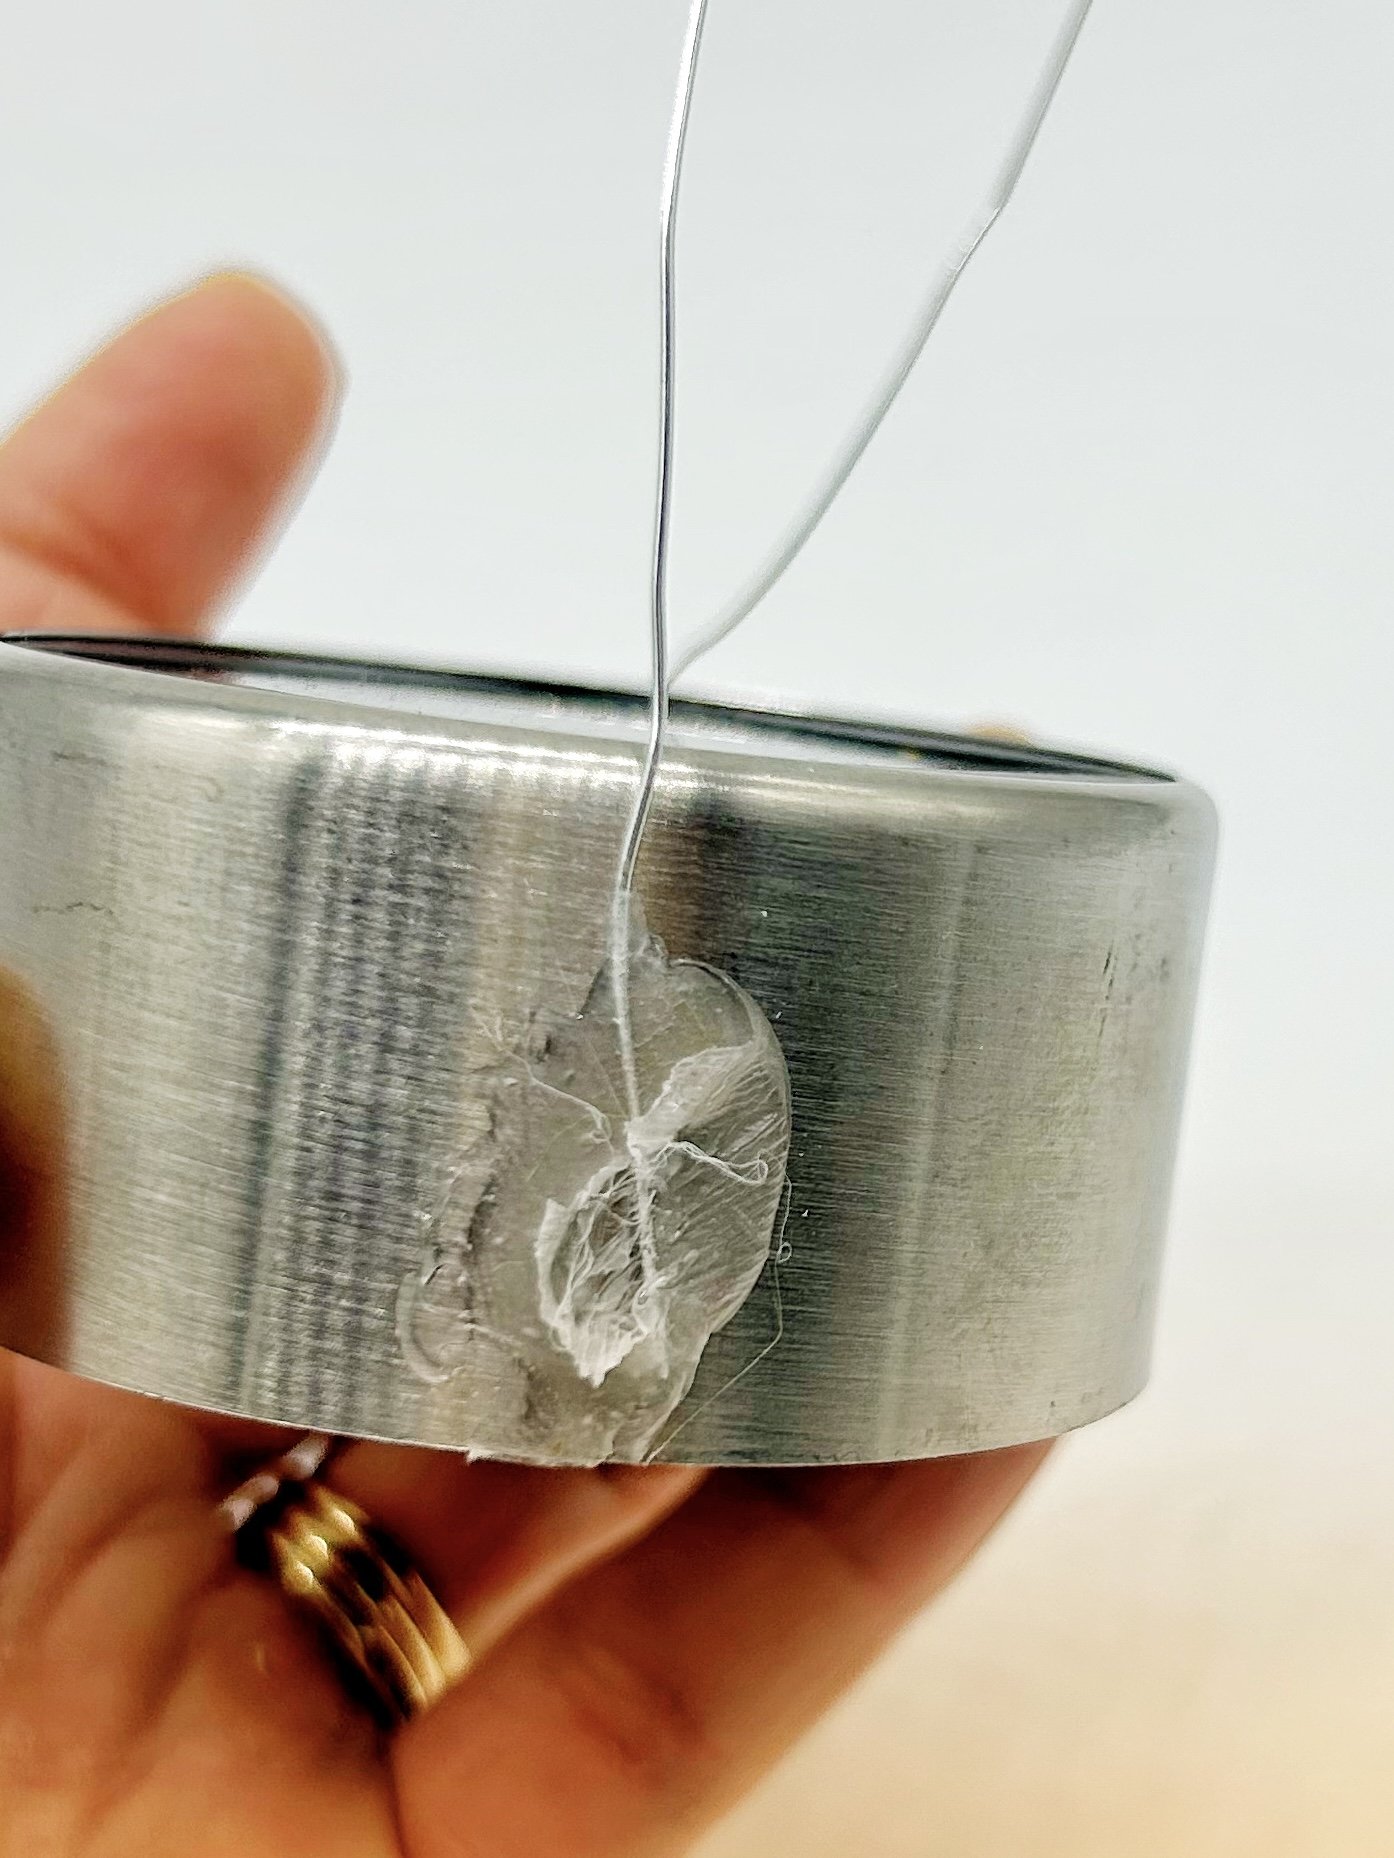
Using a glue gun (or tape), attach a thin wire or twine to each side for hanging. If doing this with a group, consider prepping this before hand.
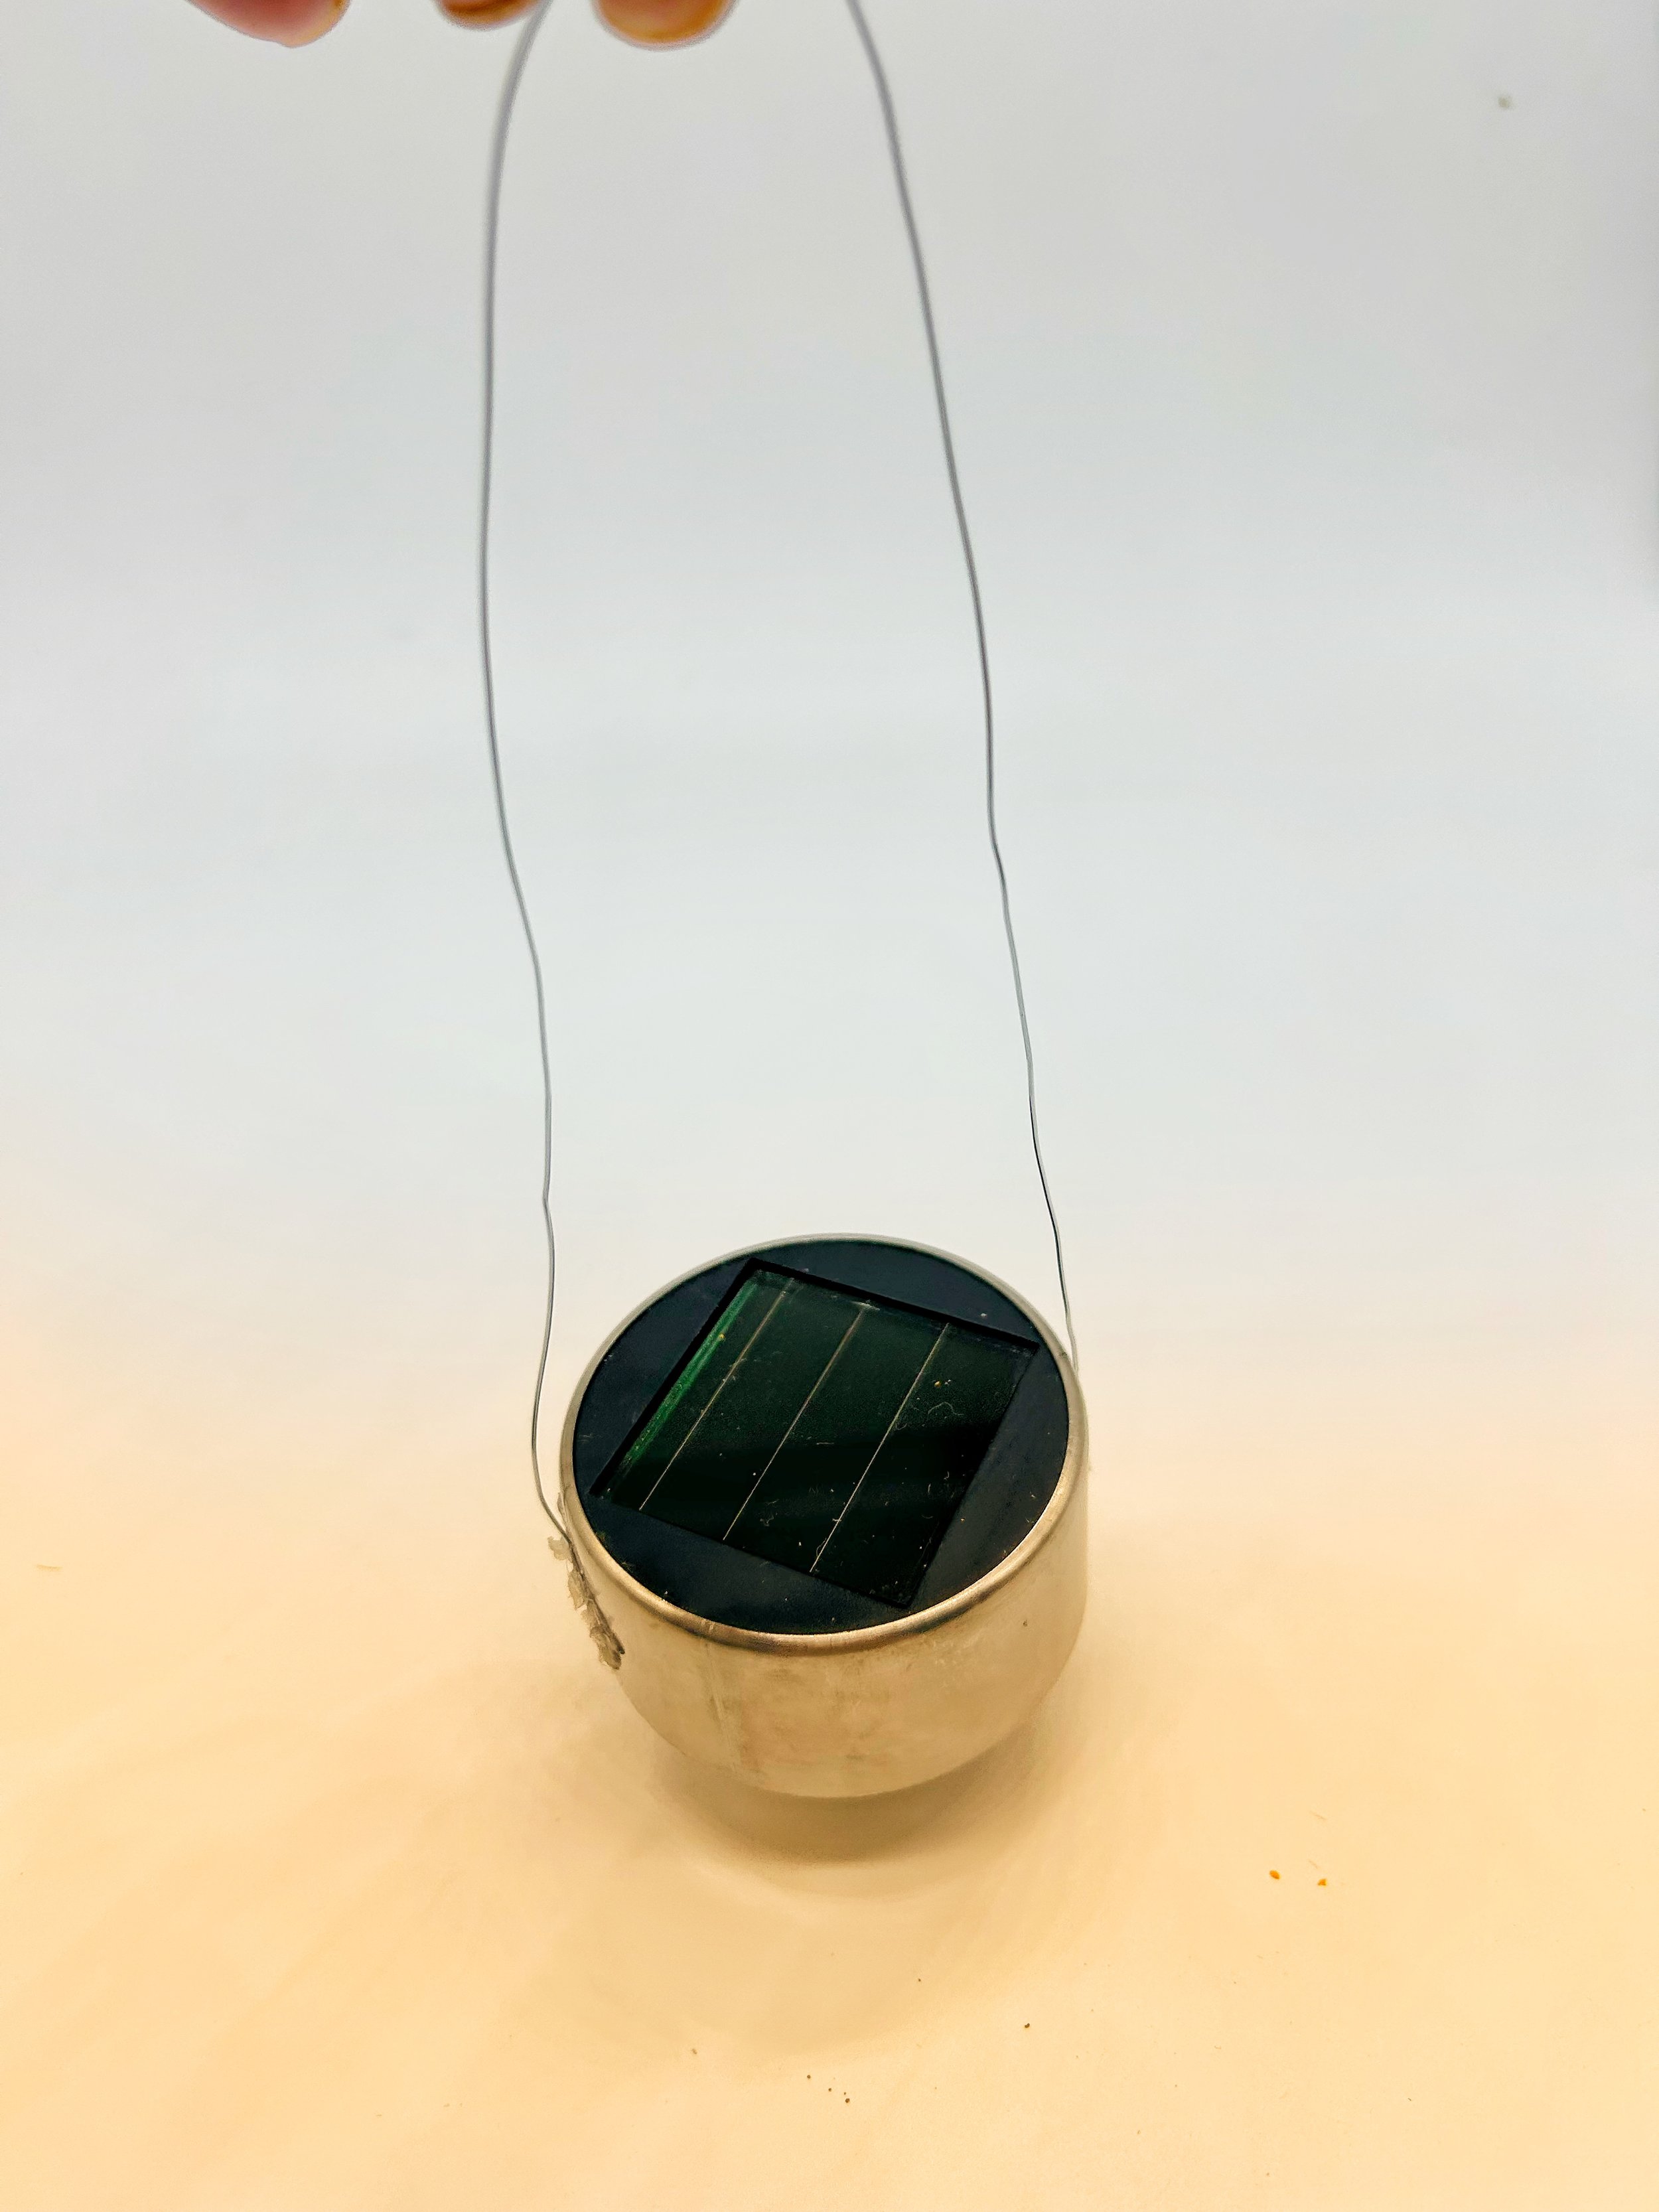
Like this.
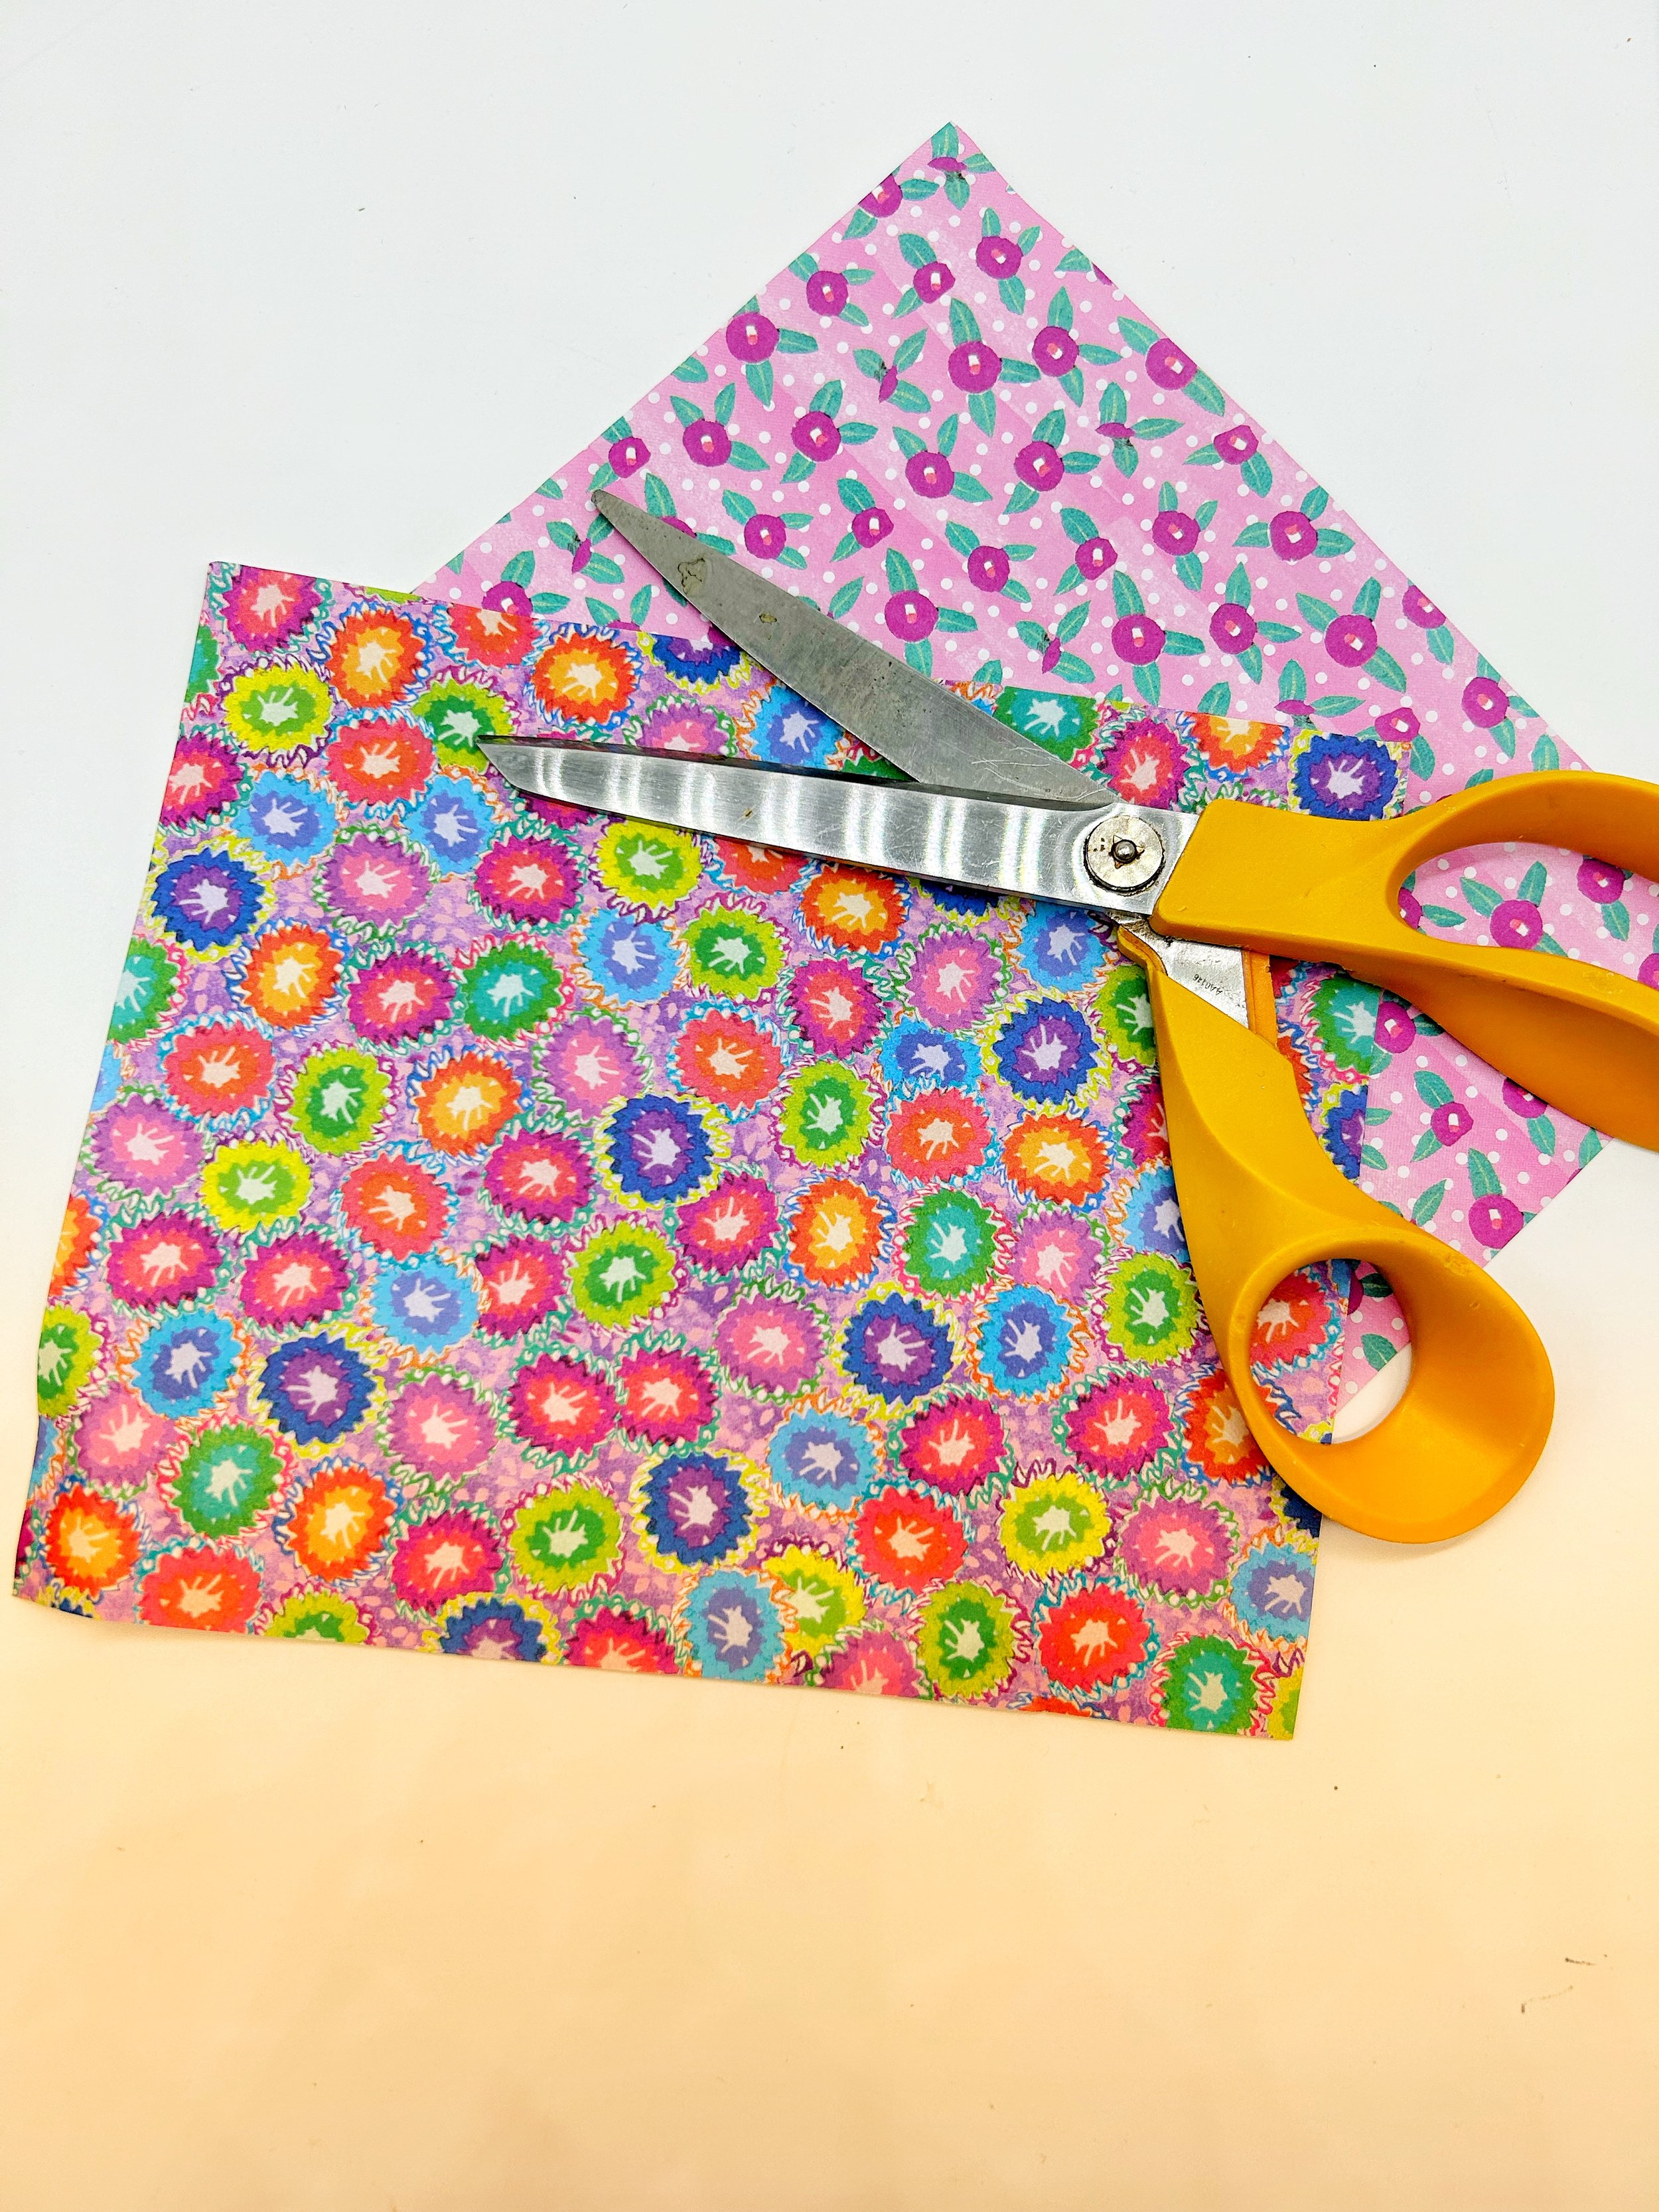
Cut paper into strips about 8" long and 1.25" wide (approximately).
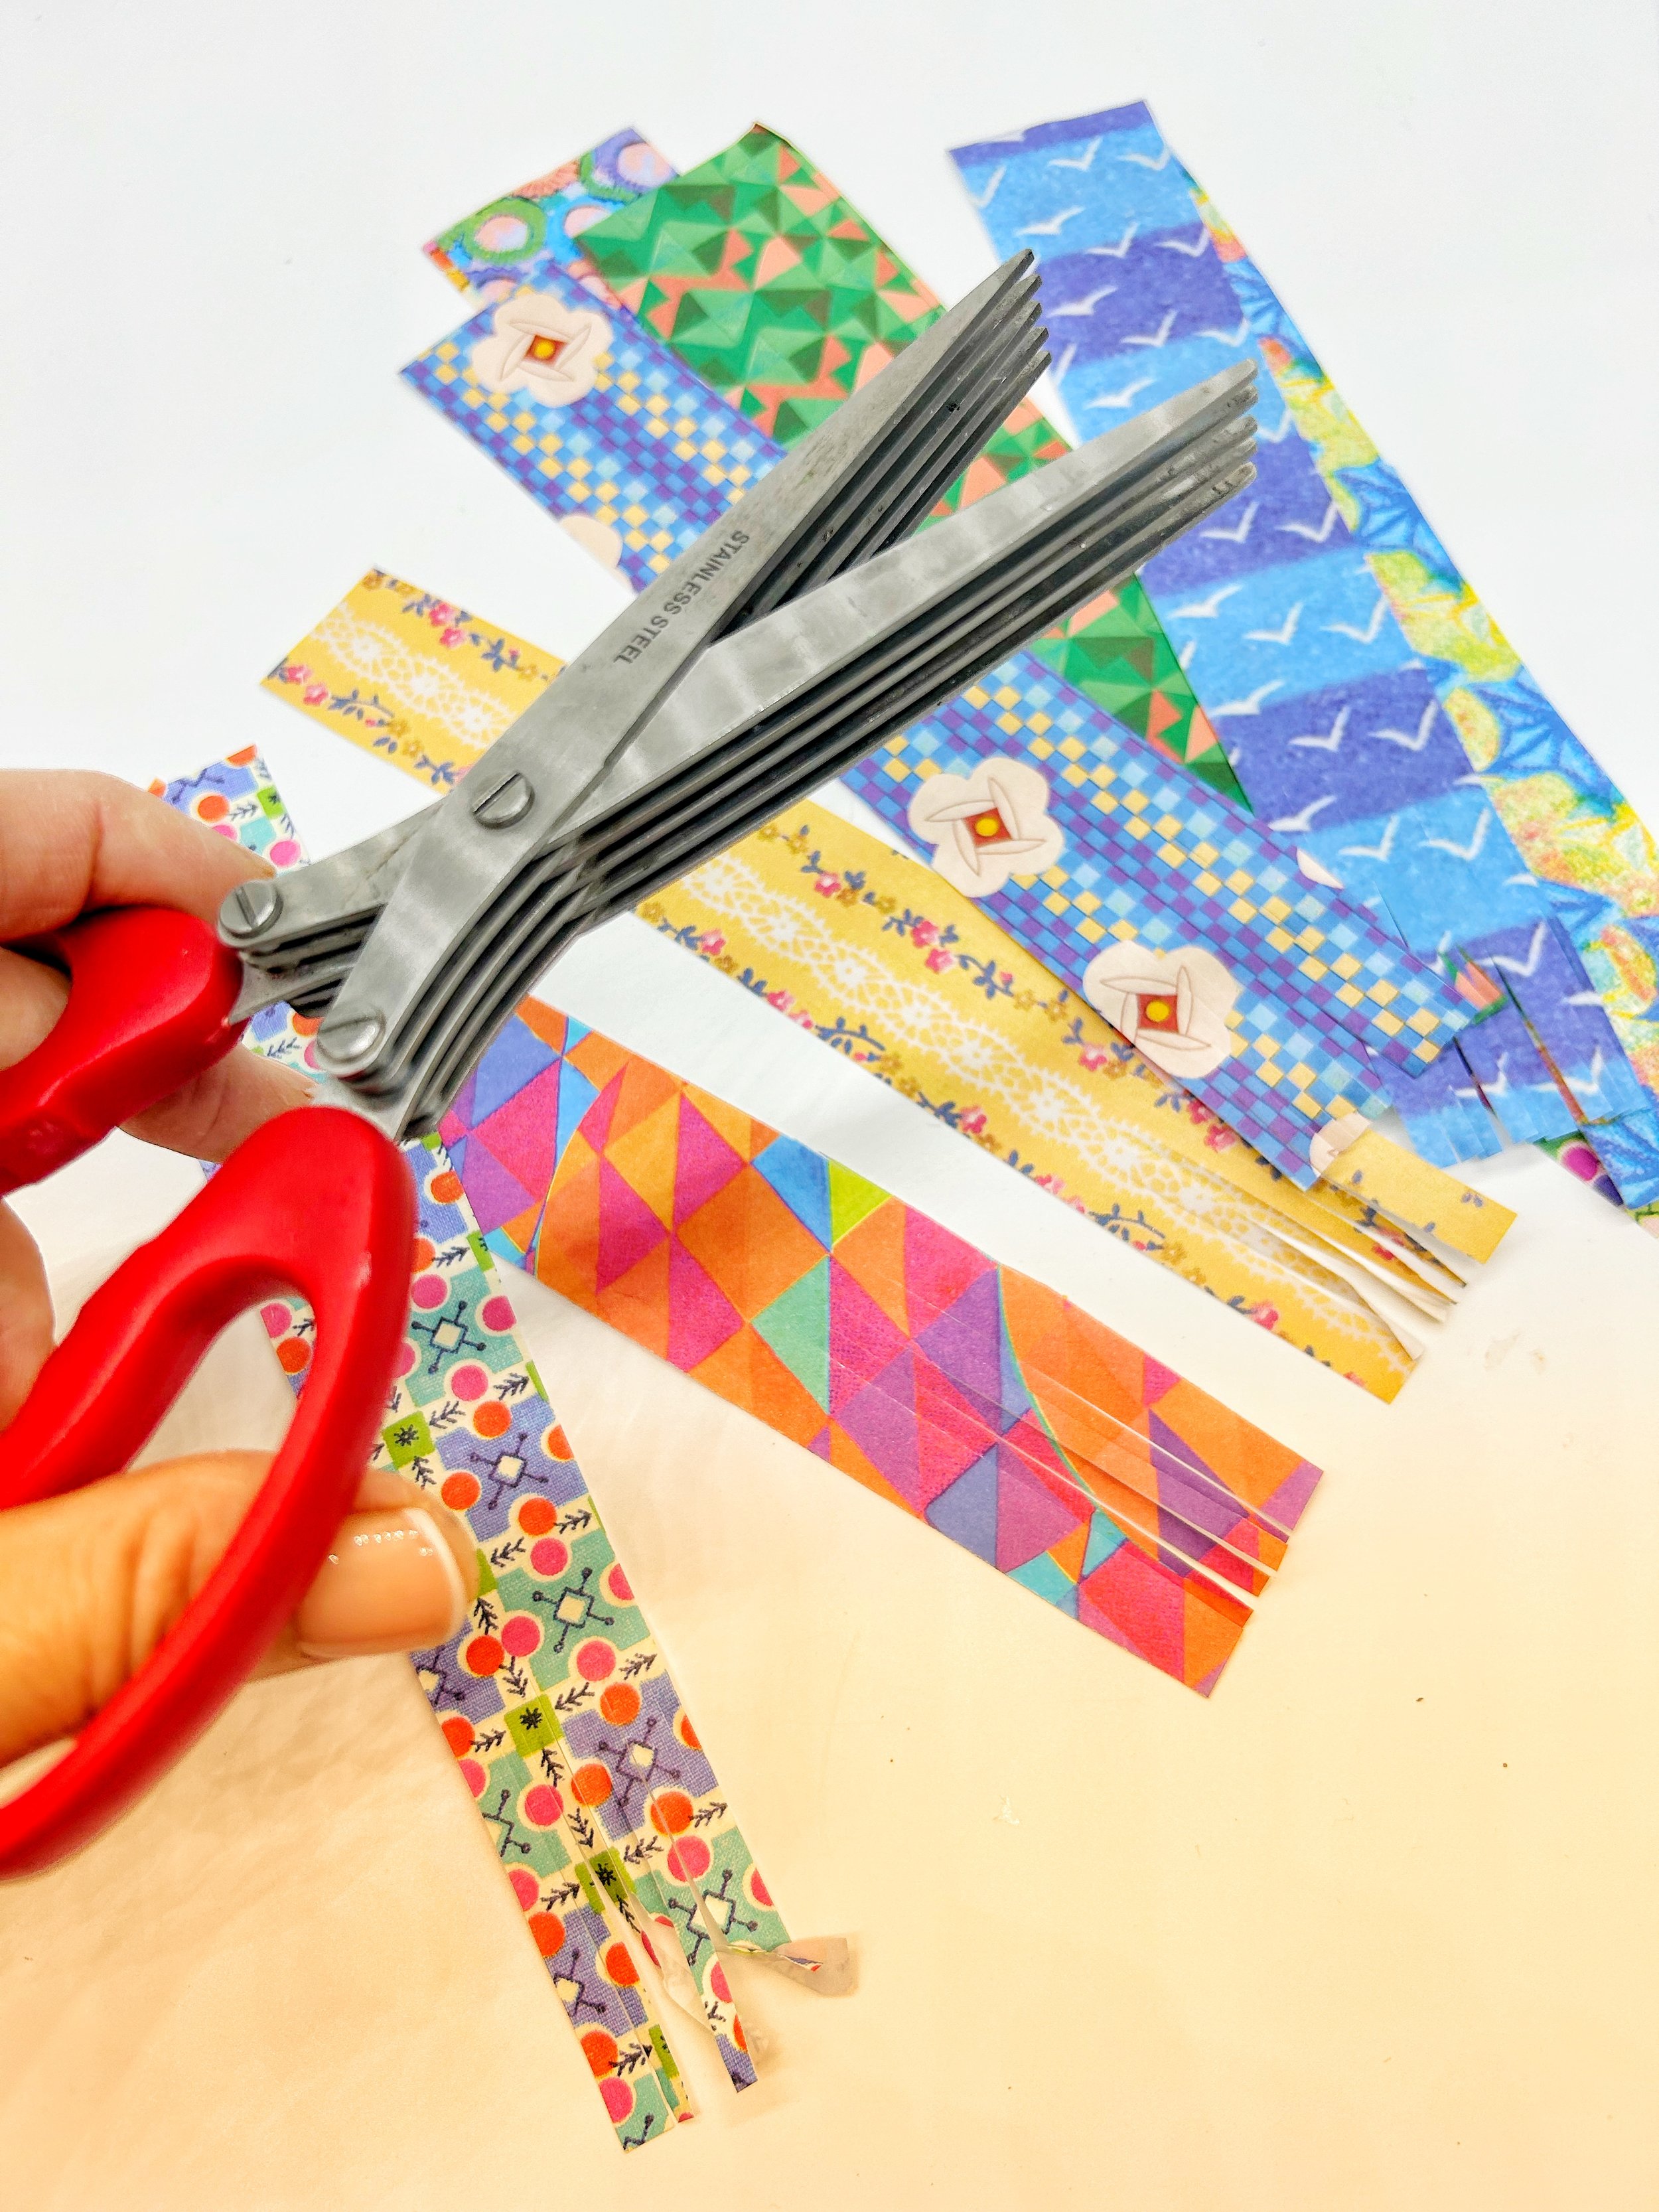
If you have shredding scissors, use these to cut the paper at one end into tassel like strips. You can do this with regular scissors (it is just more time consuming), or skip this step. I will link the shredding scissors above.
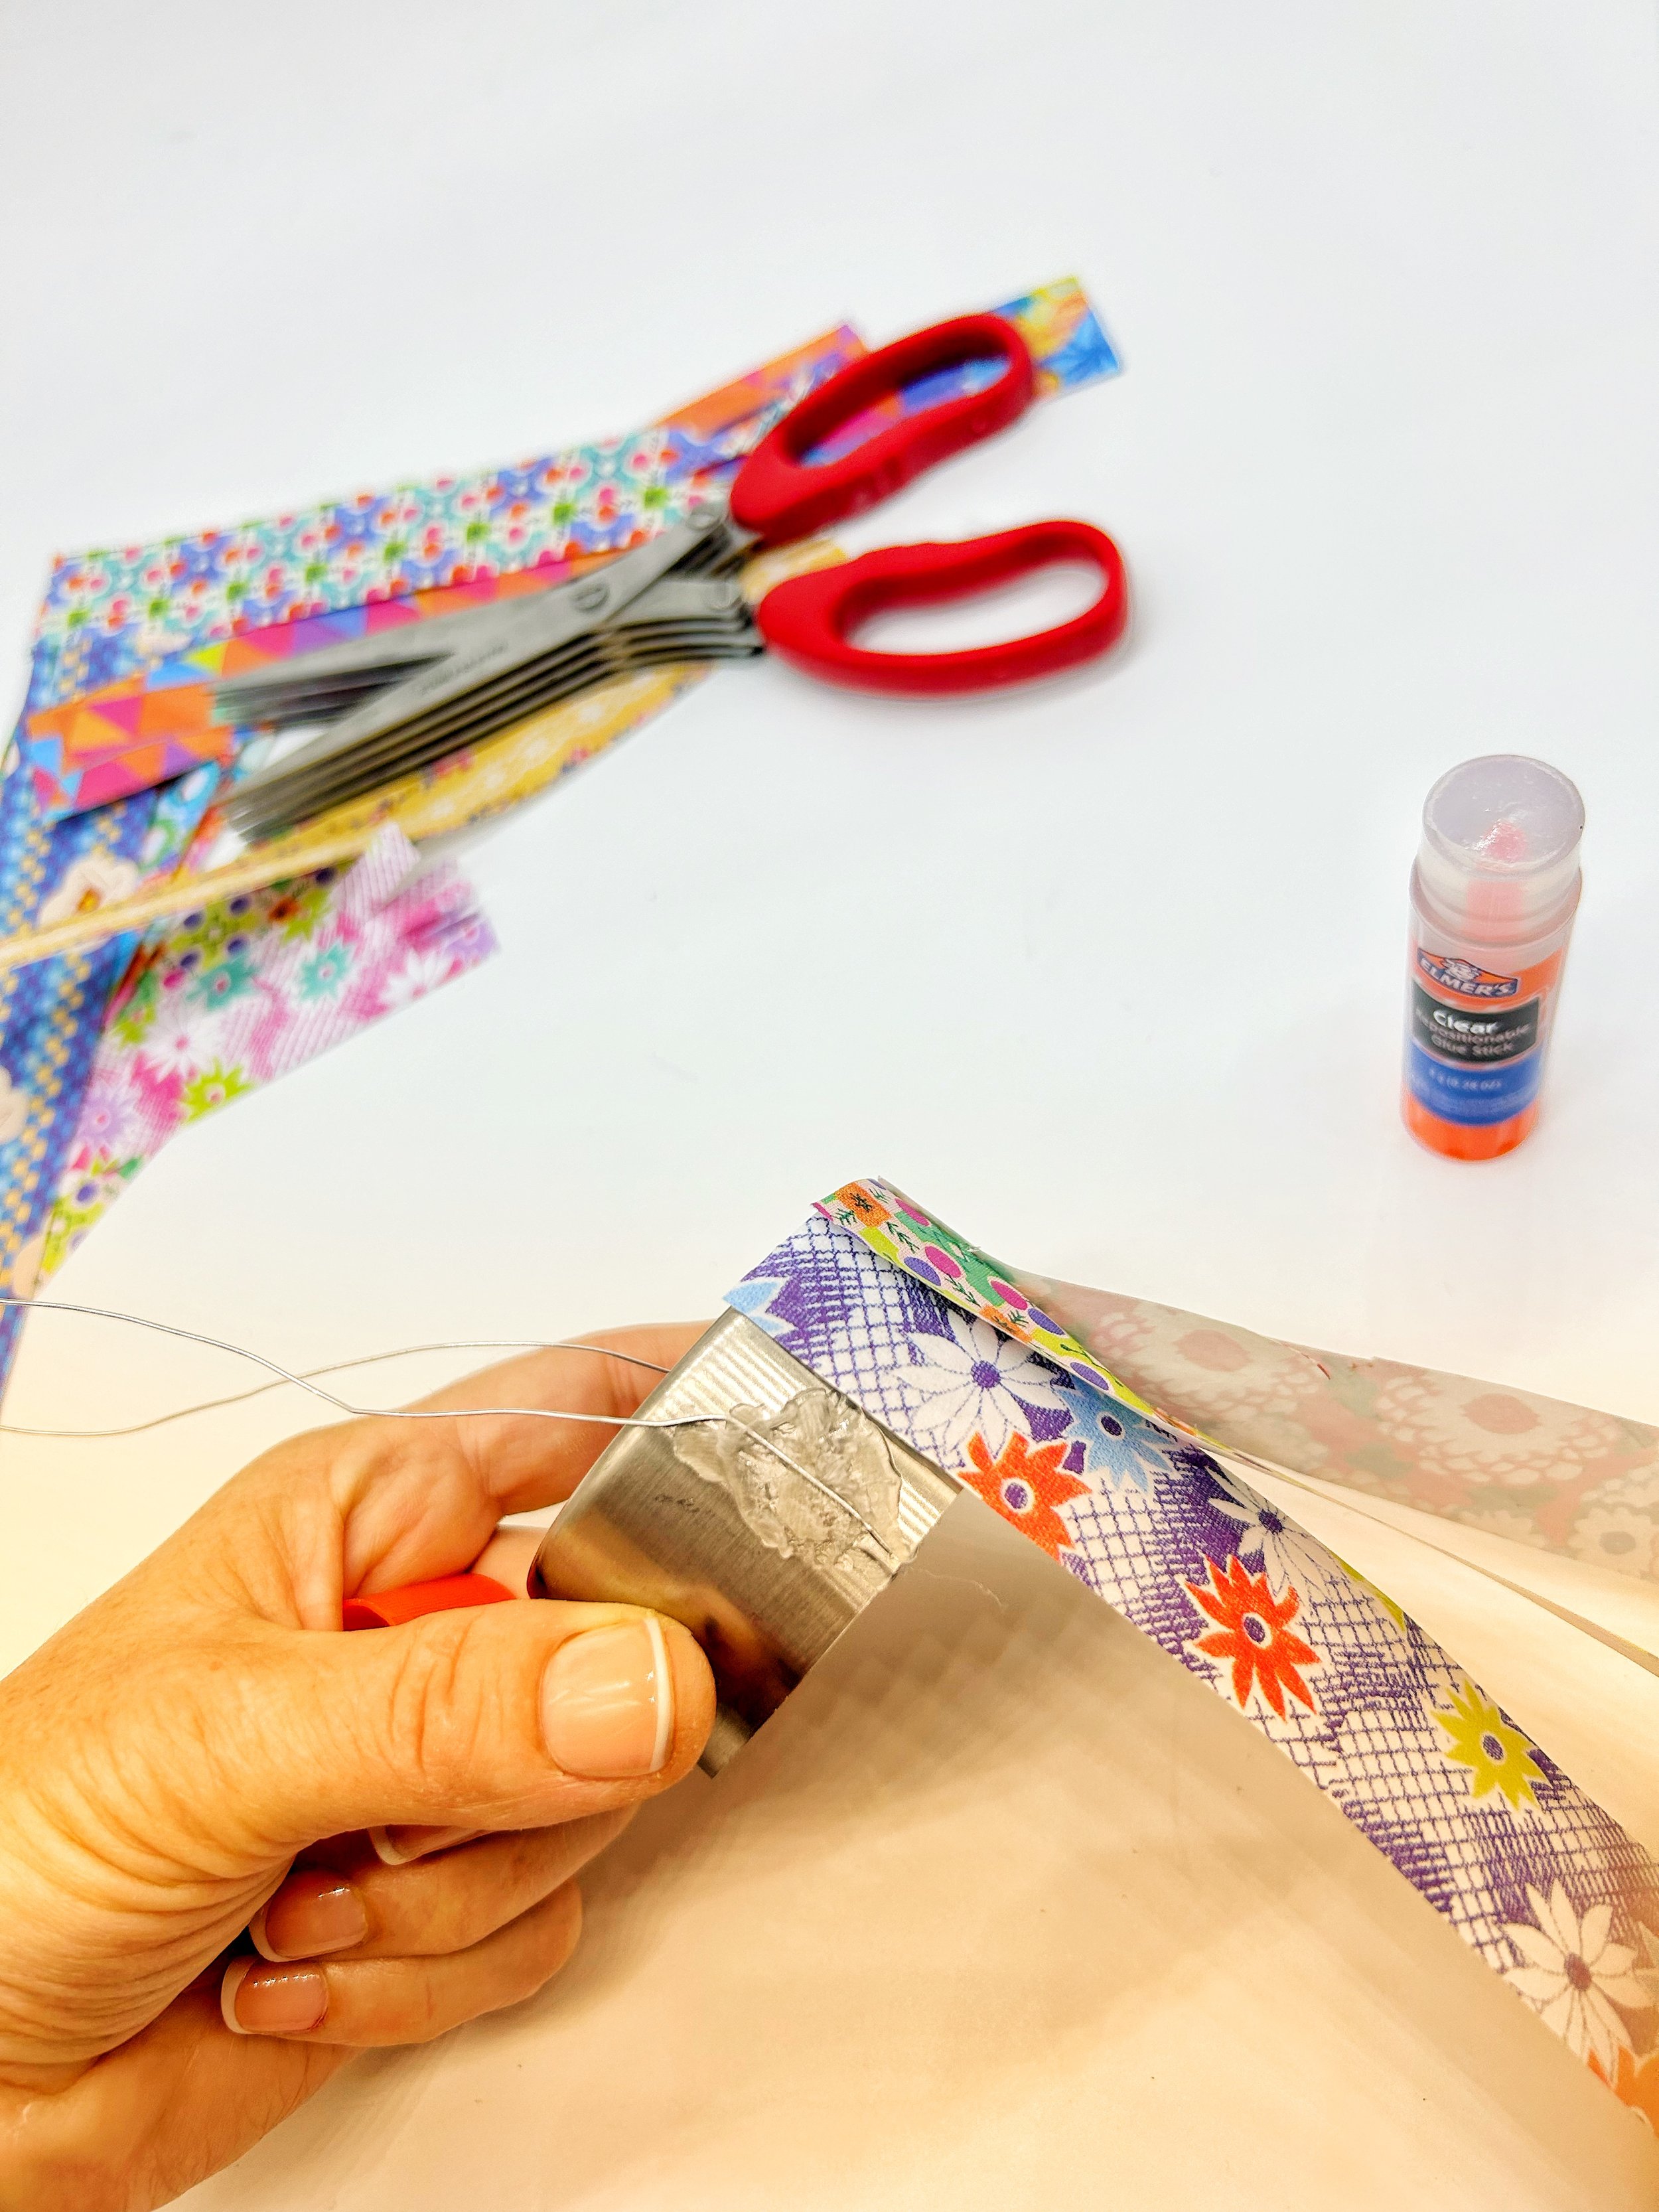
Using a glue stick, begin to attach your strips to the light. Slightly overlap the strips as you go. You will need about 10-12 paper strips.
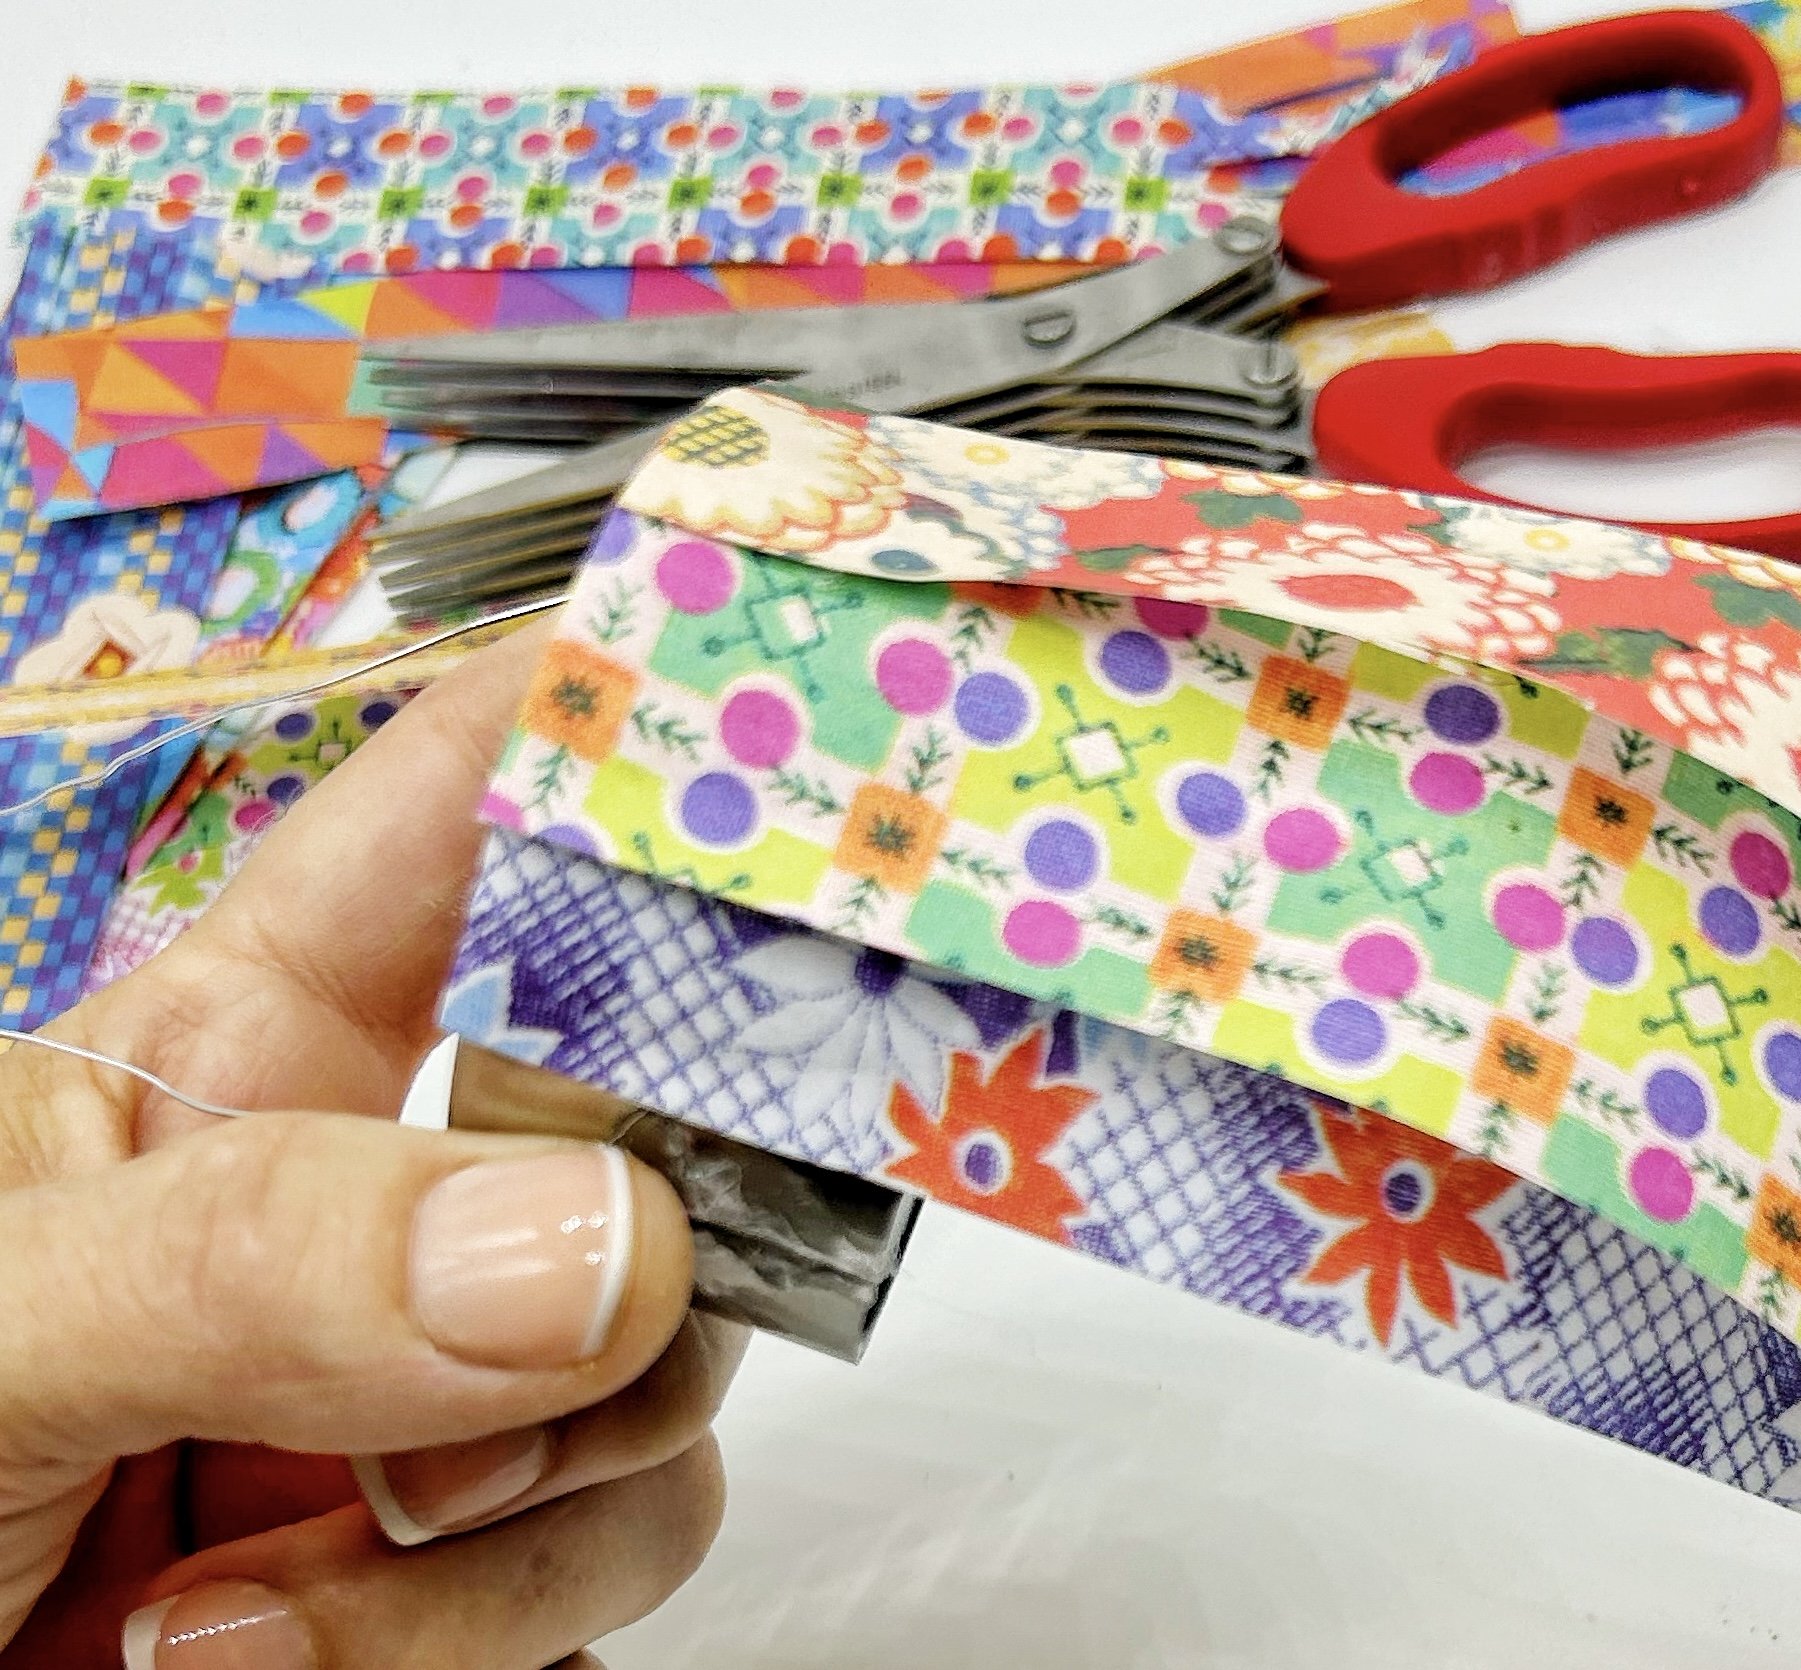
Continue overlapping and gluing strips until the whole diameter is covered.
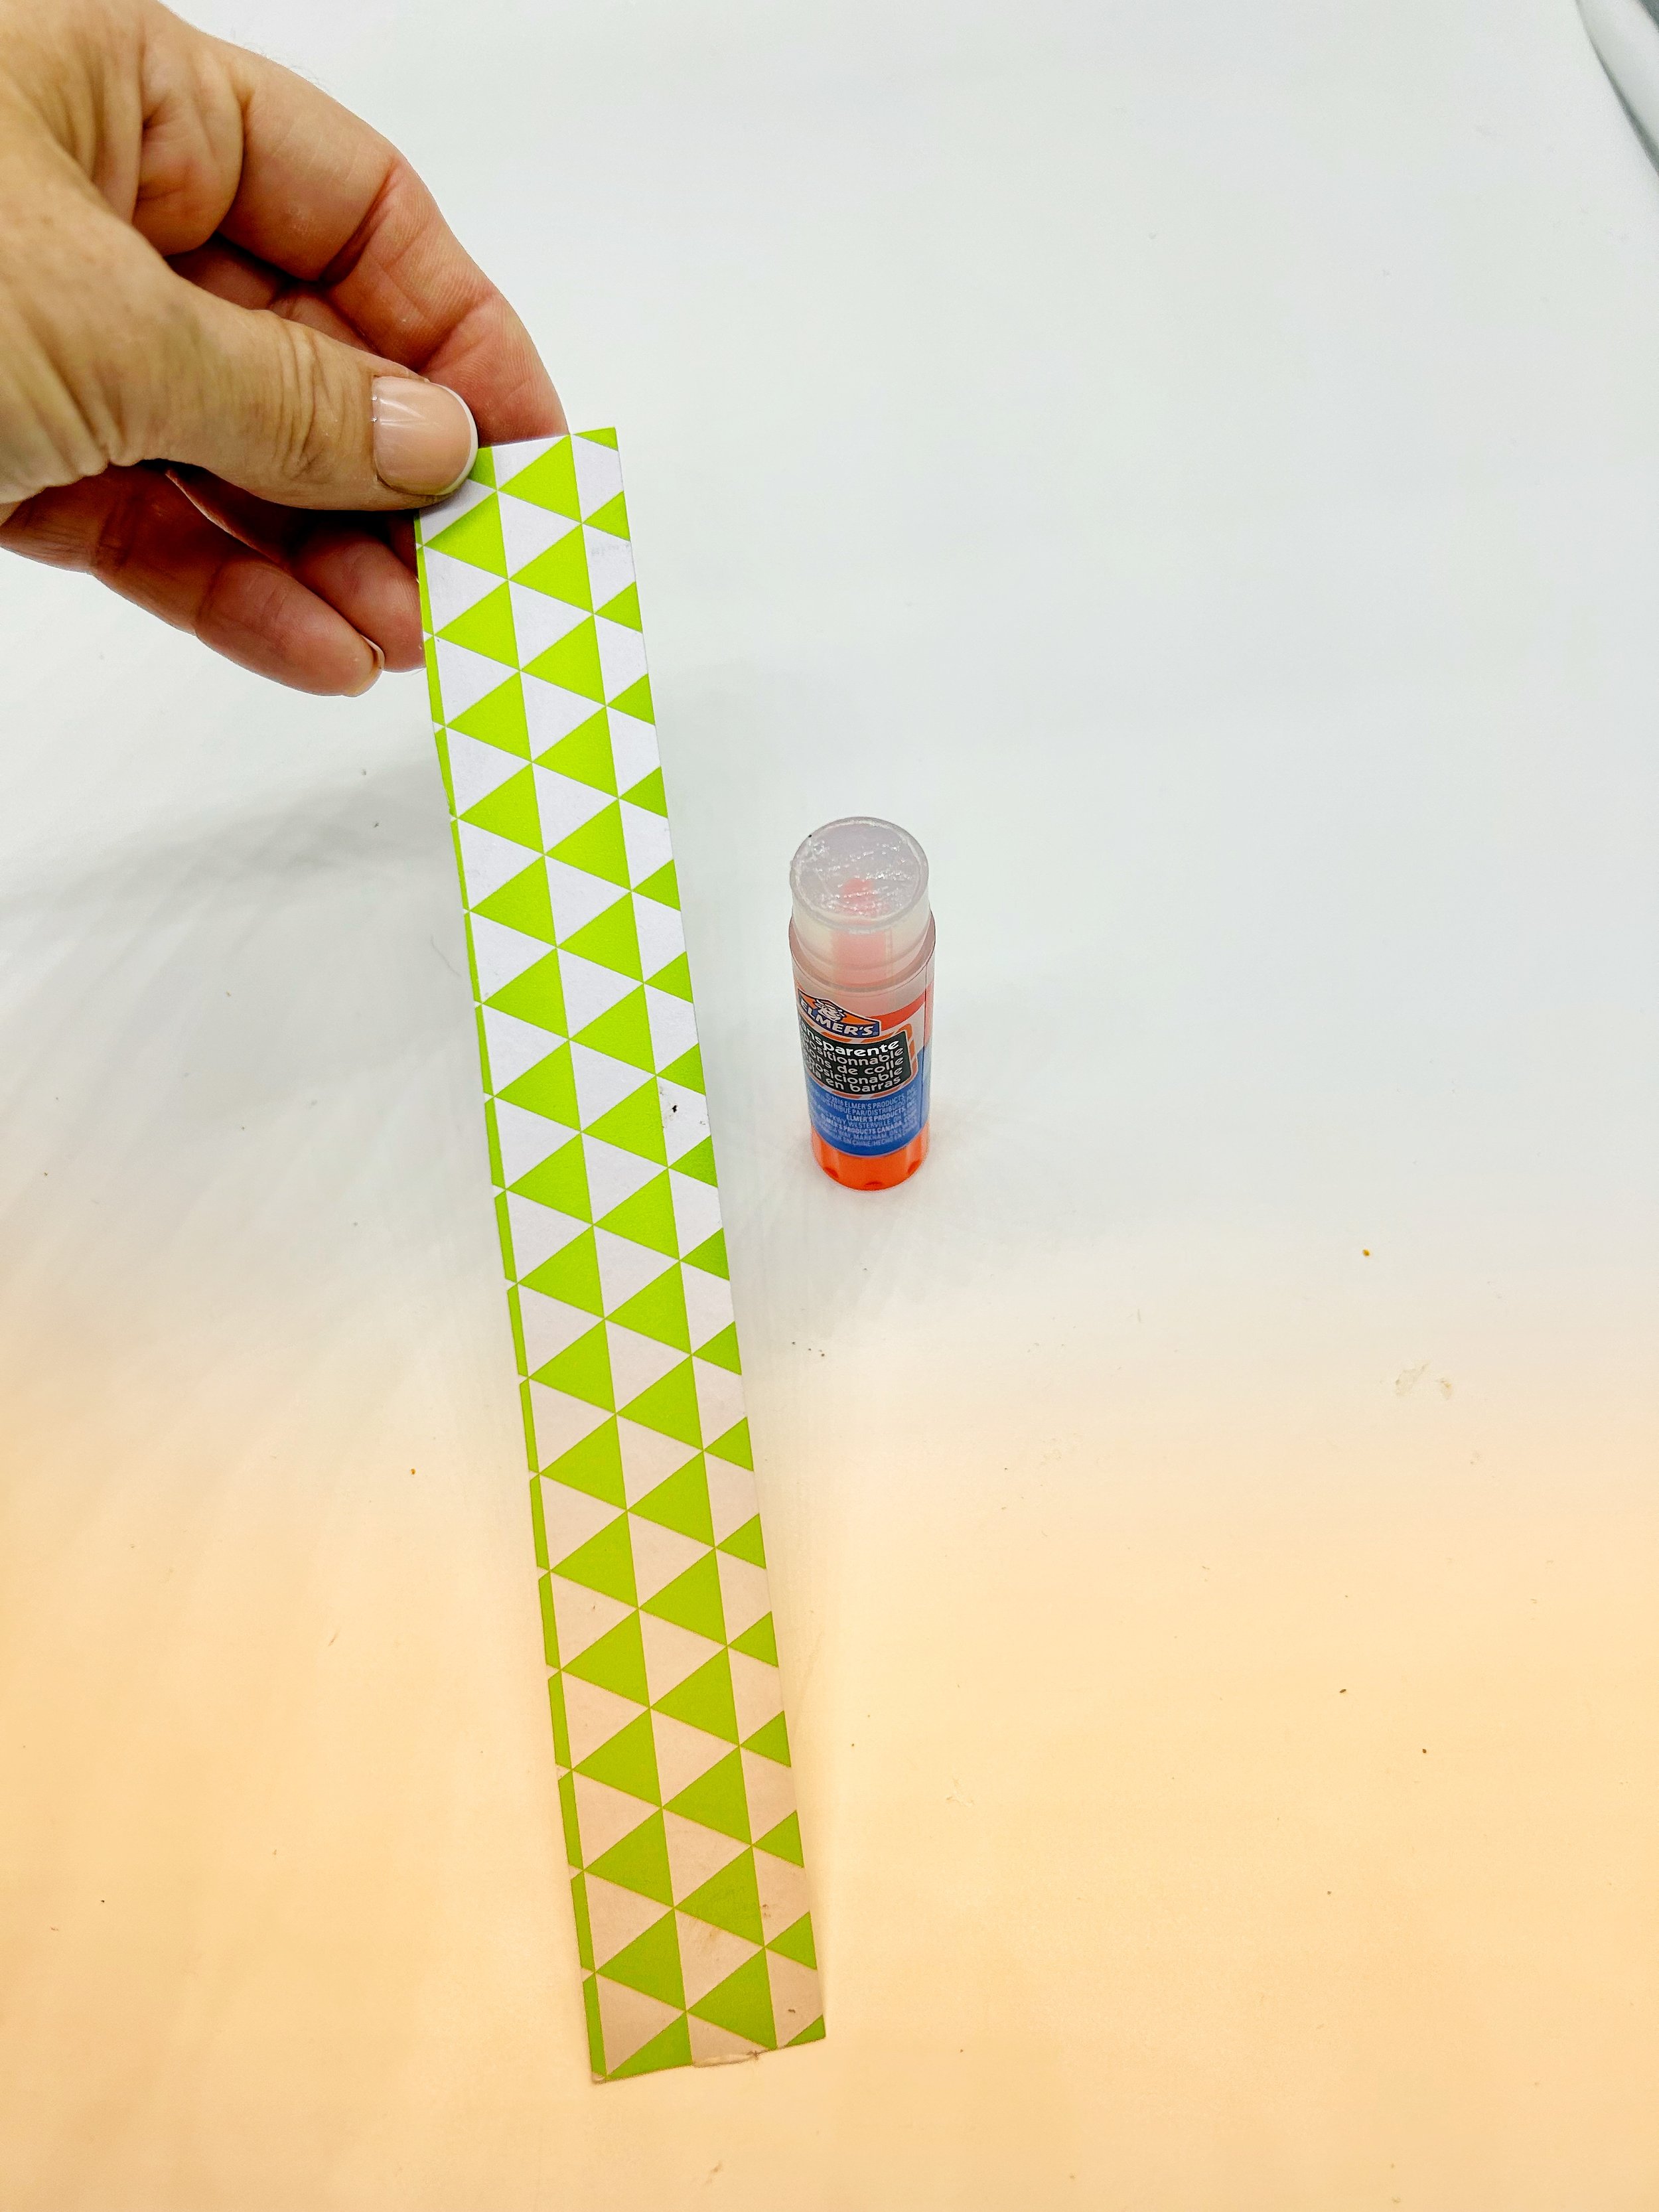
Cut a sturdy piece of card stock into a strip about 1.25" wide by 8.5 inches long. You can choose a pretty patterned paper or use white paper and create your own design before attaching.
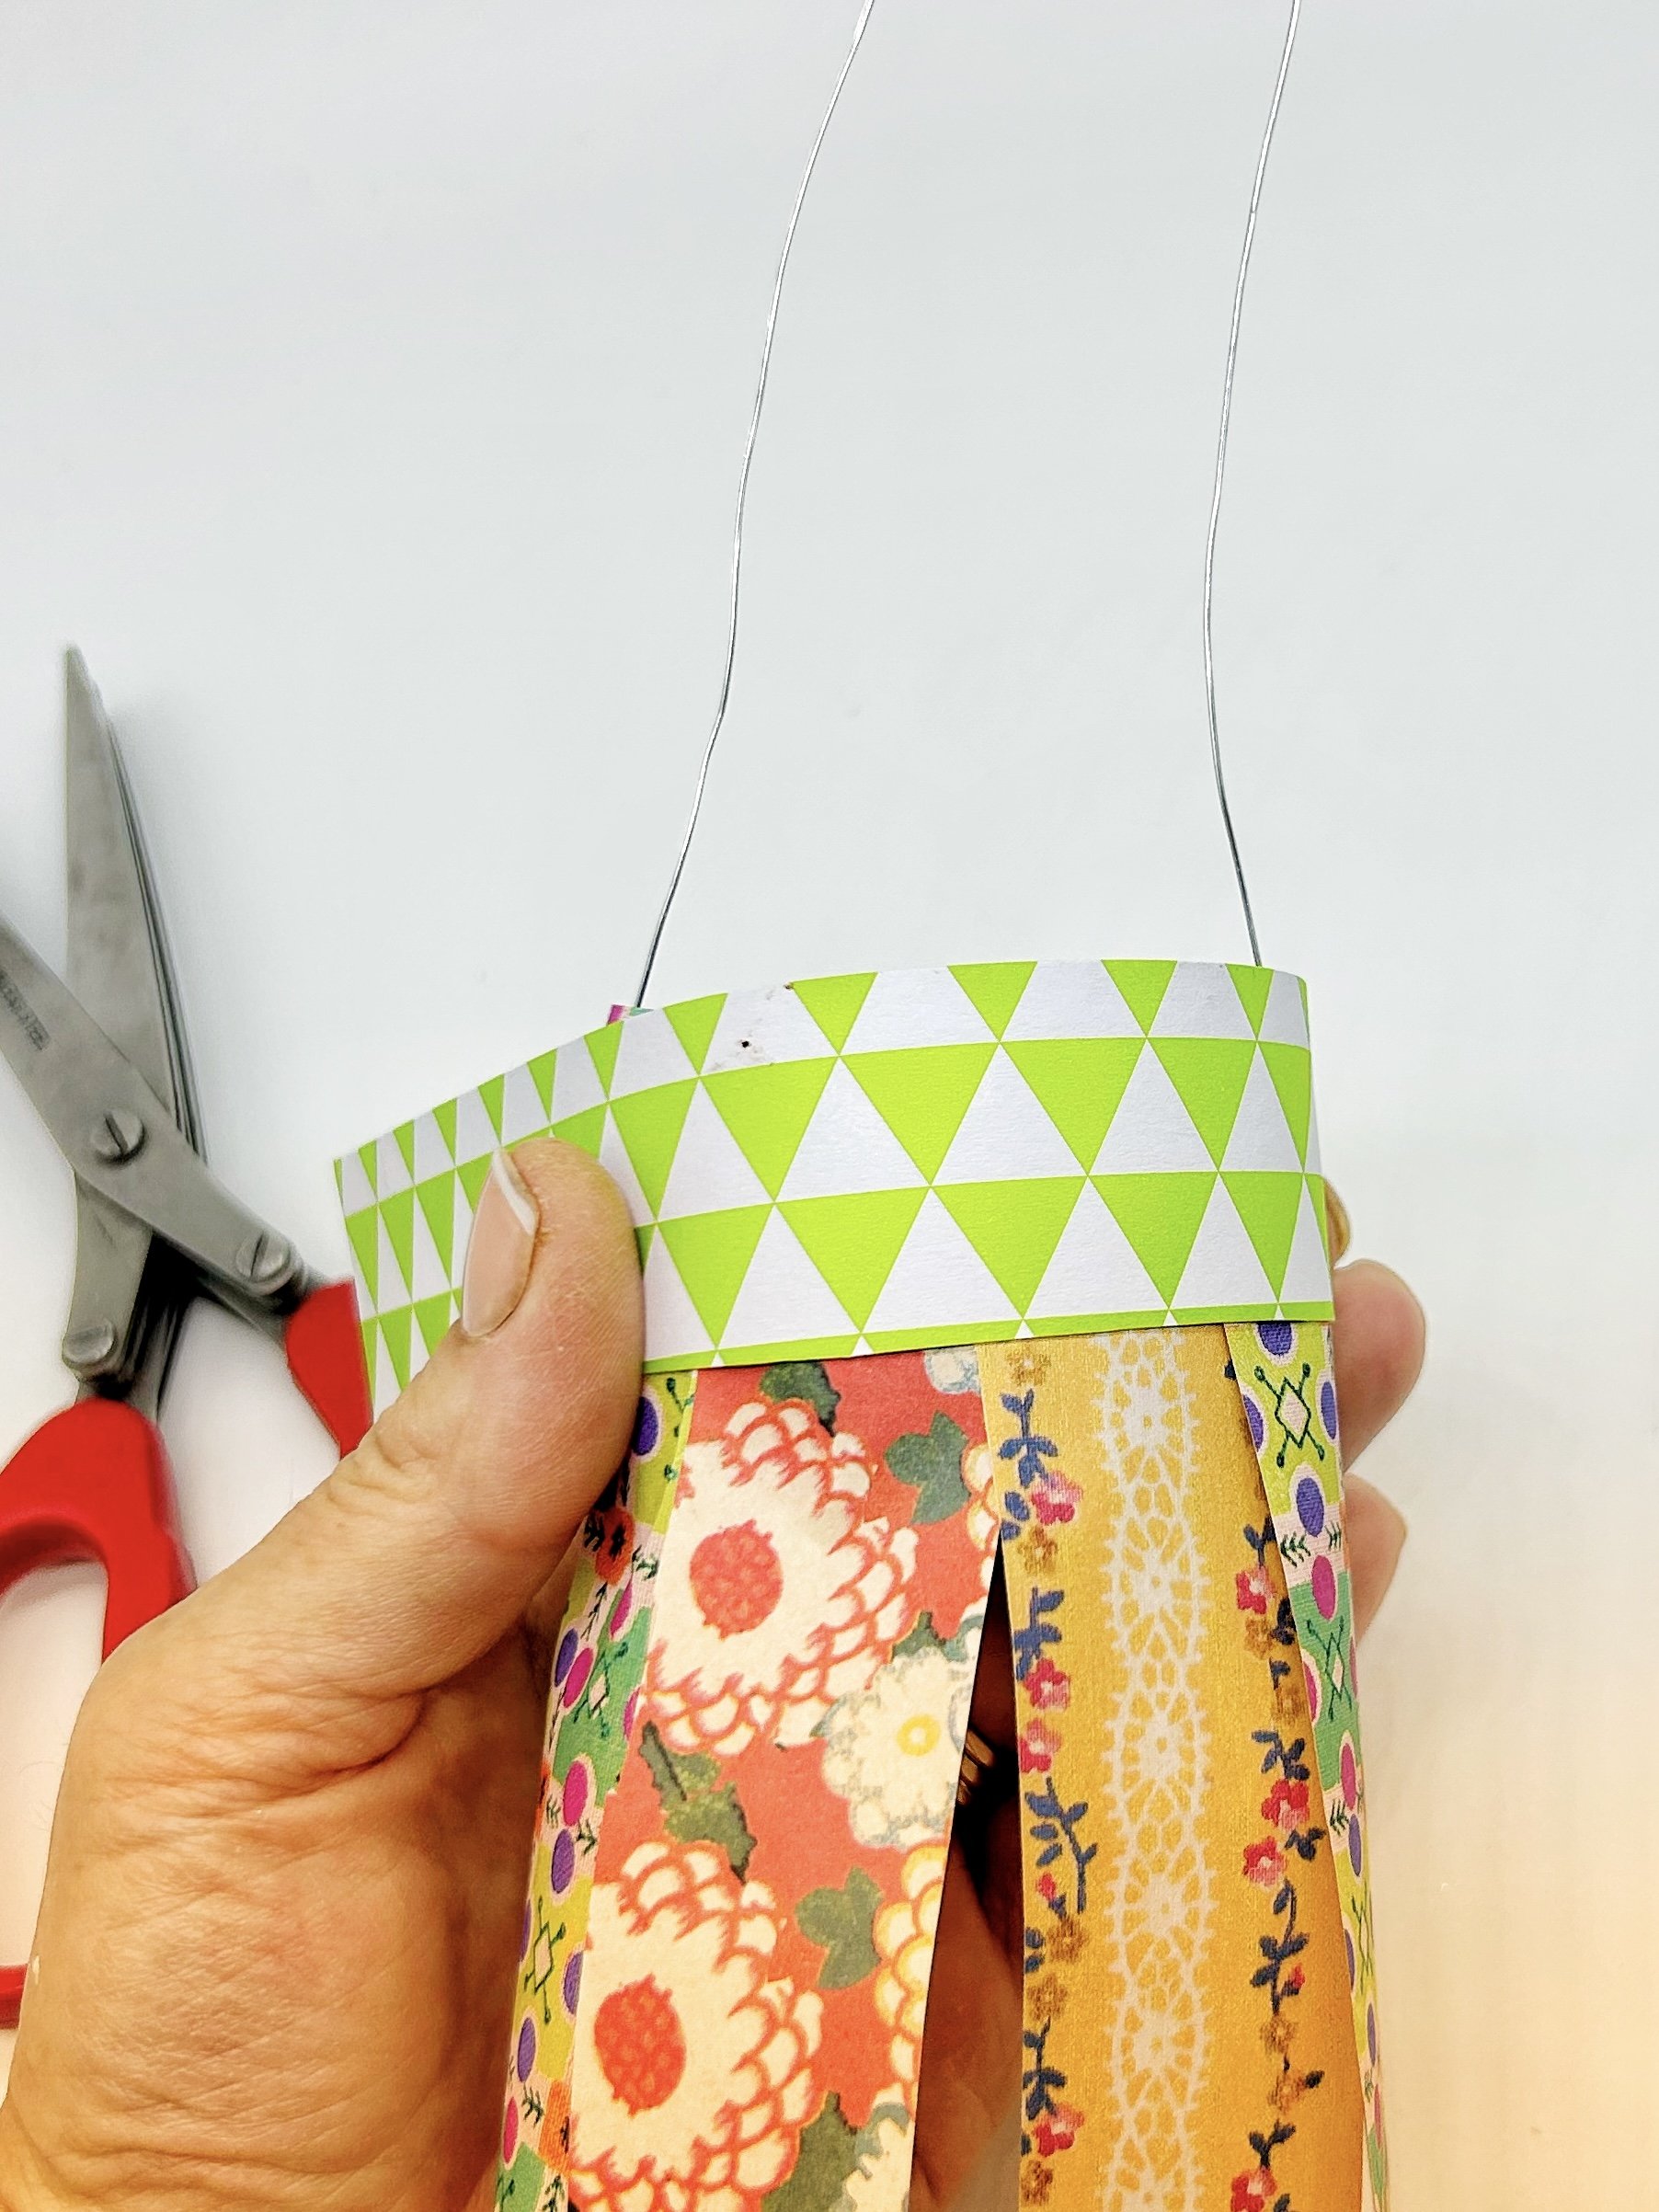
Glue strip around the solar light, covering the tops of the paper you have glued on. You may want to secure with clear tape.
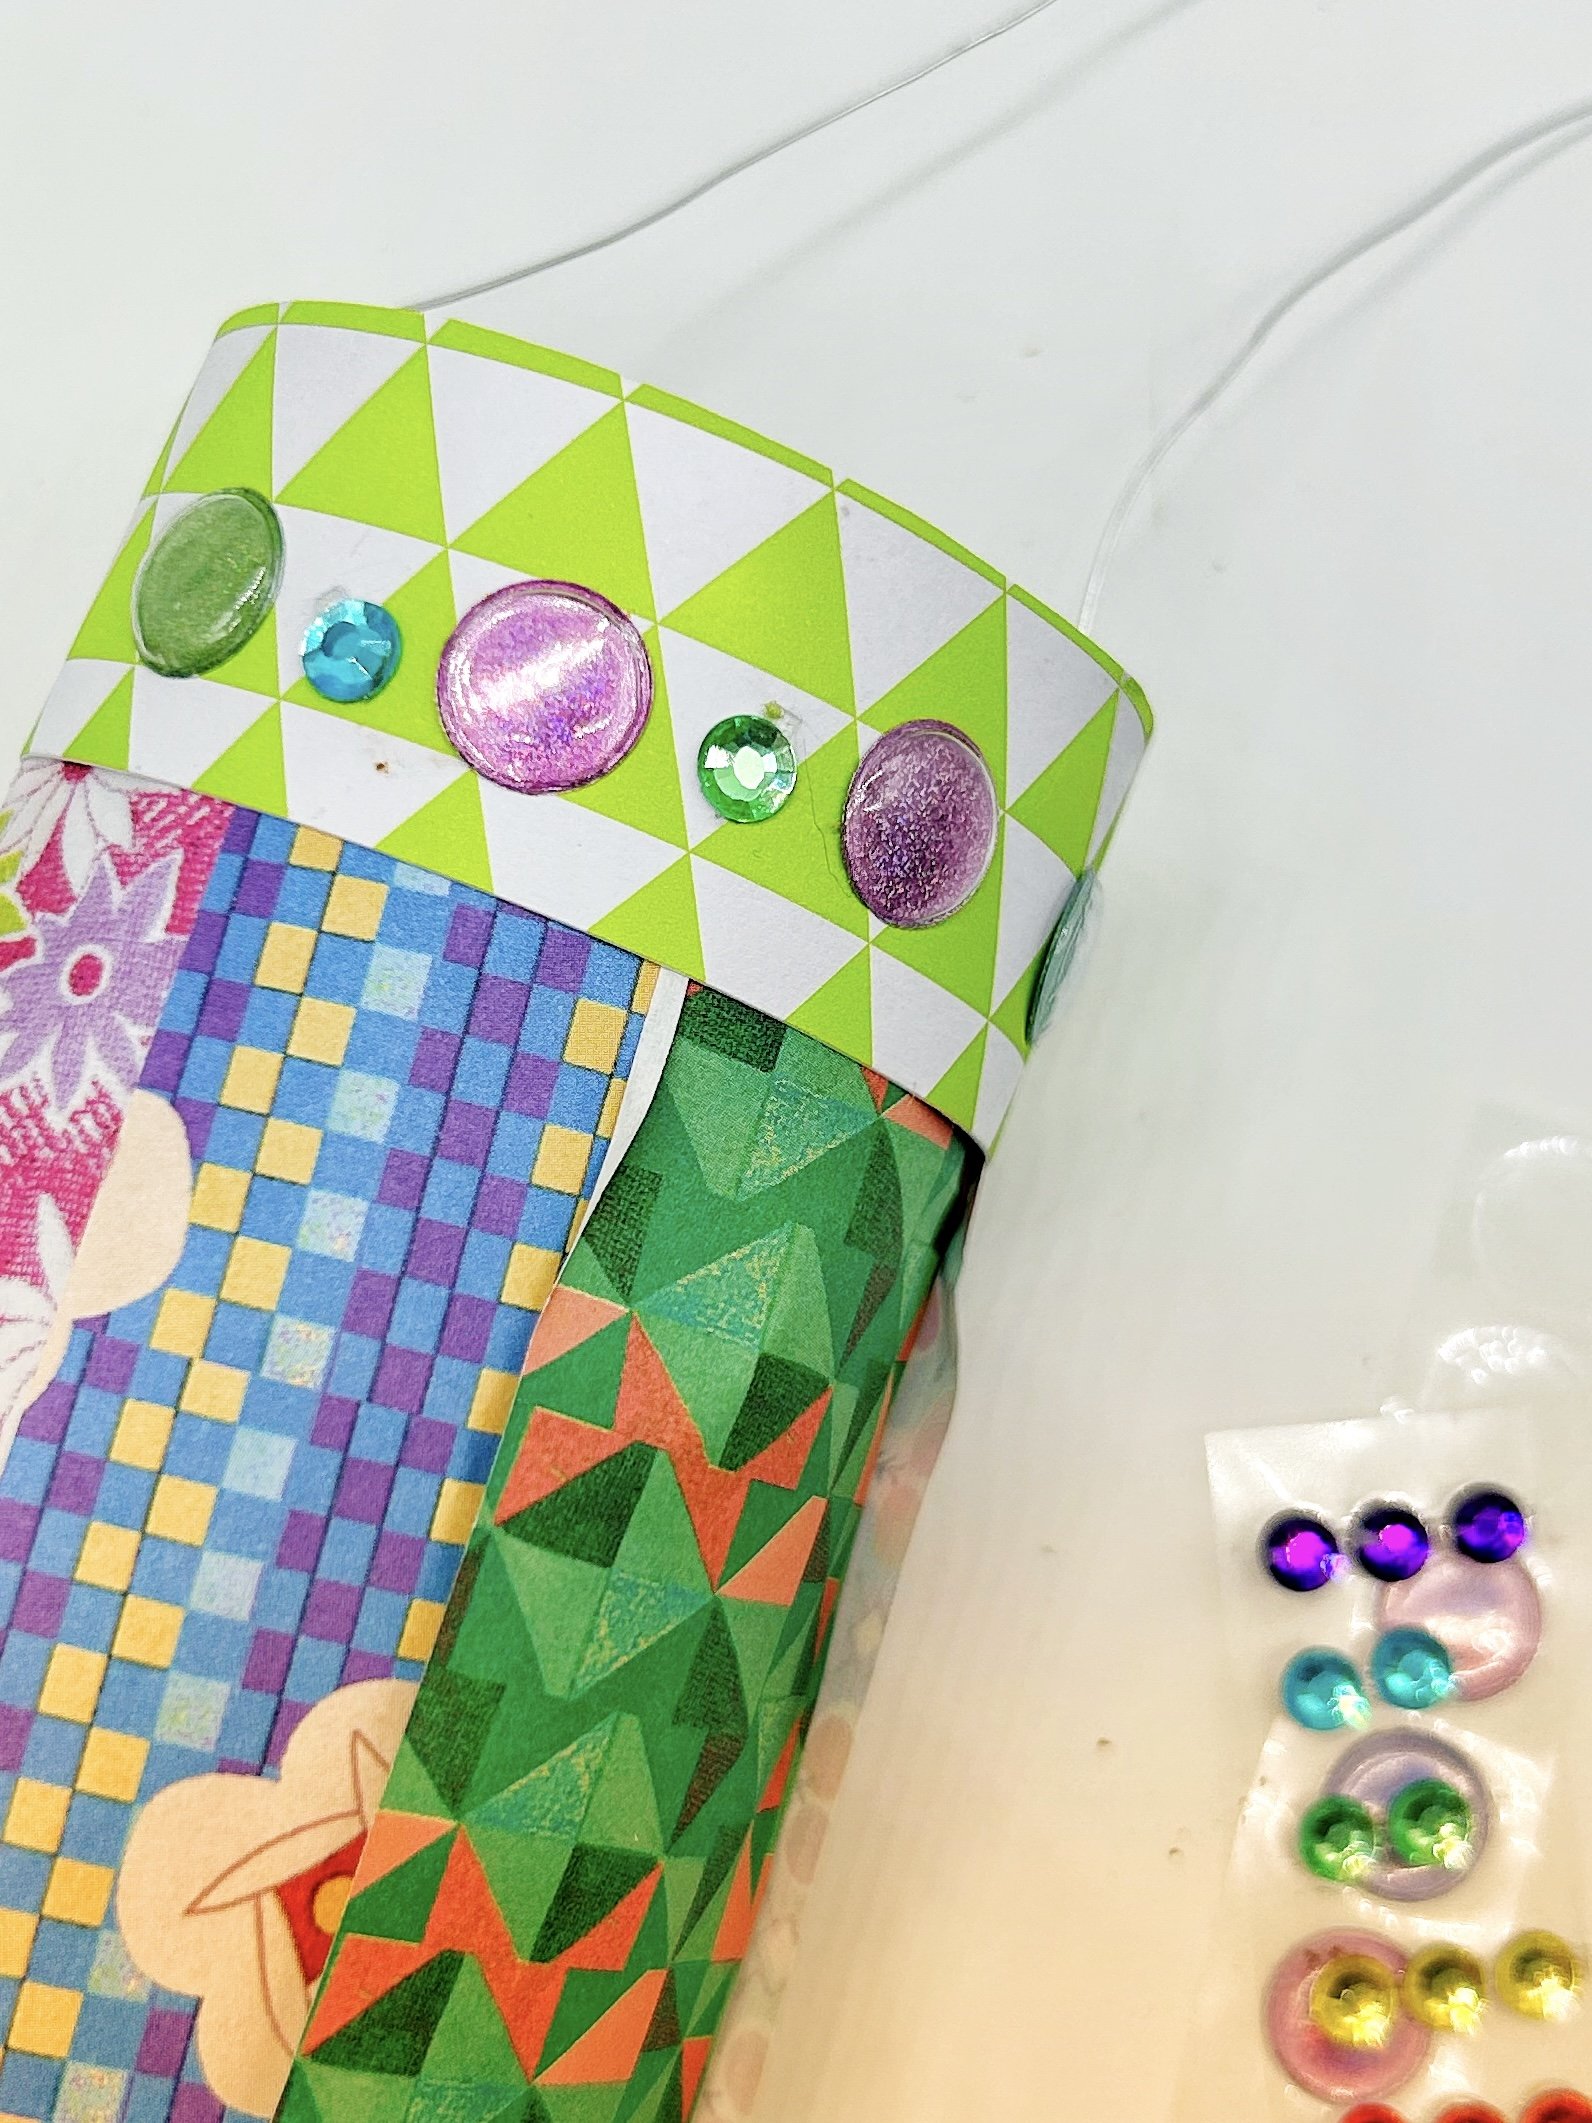
OptionaL: Decorate the top with adhesive jewels.
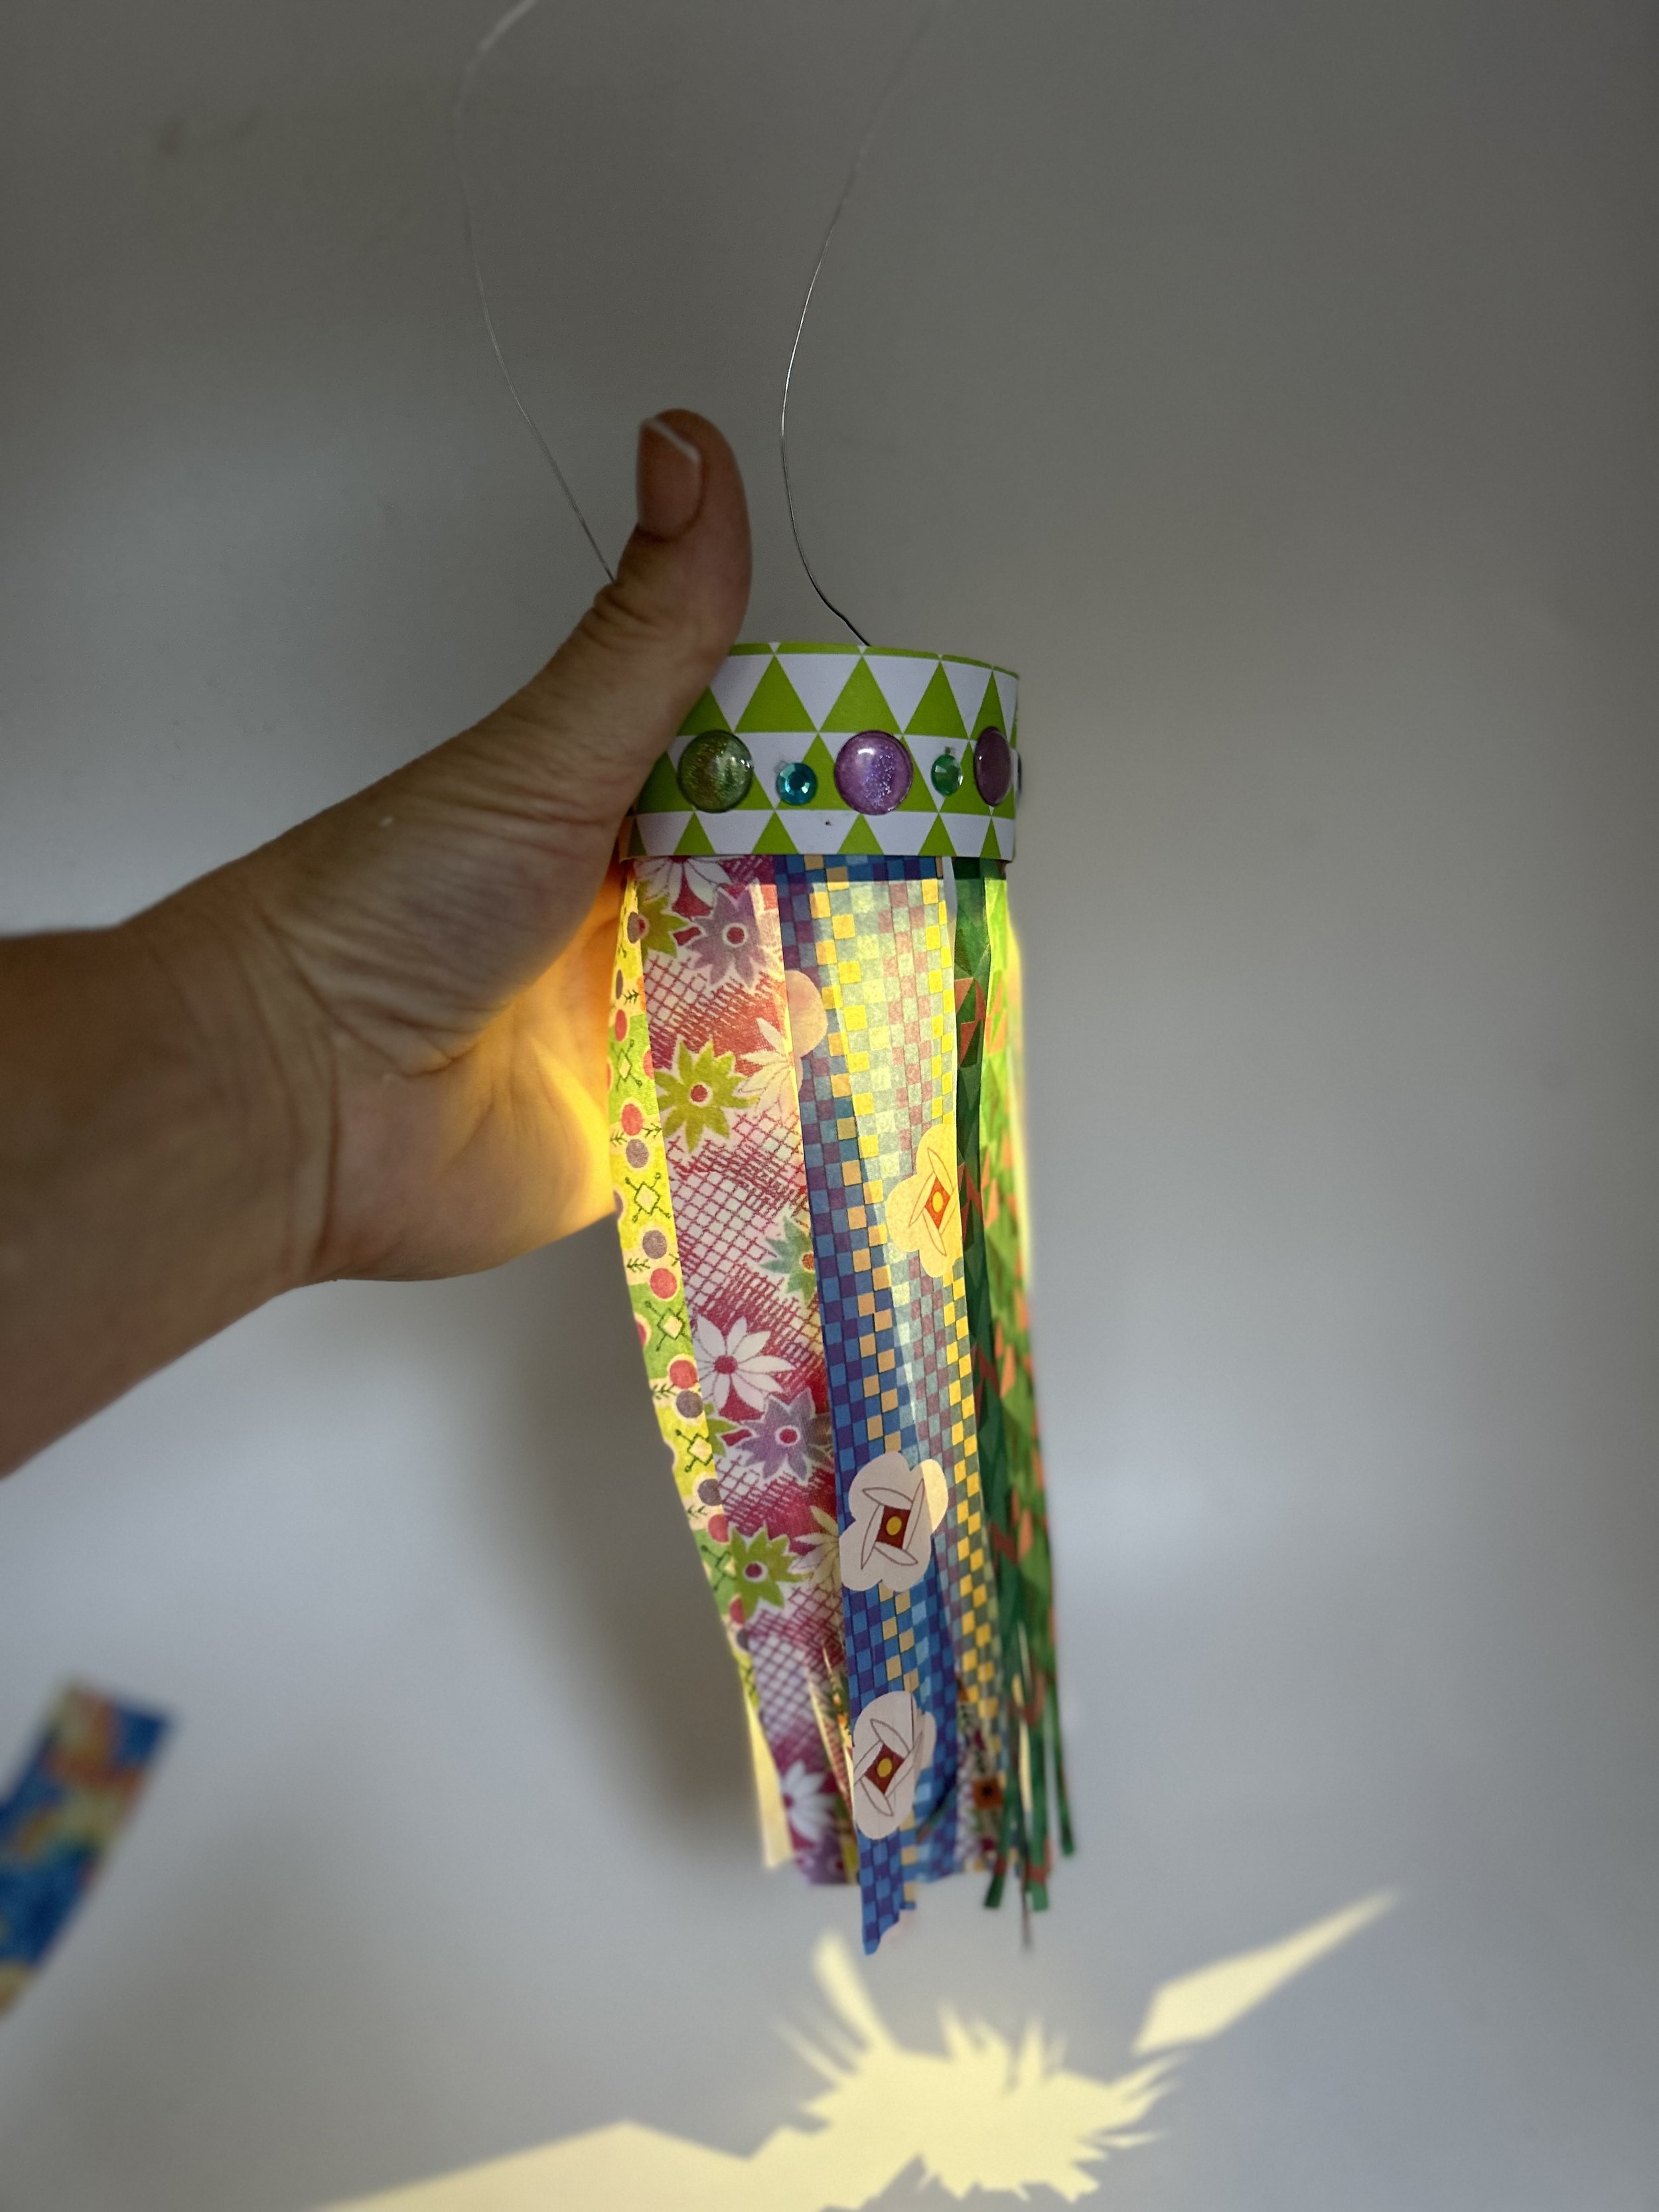
Hang the lantern near a light source. A window is best. Wait till the room is dark to see it light up! Can't wait? Go into a dark closet and test it out!

What a pretty night light!


