Take a Stab at this addictive hobby!
I began needle felting several years ago and quickly became addicted. Contrary to what some may think, needle felting is not hard once you get the hang of it! I learned most of what I know about felting from YouTube vides, books and most importantly, trial and error. Needle felting, to put it simply, is the sculpting of objects out of wool. This fun and creative hobby uses a barbed needle to catch and pull wool fibers, locking them together to form a more condensed material that can be transformed into various dimensional shapes and objects.
The continuous stabbing of the needle into the fiber is called felting.
Here are a few basic tips and rules that may help you begin your felting journey.
Prepare to get addicted!
Click on products above for links to Amazon.
As an Amazon affiliate, I may make a small commission
on products purchased through these links.
Felting needles are quite delicate. If used incorrectly, they actually break fairly easily. Remember to stab your wool in and out at the same angle. Twisting or bending your needle will cause your needle to snap.
Don’t force it! If your needle is not going into the wool easily, you may need to switch to a finer (smaller size) needle. Over-felting wool will result in a hard surface, making it difficult for your needle to poke through the wool. Stop stabbing if your project becomes hard like this.
These needles hurt! They are barbed and very sharp. Keep track of where you put your needle, especially if you have small children or pets.
This may sound obvious, but trust me, it happens. Do not take your eyes off your needle when stabbing. A quick glance at the TV screen while stabbing will likely end up in the need for a bandaid.
A general rule of thumb in regards to choosing the size needle you will need for your project is that heavy gauge needles make quick progress when starting projects, but they don’t work well for adding tiny details. Using a finer gauge needle for finishing touches and detail work is best. Finer gage needles are also less likely to leave noticeable holes in your piece. Multi-prong needle tools are great for larger felted areas that need a lot of stabbing. You will save a lot of time and frustration if you get to know what needle is best for your needs.
Invest in core wool! Boy, do I wish I had know this from the start. Wool can get get pricey, especially when you graduate to finer wools and top wools like Merino wool roving, for example. Core wool is inexpensive and can serve as the main “sculpting” fiber that will be the base of your design. It comes together easily and can be covered with an outer layer of your more expensive, softer and more colorful top wool. This was a game changer for me once I learned about core wool.
Research the types of wool you will be using. There are many different textures and sources, and each felts in a different way. They vary in price, texture, appearance and feel. It is easy to get wrapped up in all the wonderful colors and choices. It is a good idea to start with small samples of wool to get a feel for how each one felts.
You will need a mat to felt on. The type of mat is really personal preference. I have tried many, but have always ended up going back to the simple foam block. They will eventually become worn and need to be replaced, but I still like the feel of the foam block better than others I have tried. They are also one of the more economical mats. I buy them in bulk so I always have a fresh mat. I have also learned that it is best to use separate mats for lighter colored wool and darker colored wool to keep colors from inadvertently mixing.
Clean your mat! There is nothing worse than having red wool embedded in your mat and then felting a white project on that mat. You will never get that hint of red wool out of your white wool. Trust me on this. As mentioned above, using multiple mats is not a bad idea, but you will still need to clean them regularly. Lint rollers work nicely, as well as packing tape pressed onto then peeled off the mat.
Avoid this common beginner’s mistake! Continuous felting on your mat without stopping and lifting your project off the mat from time to time will most likely cause your project to be felted right onto the mat! Lift and flip your project every few minutes to prevent this annoying mishap.
Consider starting with a “kit”, sold at many hobby stores or online. This can be an easy way to learn some basic skills.
I have spent many hours scrolling through the internet admiring the work of other needle felting enthusiasts.
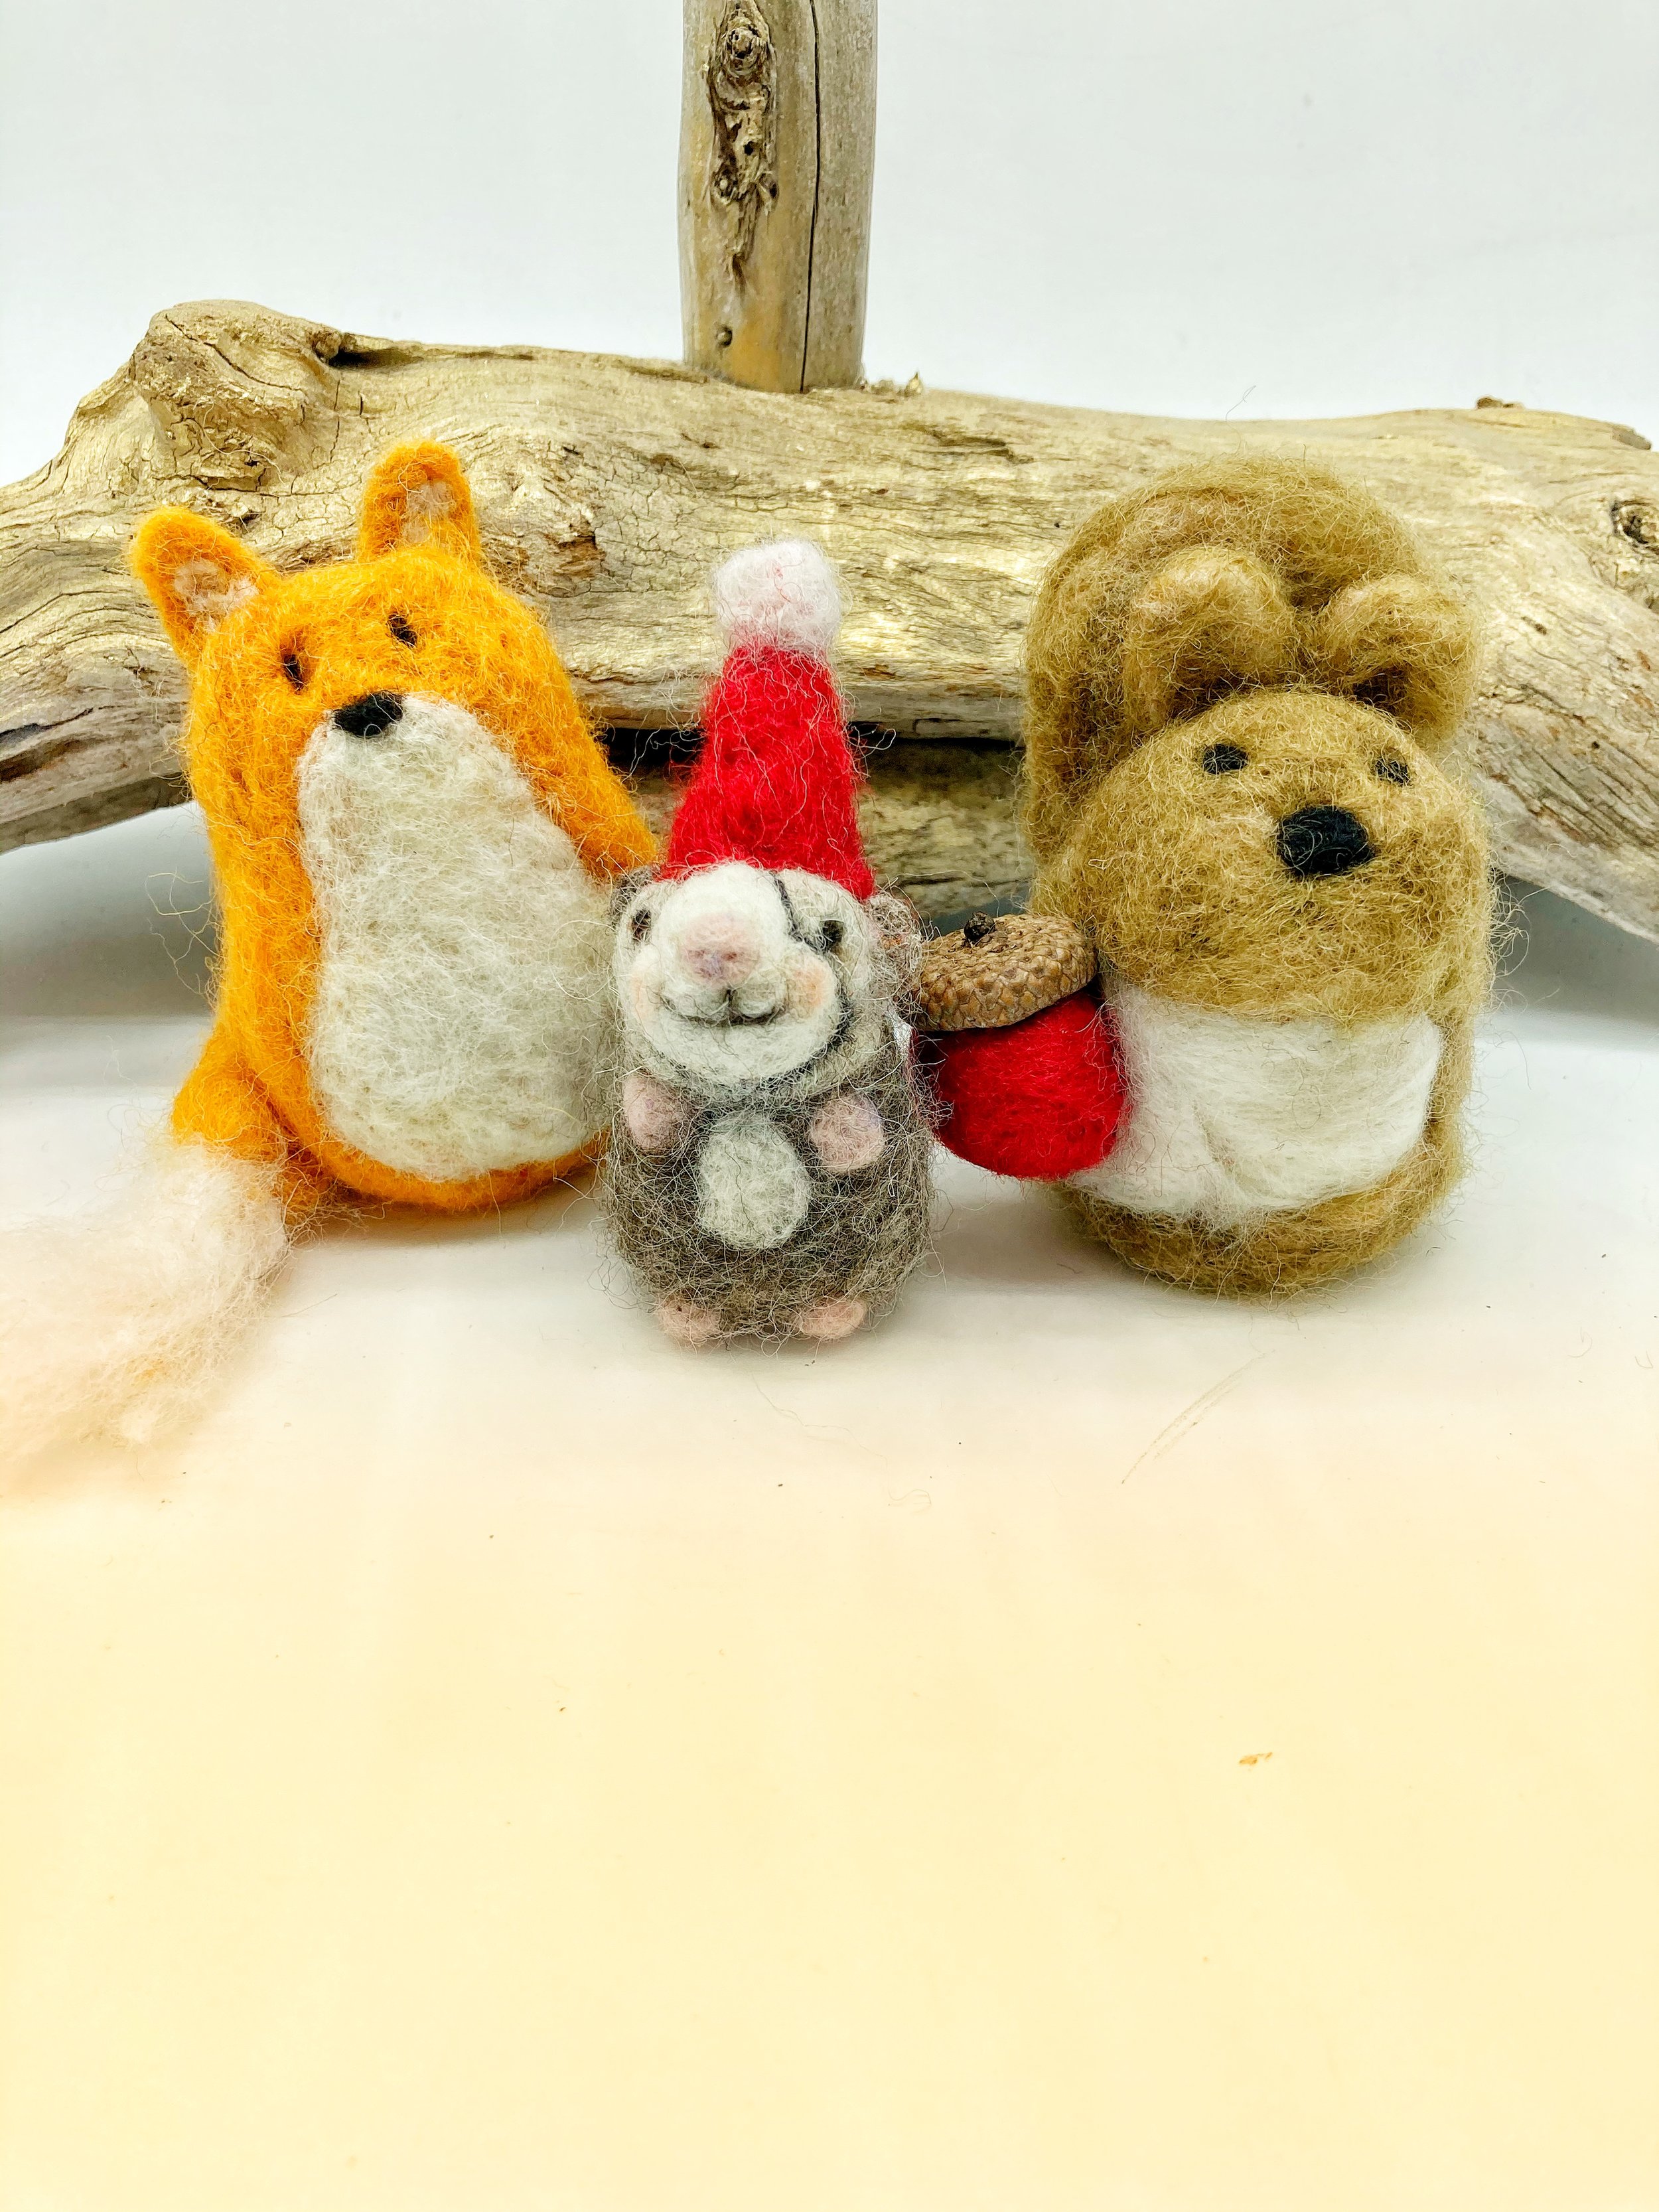
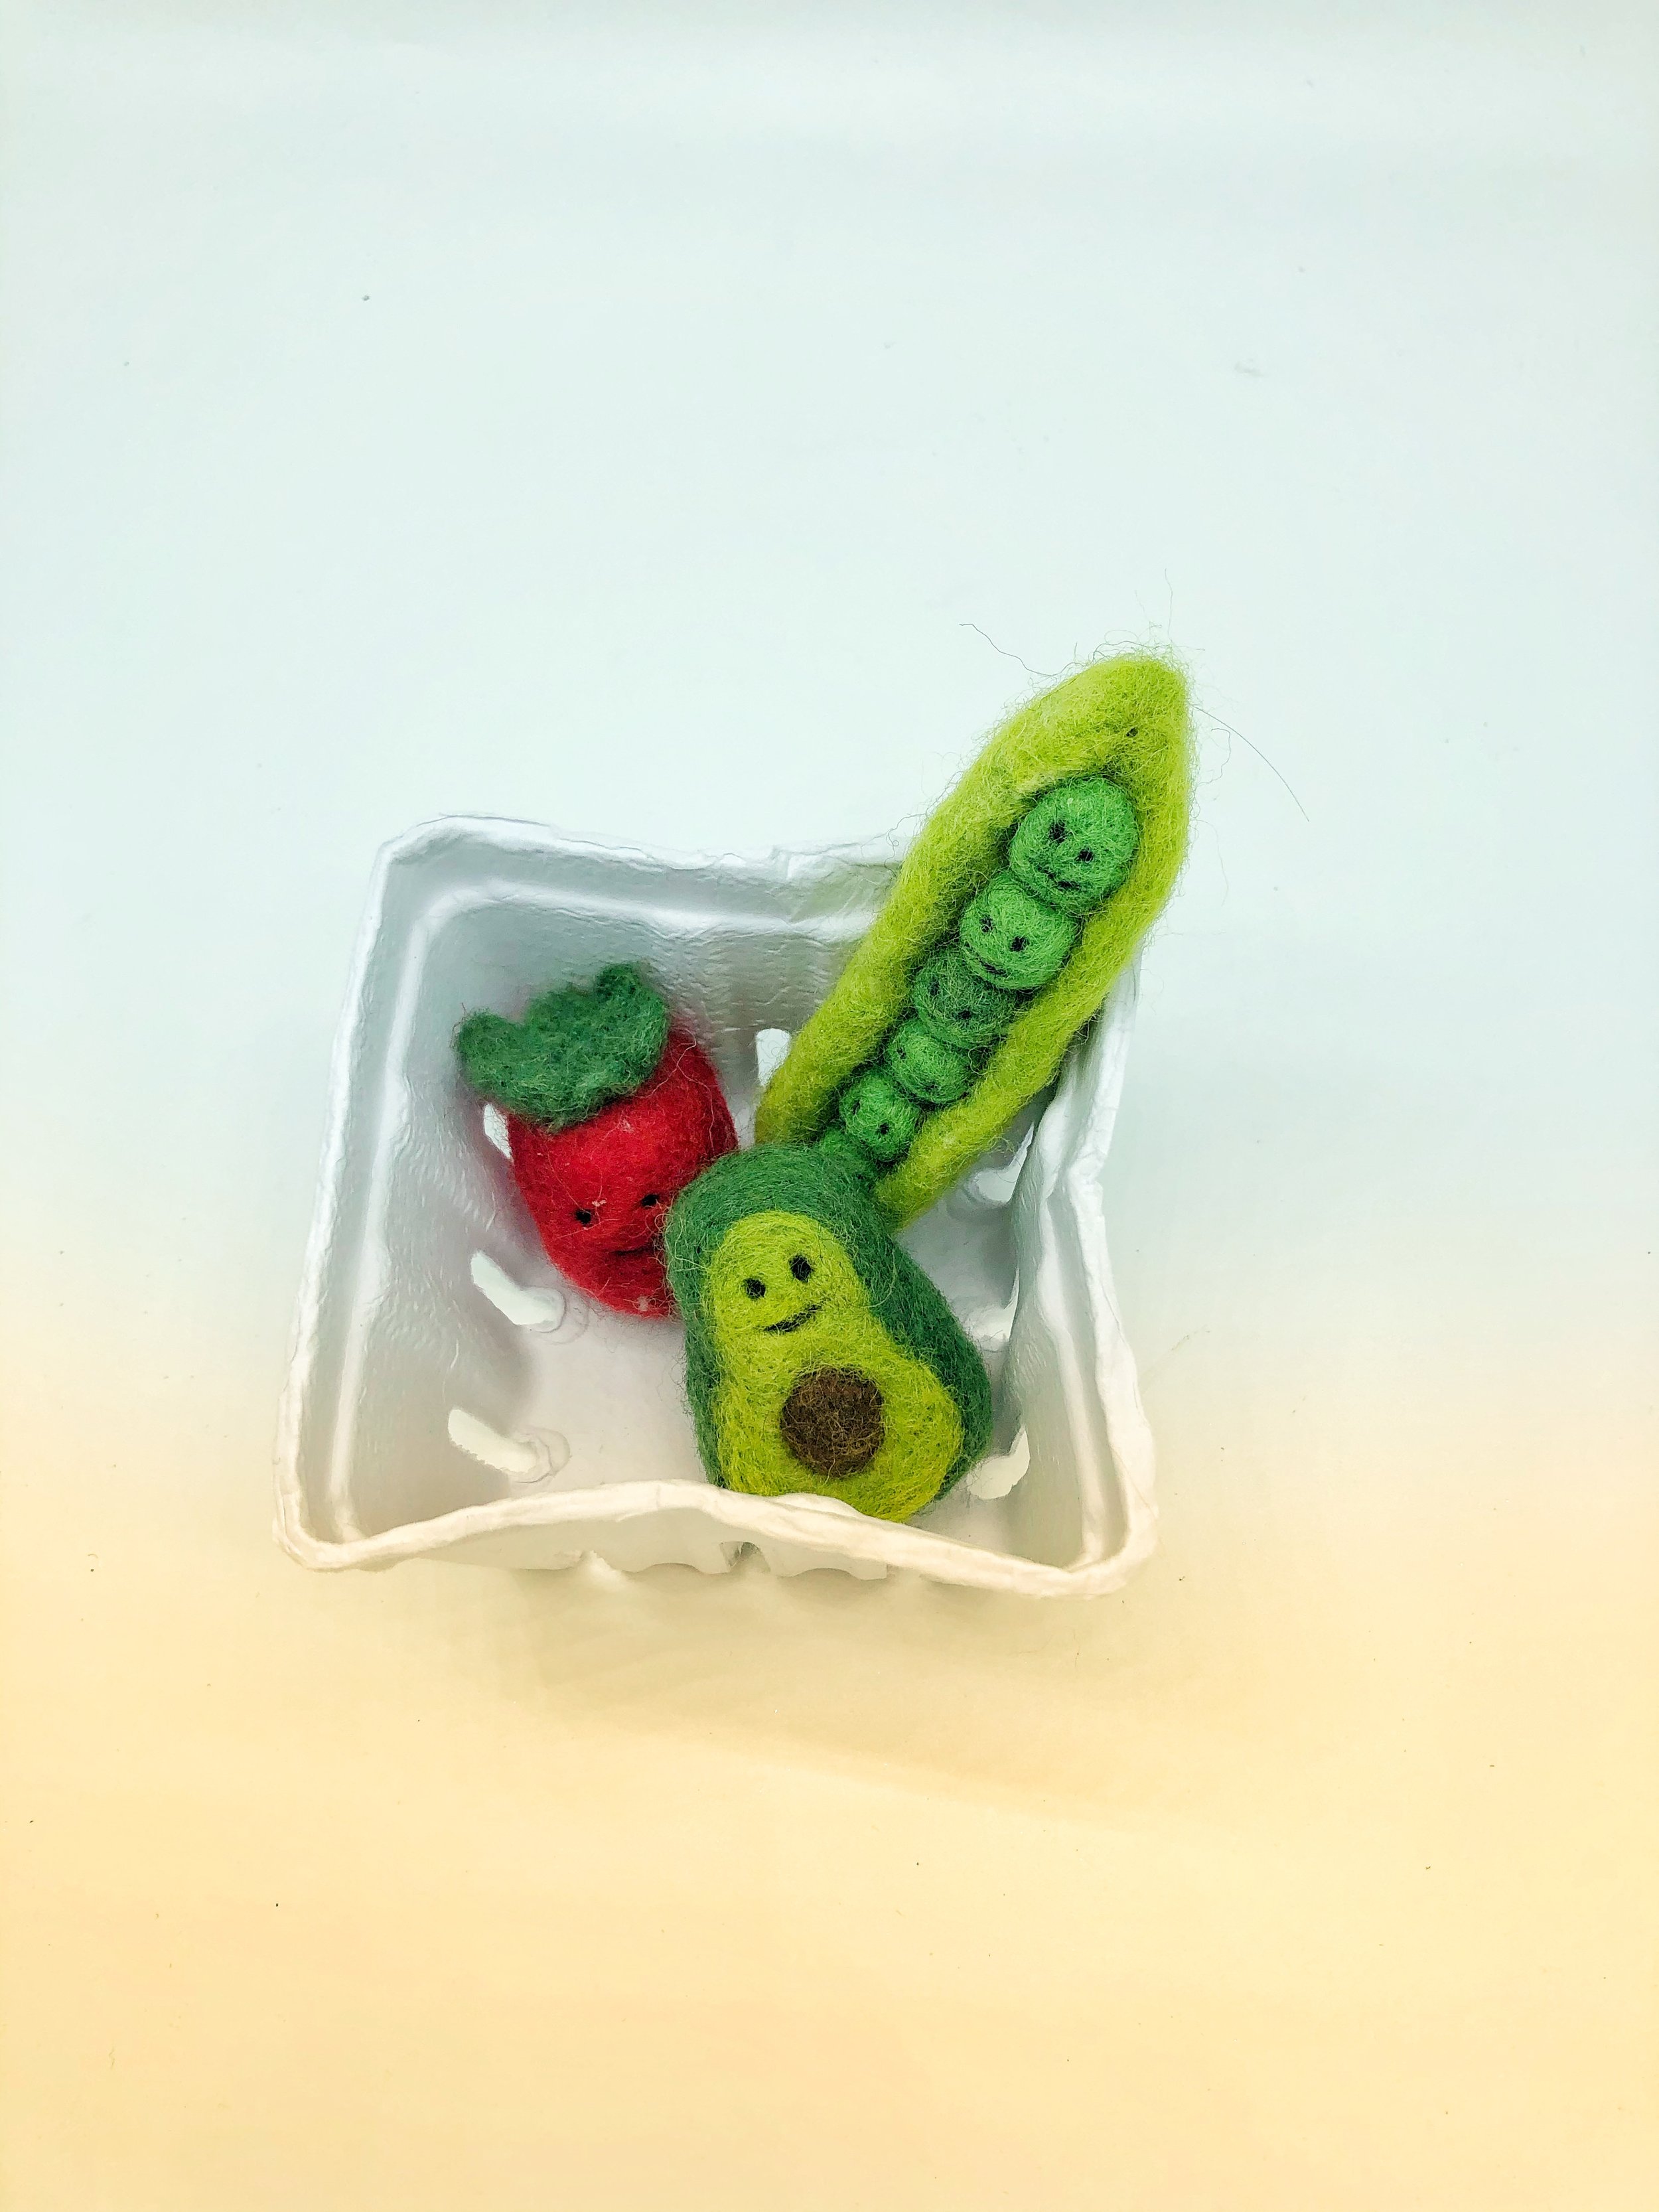
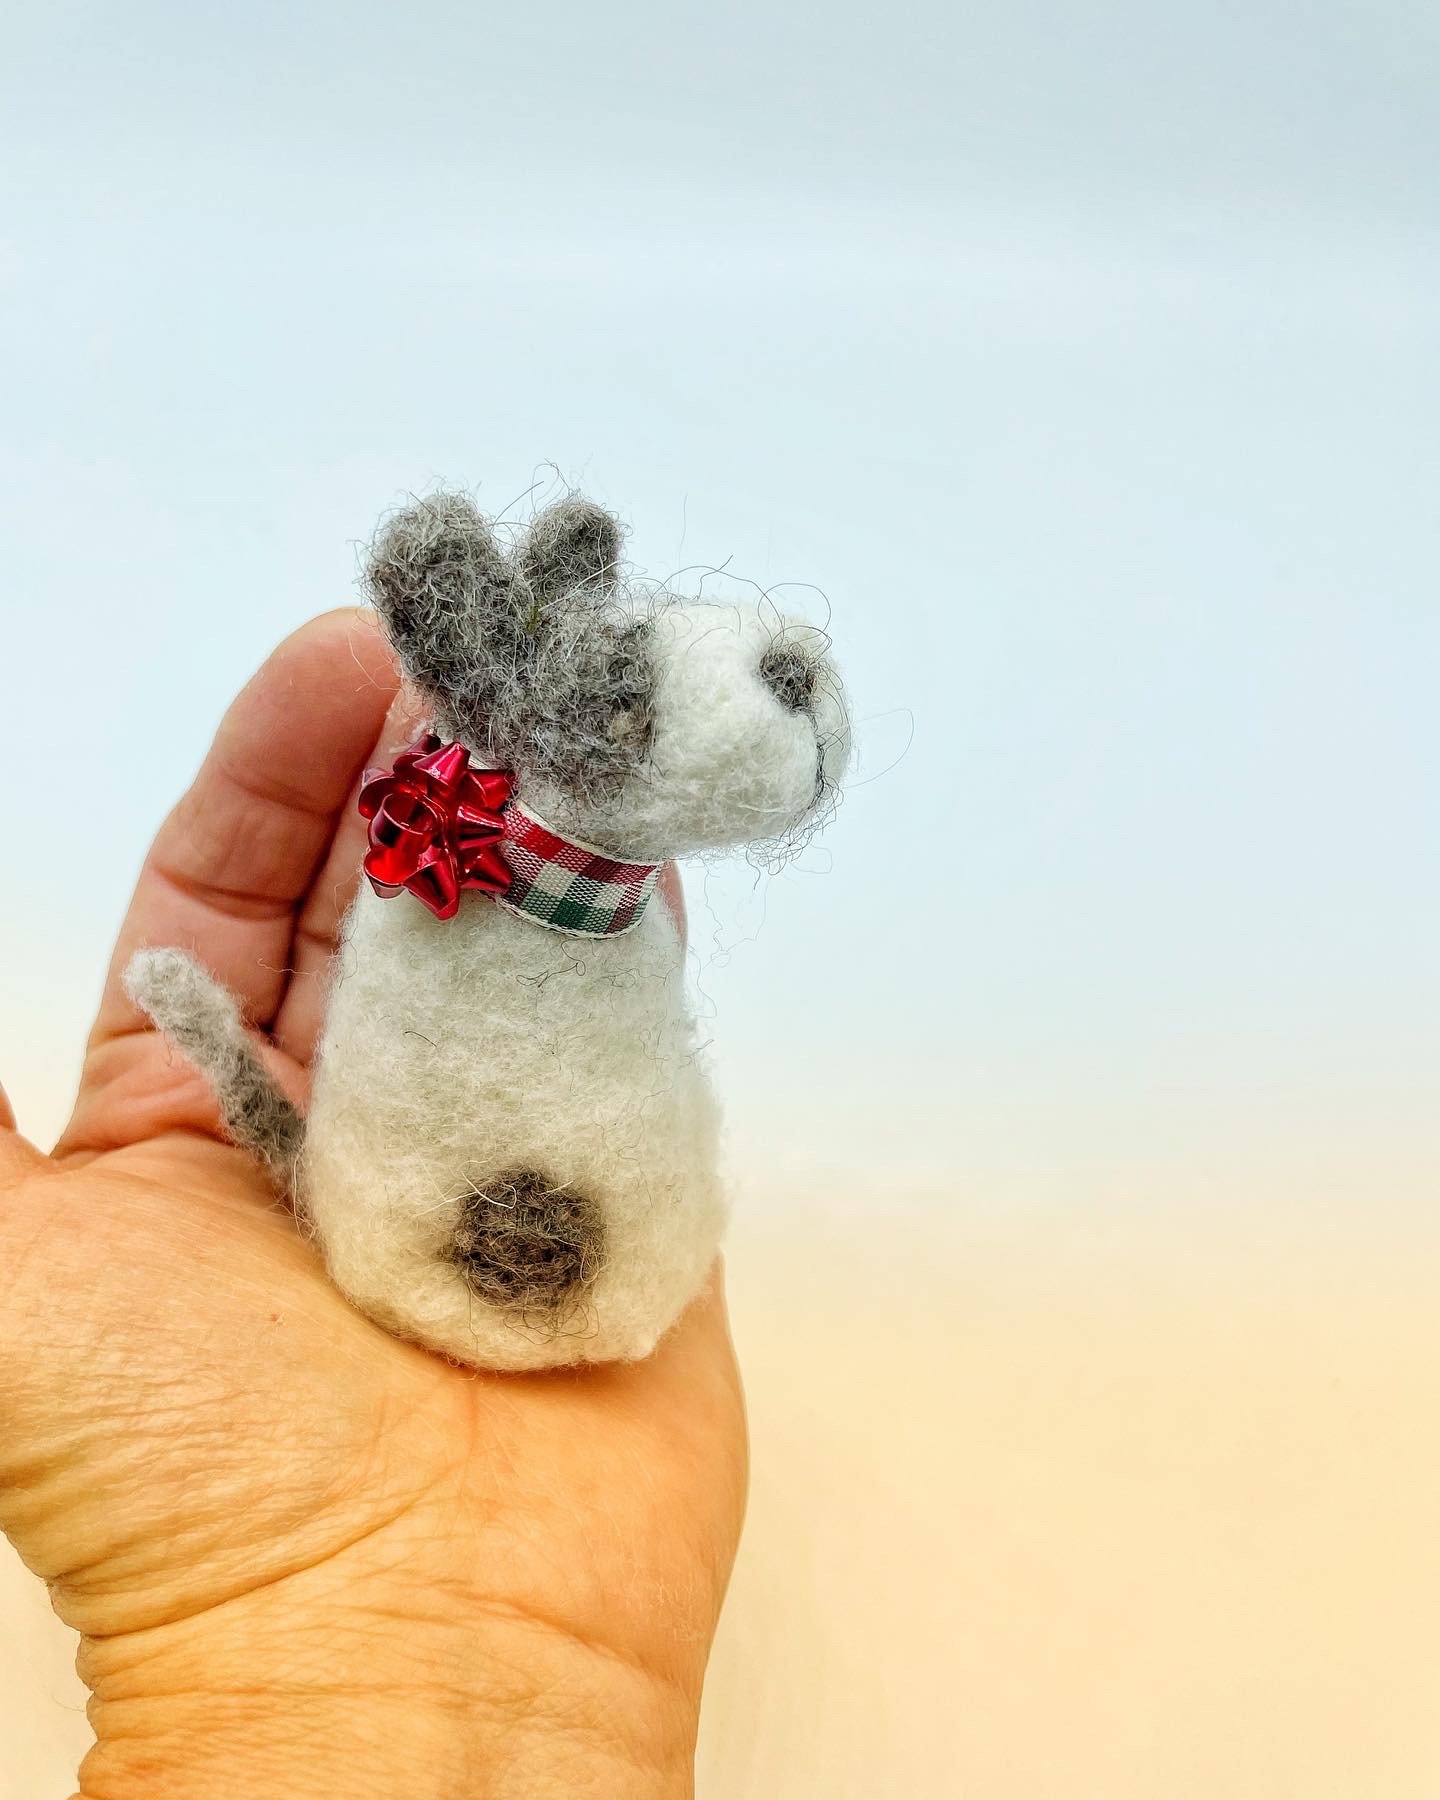
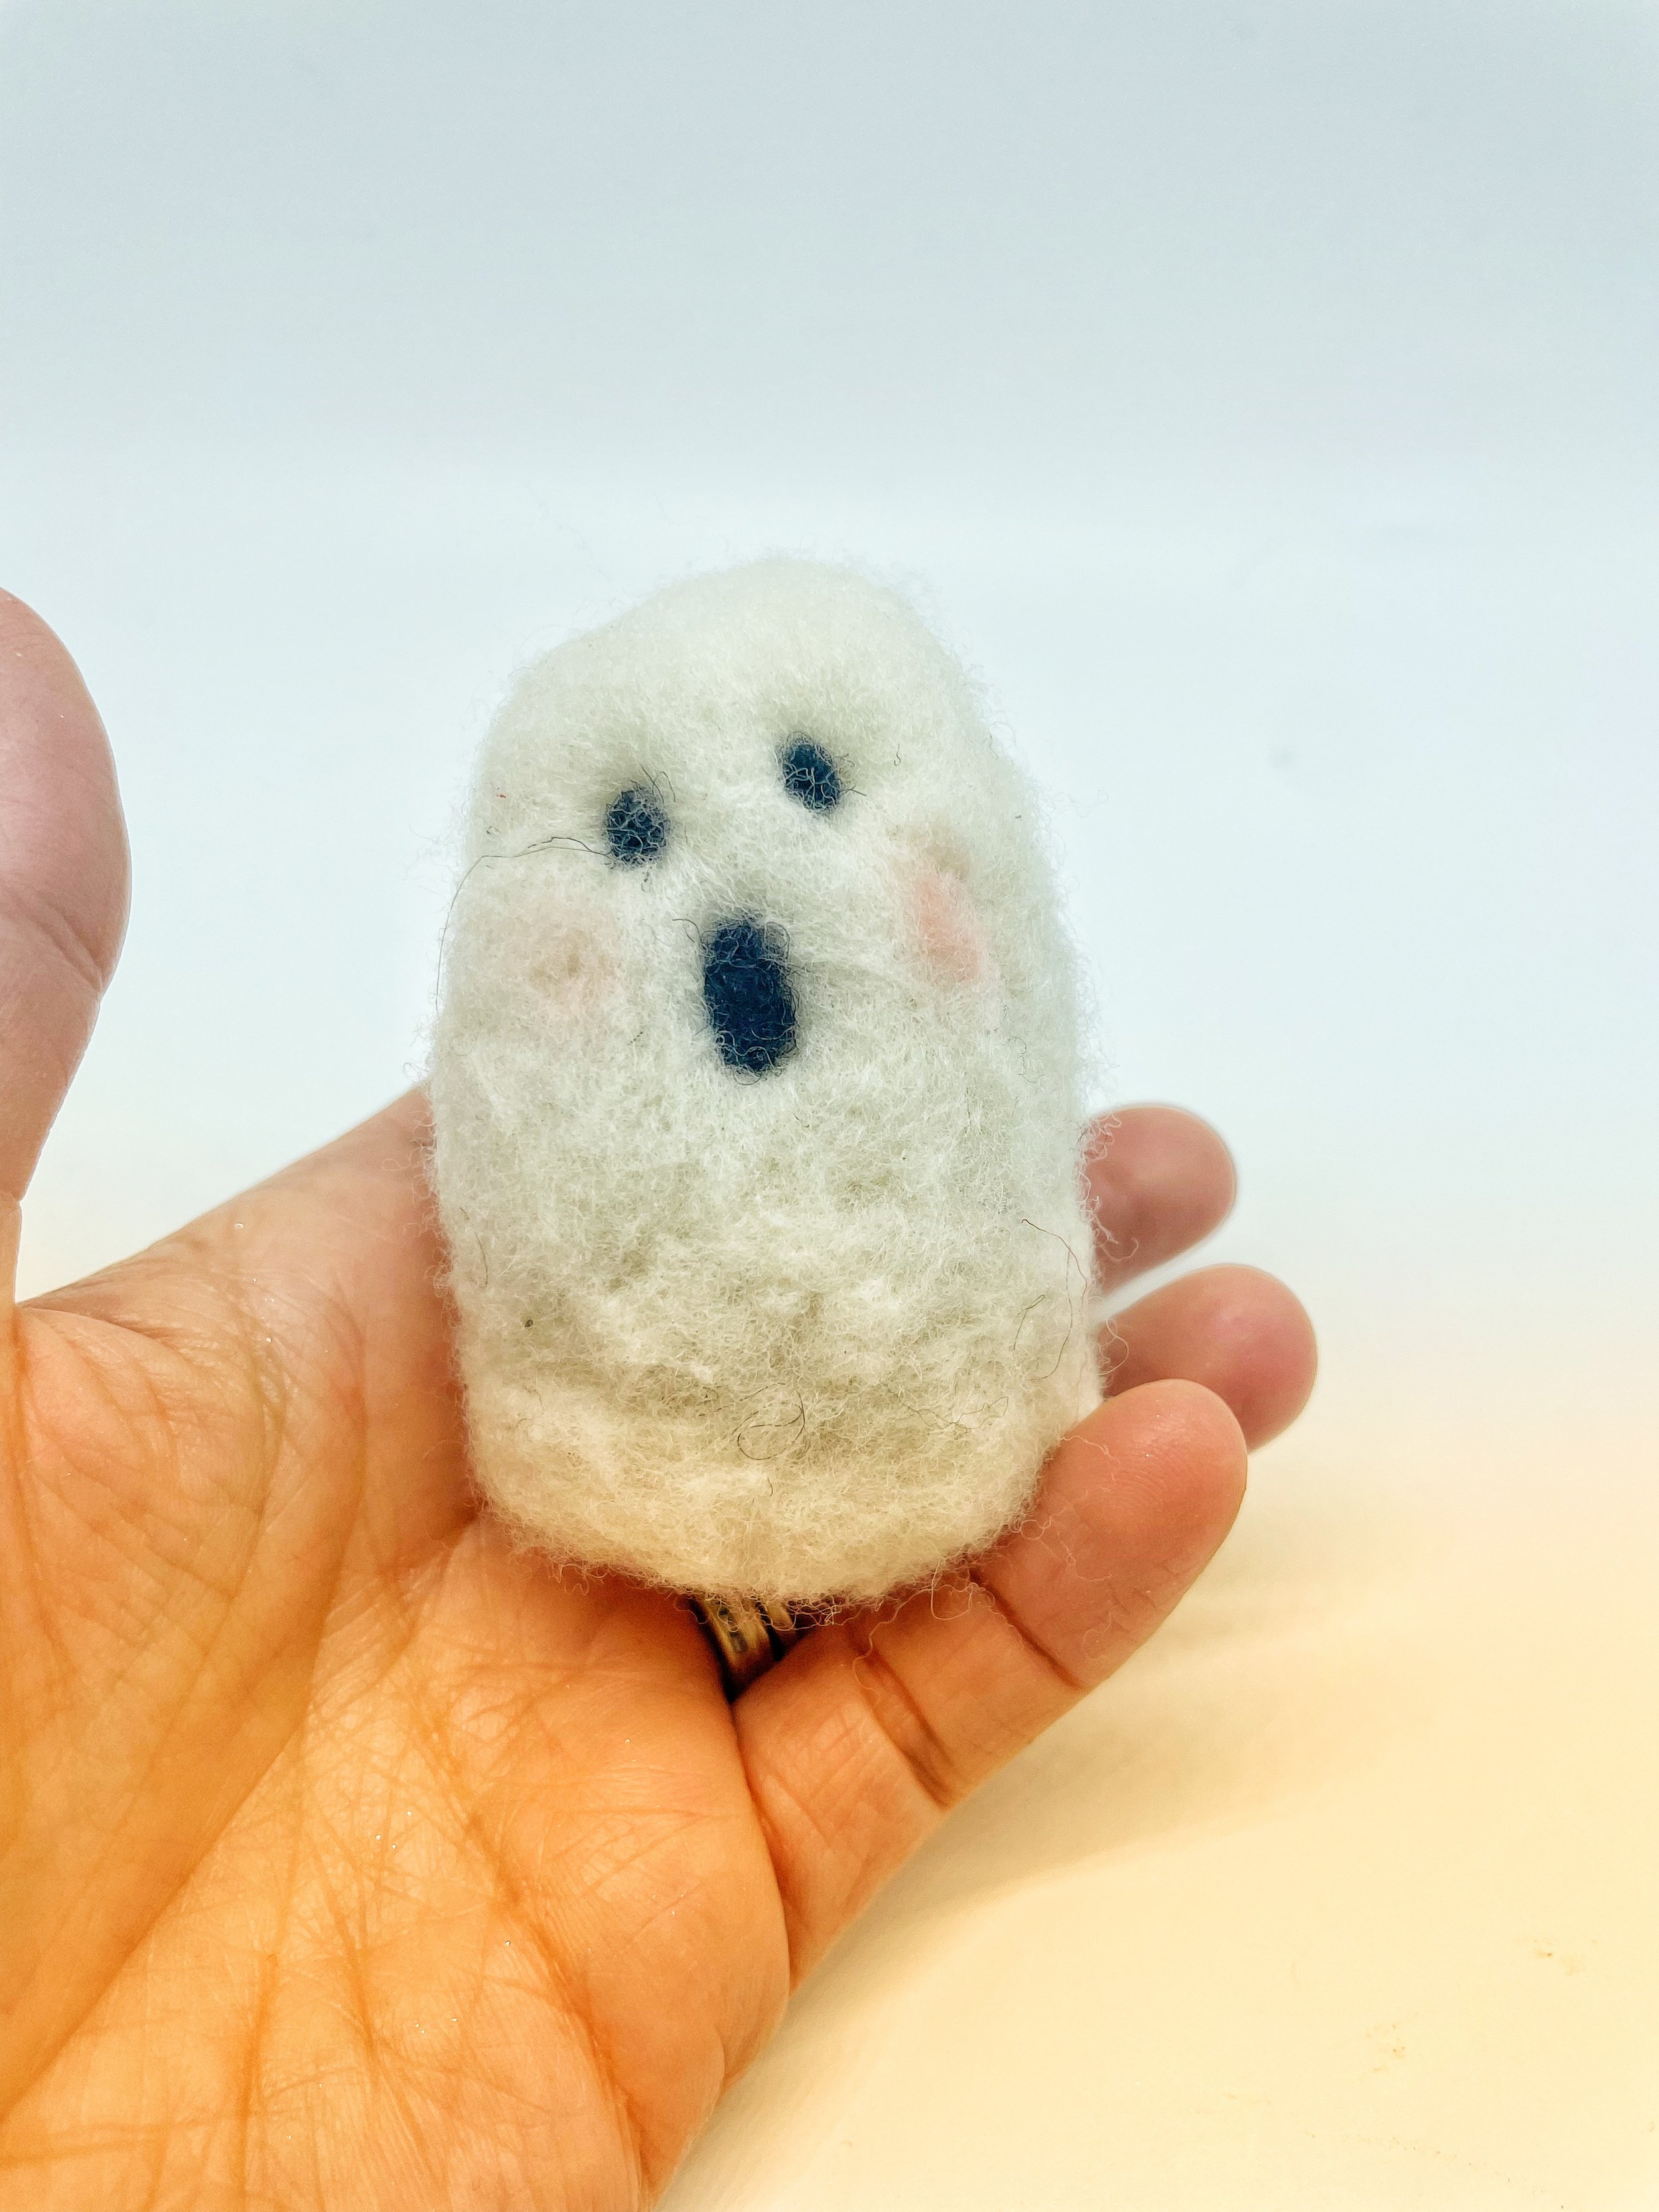
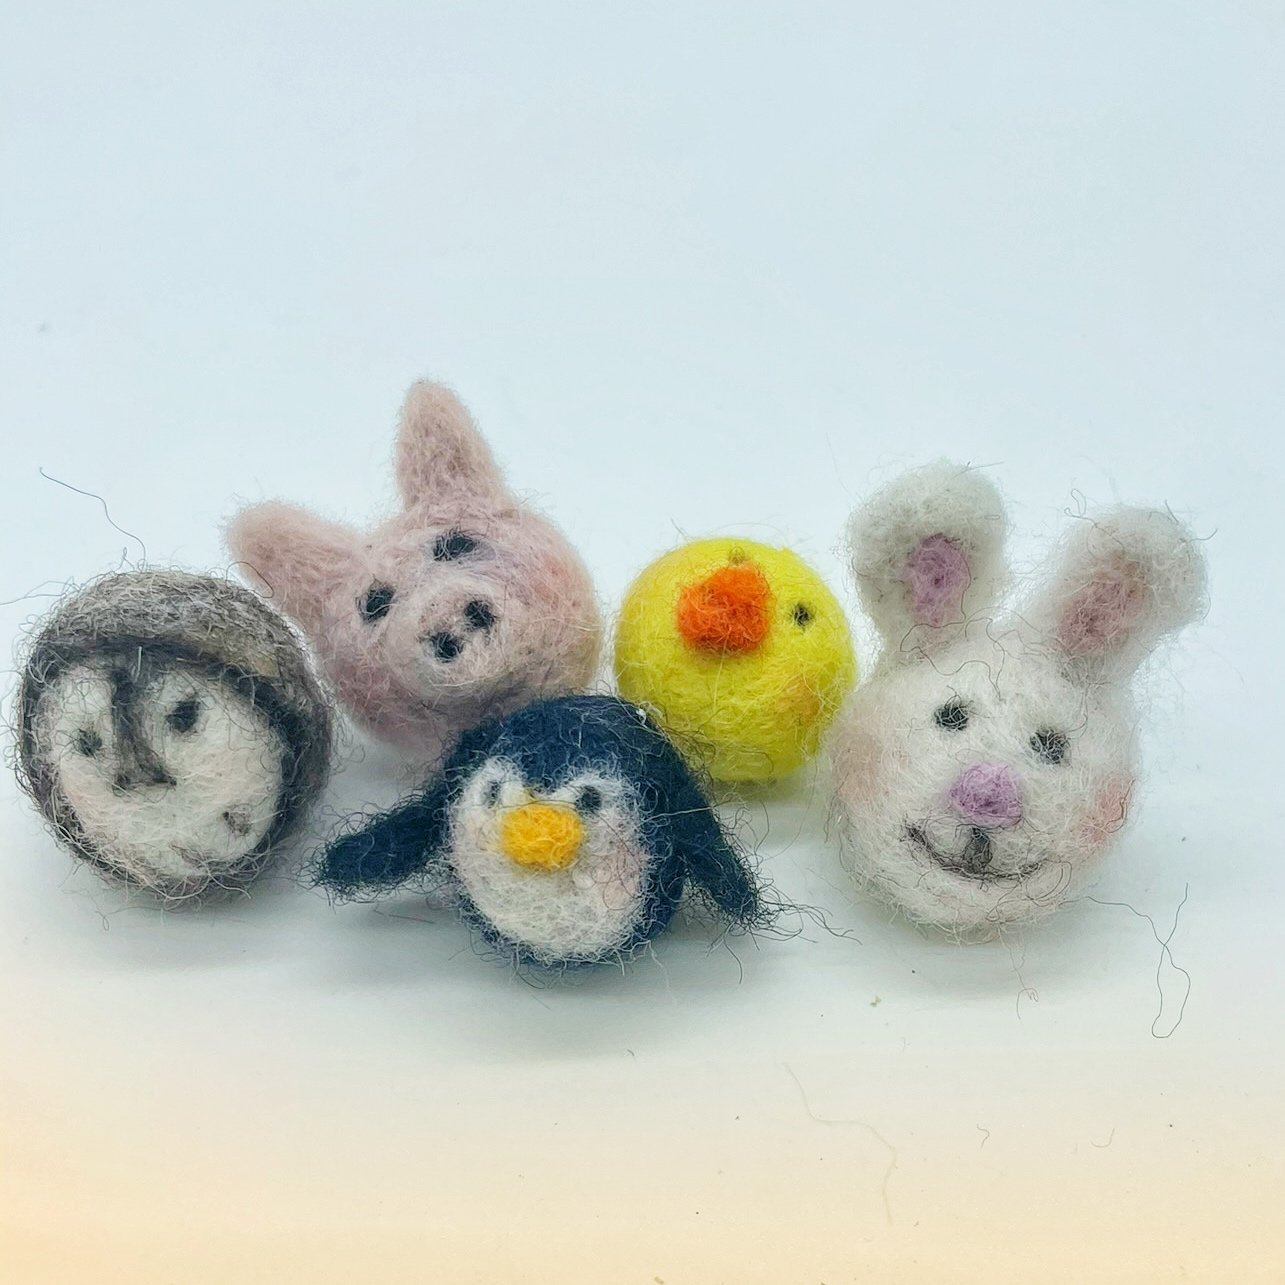
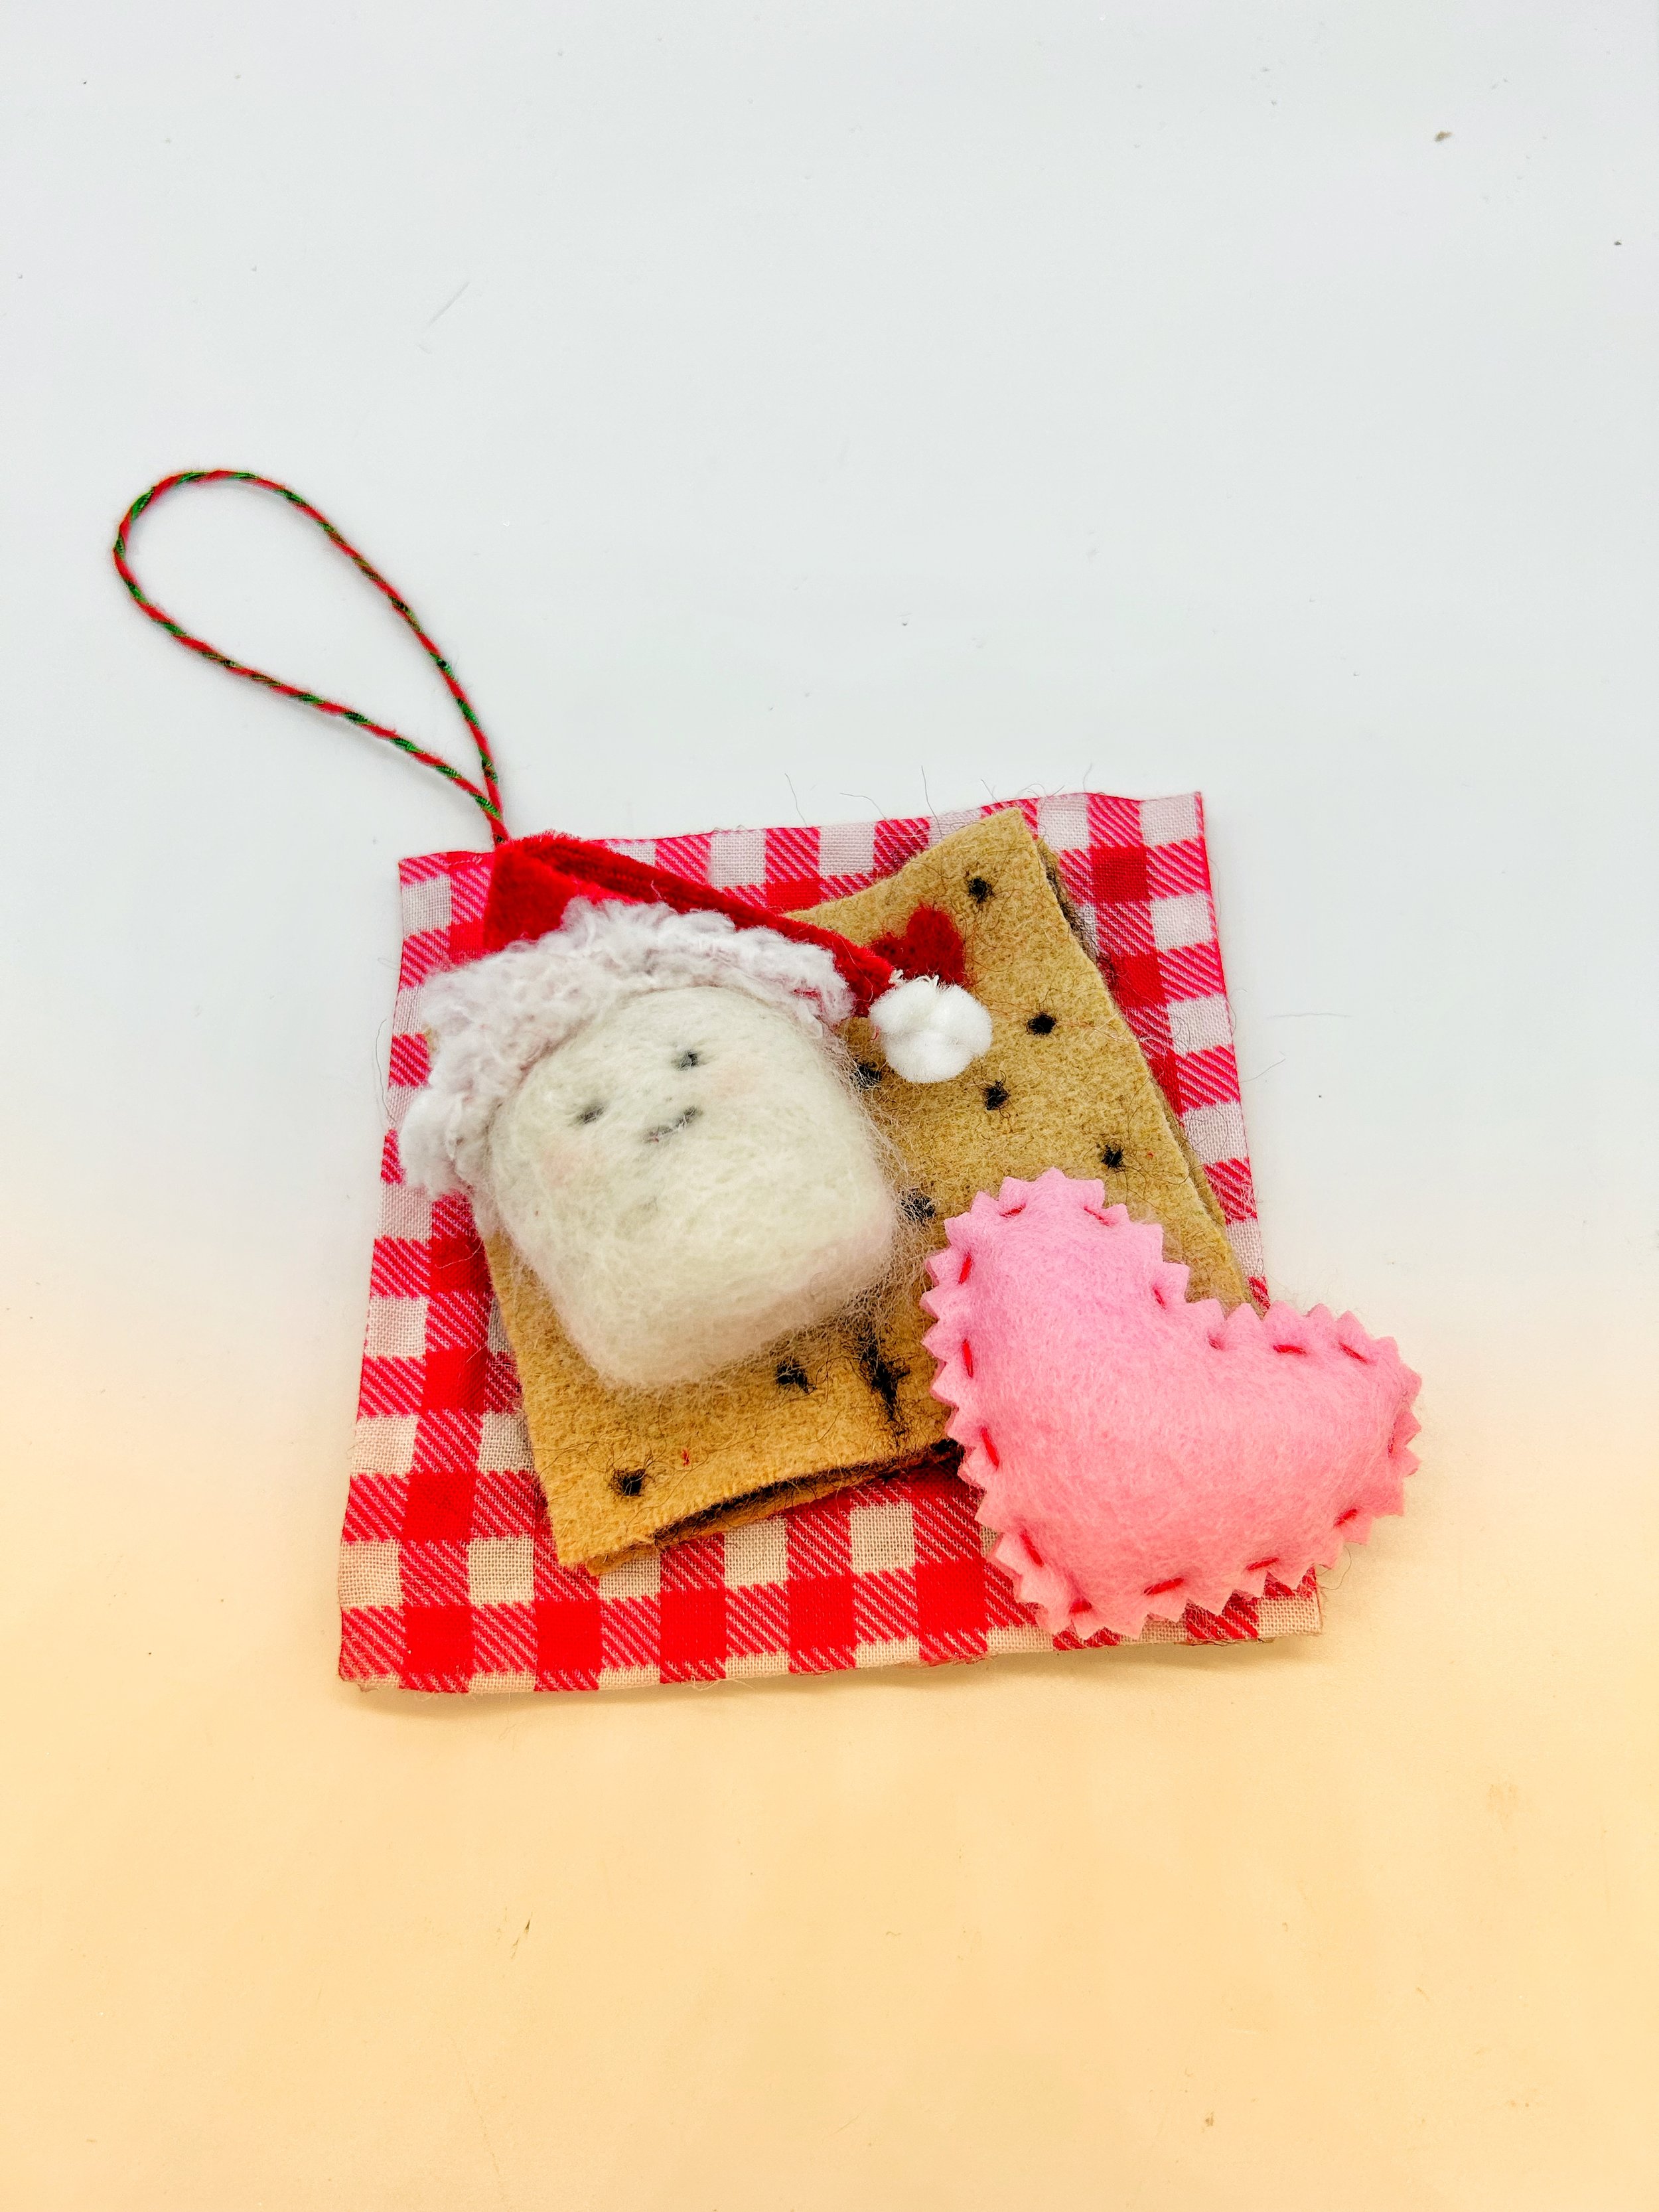
I often find inspiration from the work of others. Take a look at some of the projects I have created over the years.
Do any spark an idea? What can you dream up? Grab some wool and needles and get poking!


