Host an Art Brunch!
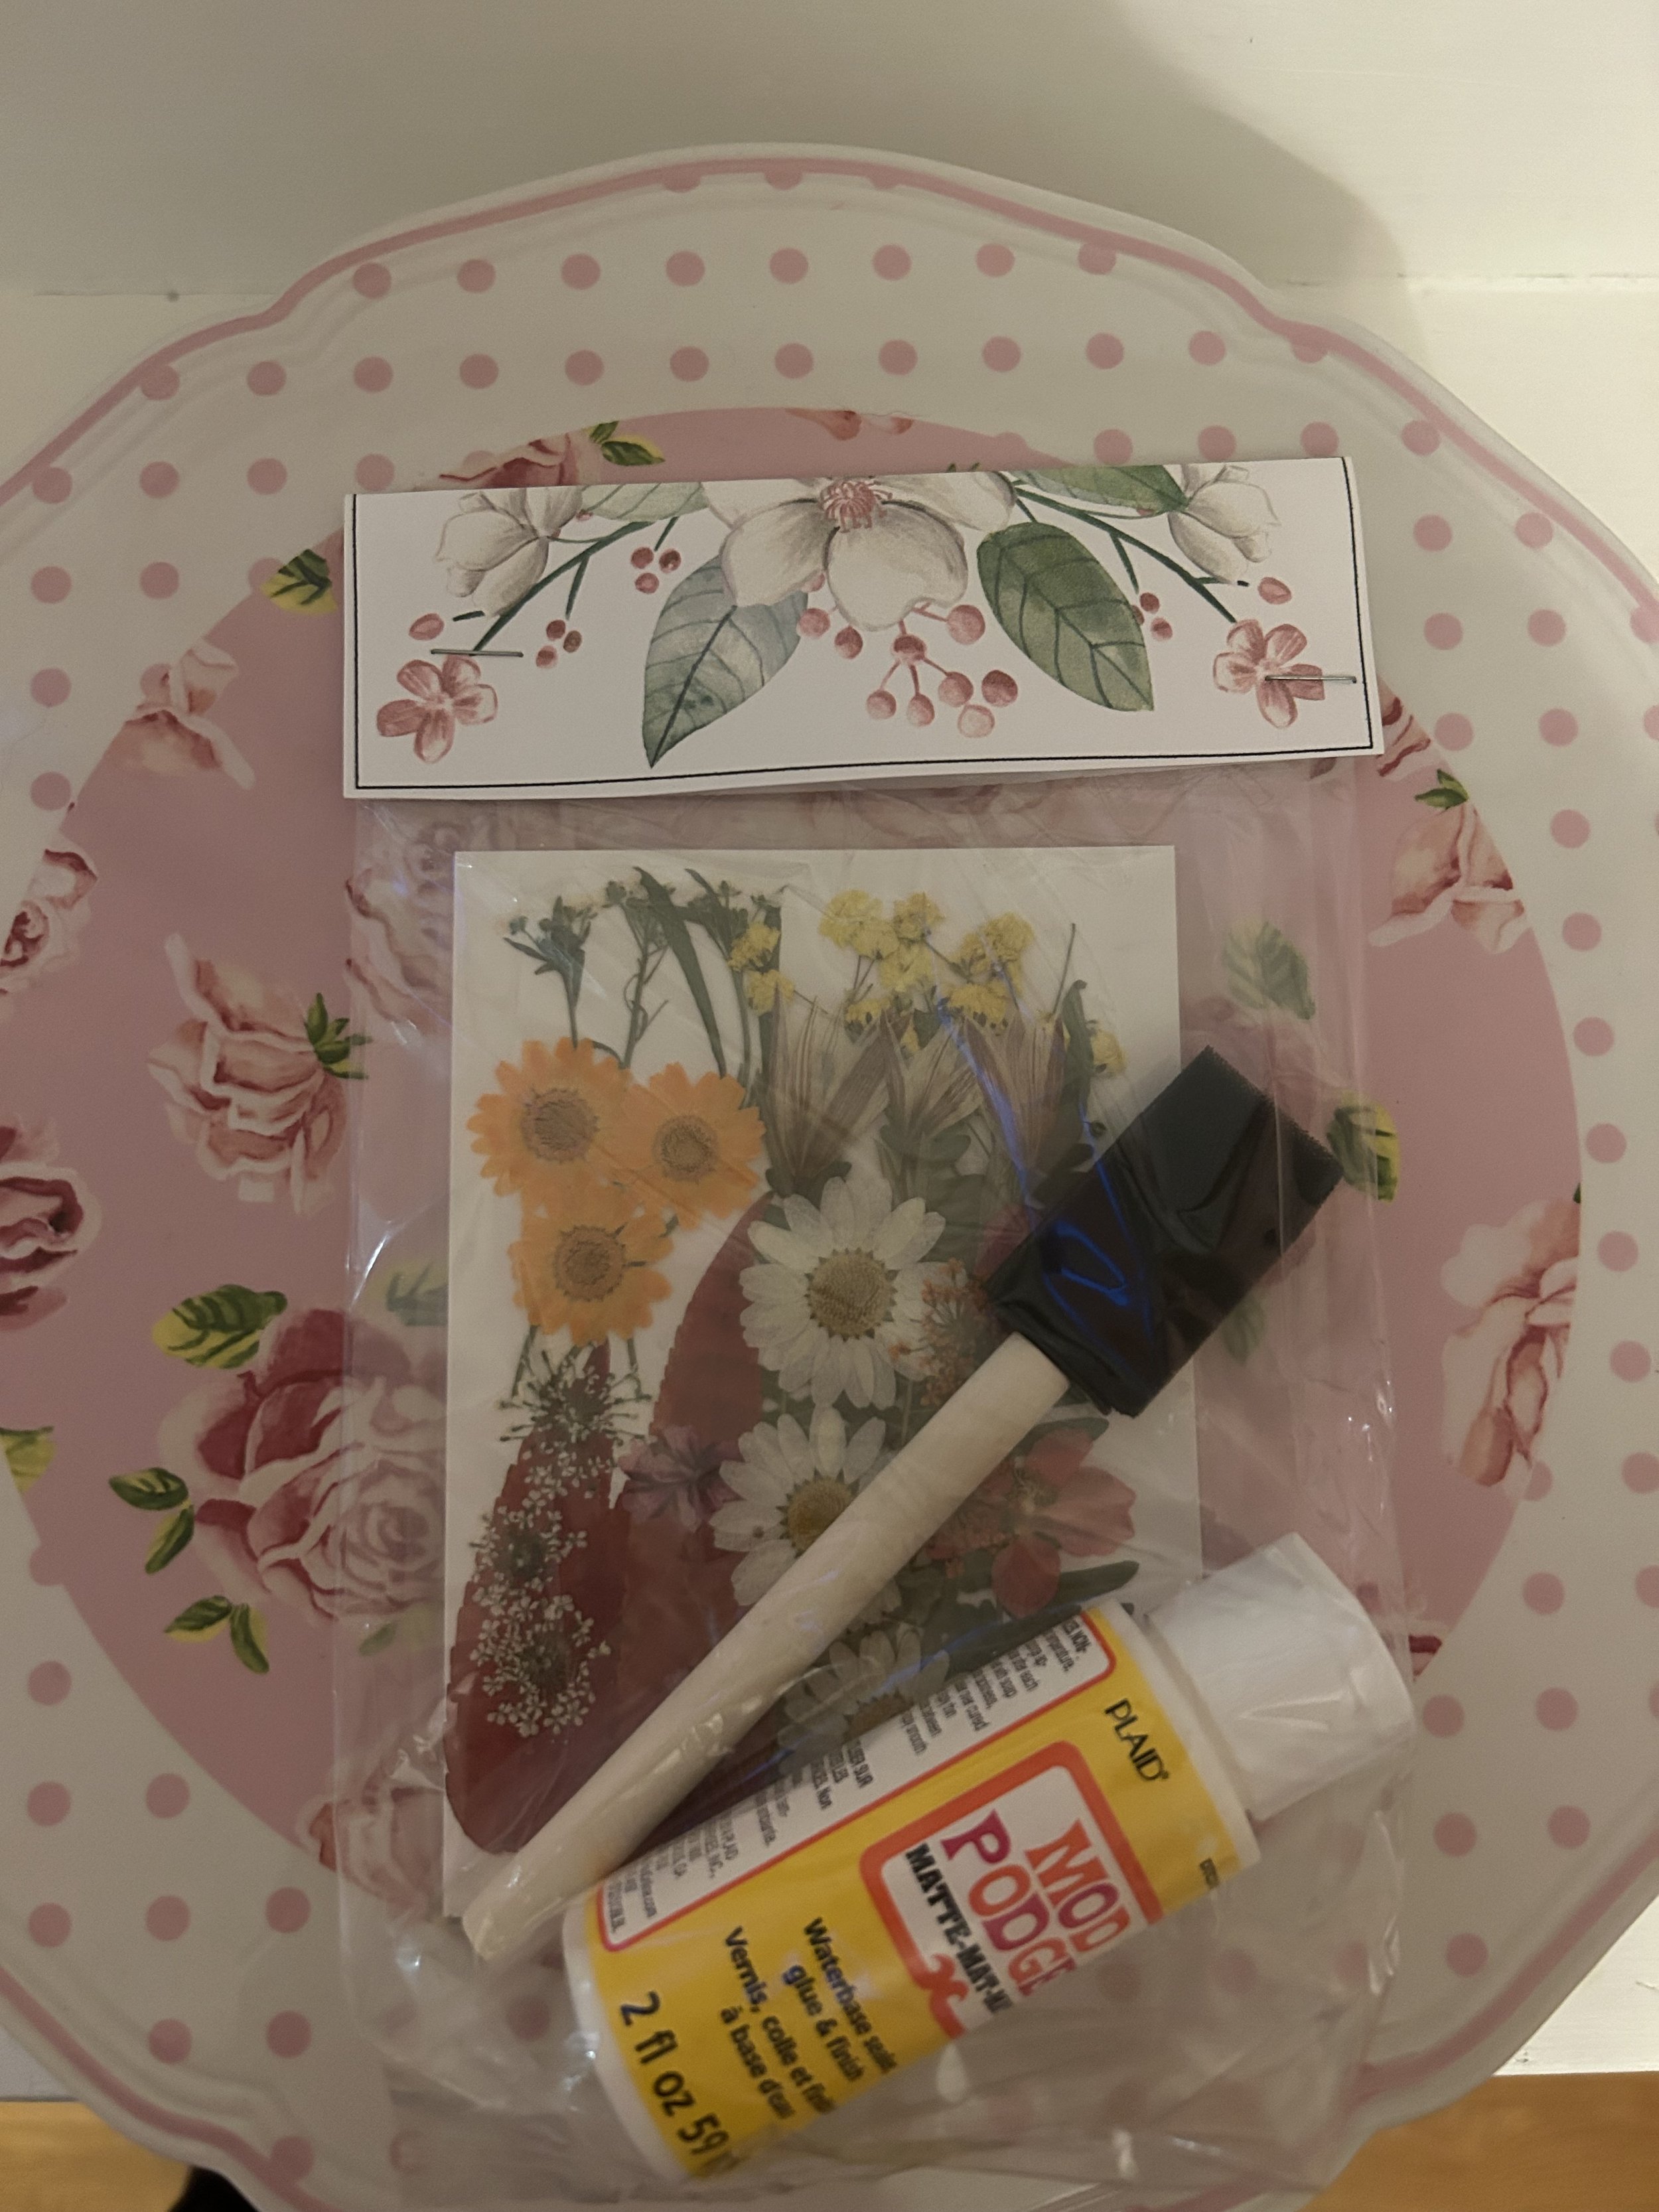
Download my template to put together this adorable kit for each guests. Links to supplies below.
Your POV: You watch DIY reels obsessively. Your social media feed is overflowing with cute craft ideas, fun party themes, and recipes that look delicious and artsy.
Also your POV: You never actually make the craft, host the party, or try the recipe…
If this sounds like you, keep reading!
Anyone who knows me knows that I love DIY projects. Some might say I am obsessed. Oh, and I am not woo’ed by just one kind of project either! I am just as likely to become bewitched by a post about creating a miniature fairy bed as I am about a post detailing how to whip up a chocolate avocado pie. (Both of these ideas are pinned on my Pinterest Board truth be told). The inspiration for fabulous ideas is seemingly infinite….time to utilize those ideas, however, not so much.
This Spring, both frustrated and inspired by my heap of unrealized projects, I decided to take matters into my own hands (literally). That art project languishing on my Pinterest board, those recipes that remained un-attempted and untasted, the gathering of old friends that never actually gathered; I became determined to make them all a reality.
Thus, the idea for an Art Brunch was born!
The concept was simple; host a gathering at which my guests were given all the supplies needed to create a fun project, while enjoying a delightful array of tasty treats and sipping some fruity cocktails. Add music, girl-talk and the inevitable laughter, and a great time was a virtual guarantee!
Food is part of the Art.
Take the guess work out of menu planning and print this one! Recipe links below.
After choosing a project that was easy and fun (even for those friends who claimed to be craft-challenged), I got busy putting together a brunch menu, compiling some super-girly decor, and creating the adorable invitation, printed menu and packaging for the craft kits I would give each guest.
Sound like a fun idea? Check out the steps and ideas below for creating your own Art Brunch! I will include links to all the items I used for our project, as well as some of the amazing recipes I finally got the chance to try! I will also include a link to download my invitation here and kit labels , and a printable menu card for those who choose to follow the same menu I used for my gathering- DOWNLOAD MENU FREE FOR YOUR USE! Care to be really extra? DOWNLOAD MY FREE FLOWER TAGS with adorable flower quotes printed on them, punch a small hole in the corner, and tie them onto a champagne glass or party favor! (Tag 1 here) (Tag 2 here) (Tag 3 here). I was inspired to host an Art Brunch just for a fun pre-Mother’s Day celebration. Though you need no special occasion to host an Art Brunch, imagine a bridal shower, baby shower or bachelorette party with this theme!
Make sure to offer a variety of vase sizes and shapes so each guest had a unique piece.
Vases: I was able to gather a nice collection of vases and votive candle holders at the Dollar Tree. I chose various sized and shapes so my guests could pick the one that fit their personal style. I also had a pile of battery-operated tea lights on hand for the folks who chose that opti
https://www.dollartree.com/glass-cylinder-vases-725-in/162354
https://www.dollartree.com/jardin-glass-vases-7-in/982289
https://www.dollartree.com/g-cylinder-vase-6in/208602
https://www.dollartree.com/mario-clear-glass-vases-7-in/271807
https://www.dollartree.com/glass-hurricane-stem-vases-65-in/982414
https://www.dollartree.com/glass-hurricane-stem-vases-65-in/982414
https://www.dollartree.com/clear-glass-pot-belly-vases-7x4375-in/294059
https://www.dollartree.com/votive-candleholders-with-black-gold-stands/318626
Dried Flowers: I cant say enough about these packs of small dried flowers I found on Amazon! They come in four packs, each individually sealed and the perfect size for my pre-assembled craft kits! Once opened, my guests swapped and traded these lovely little flowers, and there were plenty of flowers left over to use in future projects! I would suggest having a small container (card stock cupcake liners work great) for your guests to pour their opened bags of flowers into.
Mod Podge: I wanted to put tiny bottles in my guests kits, so I opted for the 2 ounce bottle option, but it may be more cost effective for you to buy one large bottle and pour into small containers for your guests (again card stock cupcake liners work great).
Kit Bags: These cellophane bags are my go-to when assembling kits (something I often sold at craft fairs and online). They are sturdier than some others I have tried and the correct size for my Kit Label download. With over 100 in a pack, they are an economical choice.
5. Brushes: foam brushed work the best.
6. Battery Operated tea Lights: This was a super nice touch for my guests and pretty cheap for a large supply.
Easy Instructions - See video!
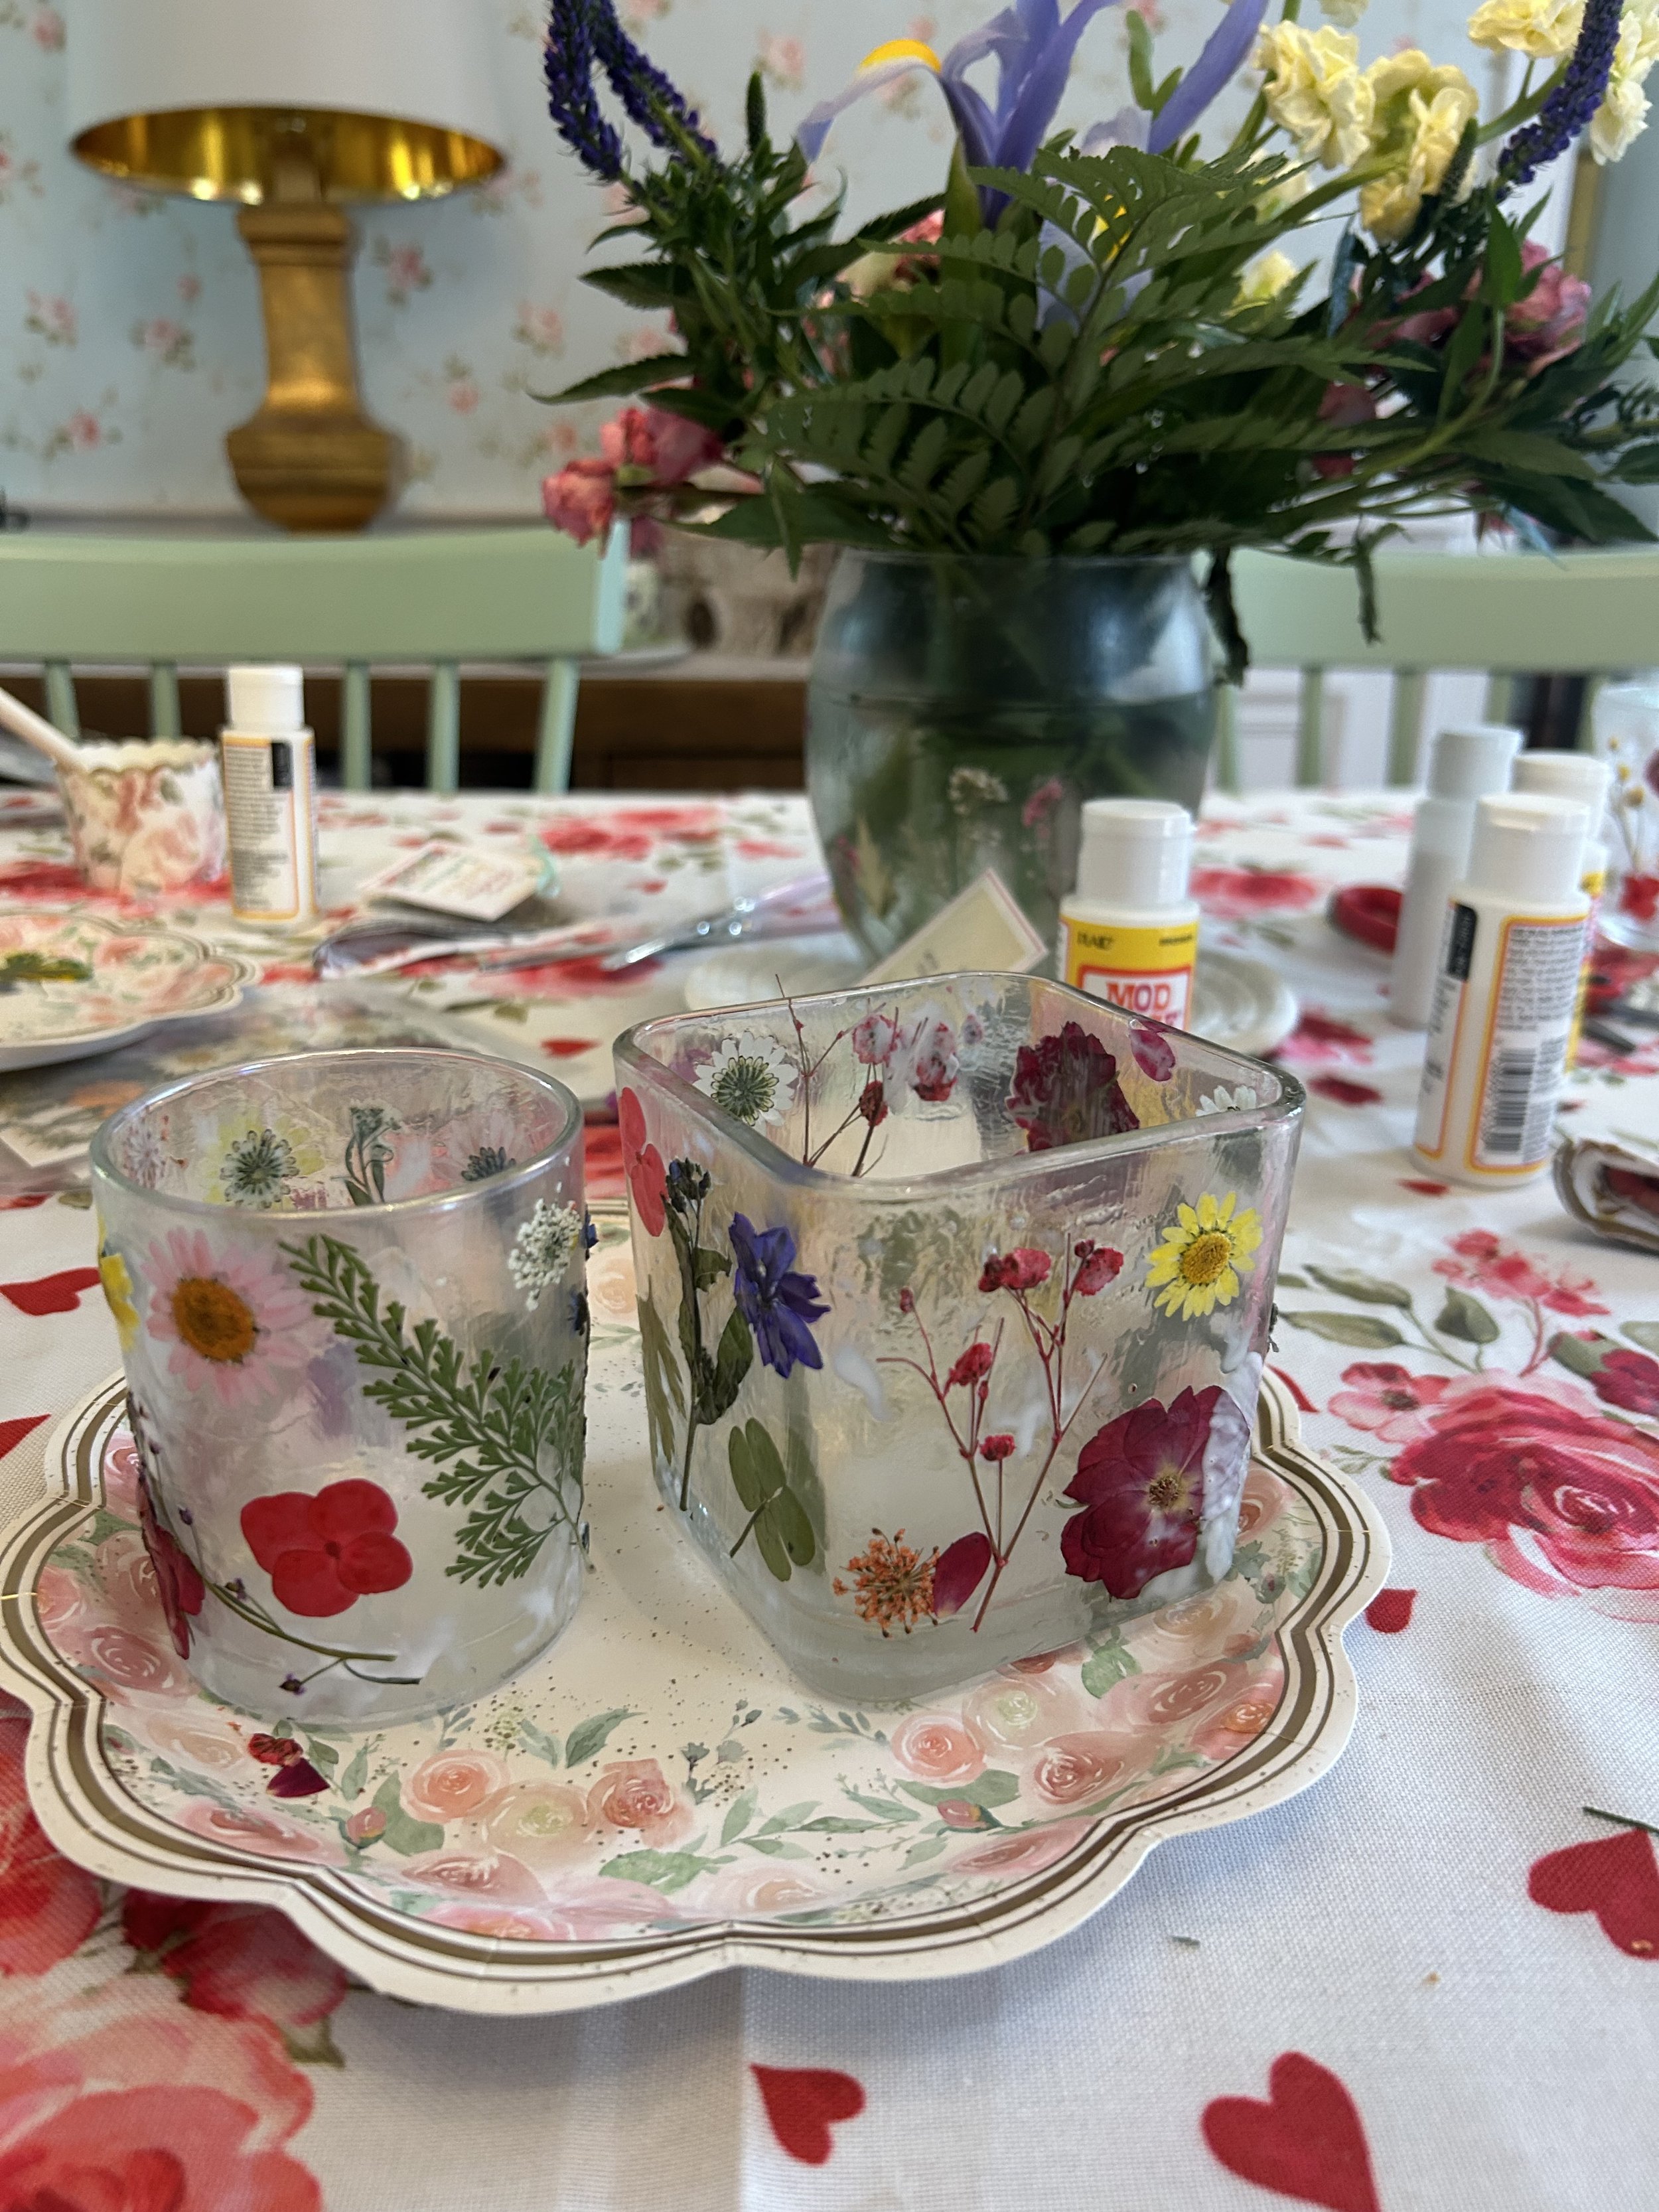
Once each person has chosen their glassware, she can simply use the foam brush to put a thin layer of Mod Podge onto her vase or votive.
Next, gently place a small flower of choice onto the ModgePodge. The flowers are fragile so be gentle! After the flowers are arranged, another thin layer of Mod Podge can be brushed on top. Allow vase to dry overnight (guests can still take it home with them while they are tacky).
Provide your guests with vases and votive holders in a variety of shapes and sizes.
Tip: Lightly moisten your pointer finger and gently place on top of a small flower to help lift it off the table.
That’s it!
RECIPE LINKS HERE;
GOAT CHEESE AND BLUEBERRY FLATBREAD
BLUEBERRY SPINACH SALAD WITH POPPY SEED DRESSING
White Wine Sangria: 1 bottle of Pino Grigio, 3 cans of Fresca, and fruit (Peaches, strawberries, raspberries, grapes).


